Khandvi Ka Kamaal: A Silken Snack Sensation!
Namaste and Kem Chho, my food-loving friends! Chef Curry Do’pyaza here, ready to whisk you away on another culinary adventure! Today, we’re diving headfirst into the world of Khandvi, a delightful Gujarati snack that’s as beautiful to look at as it is delicious to eat.
Khandvi is a beloved dish, especially during festive occasions like Diwali, Navratri, and even weddings. It’s a light and flavorful treat that’s perfect for those hot summer afternoons or as a delightful appetizer before a grand feast. In Gujarati households, it’s a sign of hospitality and love, often made with care and shared with family and friends.
A Little Khandvi History
The history of Khandvi is a bit like its texture – smooth and intriguing! While its exact origins are shrouded in mystery, it’s widely believed to have originated in Gujarat, India. This delectable dish is a testament to the ingenuity of Gujarati cuisine, known for its vegetarian delights and clever use of simple ingredients. It is said that it was invented by clever housewives who wanted to use up leftover chickpea flour!
Let’s Get Cooking!
Preparation Time: 20 minutes
Cooking Time: 25 minutes
Ingredients:
- Besan (Chickpea Flour): 1 cup
- Dahi (Yogurt): 1 cup, slightly sour is best!
- Pani (Water): 1 cup
- Adrak-Mirchi Ni Paste (Ginger-Green Chili Paste): 1 teaspoon
- Haldi (Turmeric Powder): ½ teaspoon
- Namak (Salt): To taste
- Cheeni (Sugar): 1 teaspoon (optional, but adds a nice balance)
For the Tempering (Tadka):
- Tel (Oil): 2 tablespoons
- Rai (Mustard Seeds): 1 teaspoon
- Til (Sesame Seeds): 1 tablespoon
- Hing (Asafoetida): A pinch
- Hari Mirchi (Green Chilies): 1-2, slit lengthwise
- Hara Dhaniya (Fresh Coriander Leaves): Finely chopped, for garnish
- Nariyal (Grated Coconut): For garnish
For the Chutney:
- Hara Dhaniya (Fresh Coriander Leaves): 1 cup
- Pudina (Mint Leaves): ½ cup
- Adrak (Ginger): 1 inch piece
- Lasun (Garlic): 2 cloves
- Hari Mirchi (Green Chilies): 1-2 (adjust to your spice level)
- Nimbu Ka Ras (Lemon Juice): 1 tablespoon
- Namak (Salt): To taste
- Cheeni (Sugar): ½ teaspoon (optional)
Step-by-Step Instructions:
- Mix it Up! In a large bowl, whisk together the besan, dahi, pani, adrak-mirchi paste, haldi, namak, and cheeni (if using). Make sure there are no lumps! A smooth batter is key.
- Cook the Batter: Pour the batter into a heavy-bottomed pan. Place it on a gas stove over medium heat. Keep stirring constantly to prevent it from sticking and forming lumps. This is important, folks!
- The Test: The mixture will gradually thicken. Keep stirring until it starts to leave the sides of the pan and forms a smooth, glossy, and slightly translucent mass. This usually takes about 10-15 minutes. To test if it’s ready, spread a small spoonful of the mixture on a clean, flat surface (like the back of a plate or a marble countertop). Let it cool for a minute, then try to roll it. If it rolls easily without sticking or breaking, it’s ready!
- Spread the Magic: While the batter is still hot, quickly spread a thin layer of it onto a greased, flat surface. You can use the back of a spatula or a knife for this. Work fast! The thinner the layer, the better the Khandvi.
- Cool and Cut: Let the spread batter cool completely. This will take about 5-10 minutes. Once cooled, cut the sheets into 1-inch wide strips.
- Roll it Up! Gently roll each strip tightly from one end to the other. You’ll have beautiful, delicate rolls of Khandvi.
- Make the Chutney: Combine all the chutney ingredients in a blender and grind to a smooth paste. Add a little water if needed to adjust the consistency.
- Prepare the Tadka: Heat the tel in a small pan. Add the rai. When it splutters, add the til, hing, and hari mirchi. Sauté for a few seconds.
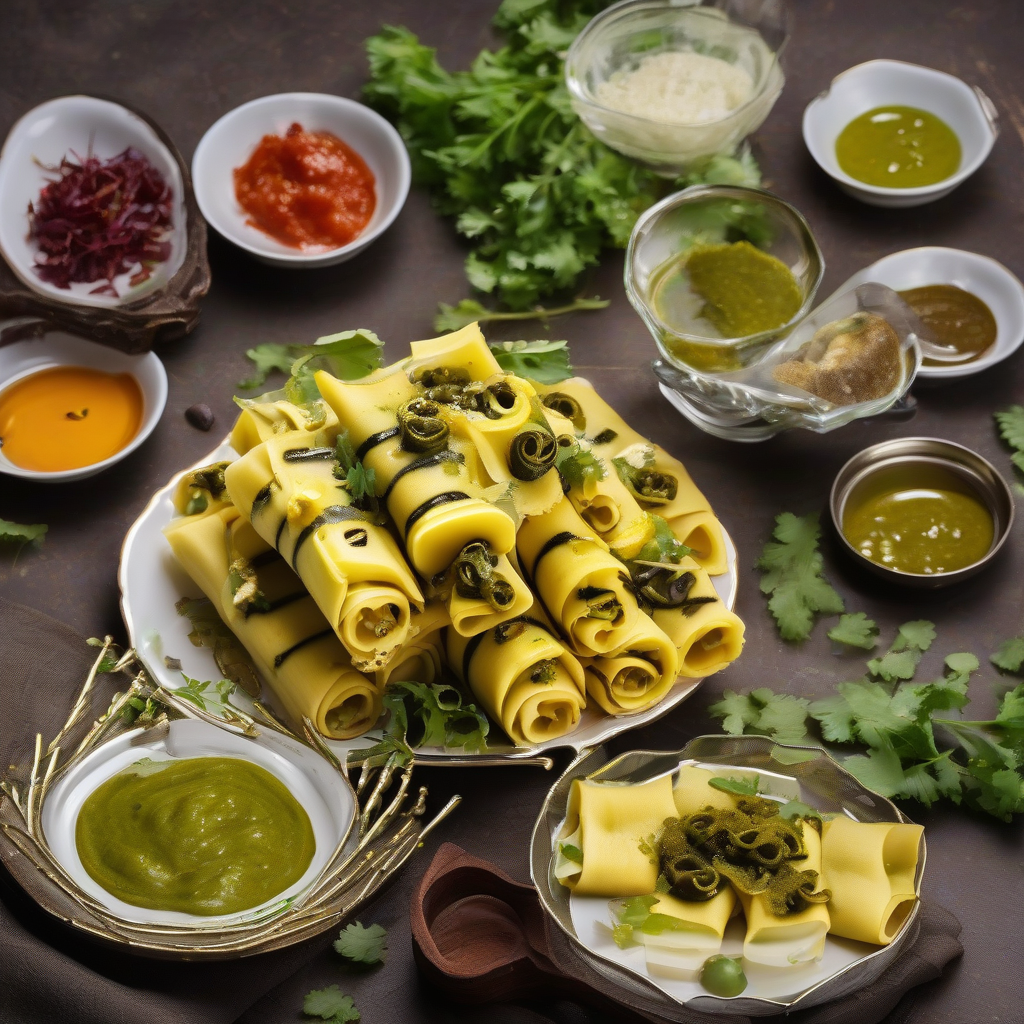
- Dress it Up! Arrange the Khandvi rolls on a serving plate. Pour the tadka evenly over the rolls. Garnish generously with fresh hara dhaniya and grated nariyal.
- Serve it up! Serve the Khandvi with the fresh, green chutney.
Tips for the Best Khandvi:
- Smooth Batter: A lump-free batter is essential for a smooth Khandvi. Use a whisk or a blender to ensure the batter is perfectly smooth.
- Constant Stirring: Don’t skip the constant stirring! It prevents lumps and ensures even cooking.
- Thin Layers: The thinner the Khandvi sheets, the better the texture.
- Fresh Ingredients: Use fresh dahi and good-quality besan for the best flavor.
Khandvi: Different Ways to Cook
- Gas Stove: The traditional method, as described above, works perfectly well.
- Induction Stove: The same method as the gas stove can be used, adjusting the heat settings as needed.
- Microwave: While not ideal, you can microwave the batter in short bursts (1-2 minutes), stirring in between, until it thickens. It requires very close attention to prevent overcooking.
- Slow Cooker/Crockpot: I wouldn’t recommend this method for Khandvi, as it requires constant stirring and a specific consistency that’s difficult to achieve in a slow cooker.
Nutritional Information (Approximate per serving):
- Calories: 150-200
- Protein: 5-7g
- Carbohydrates: 15-20g
- Fat: 8-10g
Khandvi is a good source of protein and fiber, thanks to the besan.
Serving Suggestions:
- Serve Khandvi as an appetizer or a light snack.
- Enjoy it with a cup of hot chai (tea).
- Pair it with other Gujarati snacks like Dhokla or Fafda.
- Add a dollop of fresh yogurt on top for a creamy twist.
A Final Word
There you have it, folks! A simple, yet elegant recipe for Khandvi that’s sure to impress your family and friends. It’s a labor of love, but the end result is worth every minute.
Now, go on, give this recipe a try! Surprise your loved ones with this delicious and healthy snack. And don’t forget to share your experience with me! I’m always eager to hear about your culinary adventures. Happy cooking!