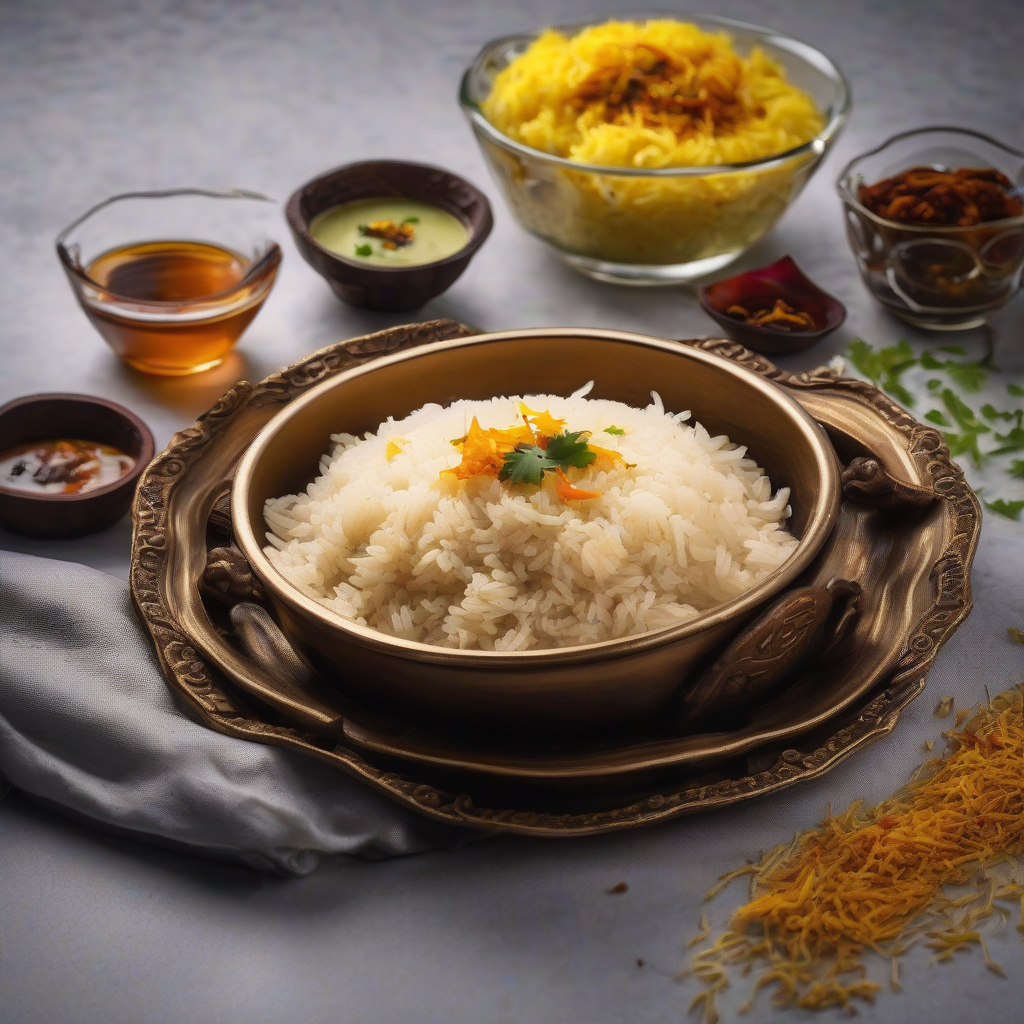
Ghee Rice: Shudh Delight for Your Soul, Yaar!
Namaste, and Kem Chho, my amazing food-loving family! Chef Curry Do’pyaza here, ready to sprinkle some delicious magic into your kitchens. Today, we’re diving into a dish that’s as comforting as a warm hug from your grandmother: Ghee Rice!
This isn’t just any rice, folks. It’s a celebration on a plate, a simple pleasure that elevates any meal.
When Do We Devour This Delight?
Ghee Rice is a staple in many Indian households, especially during festivals like Diwali, Holi, and weddings. It’s considered auspicious and pure, often served to celebrate good times and new beginnings. You’ll find it gracing tables during pujas and other religious ceremonies. Plus, it’s the perfect dish to whip up when you want something quick, satisfying, and utterly delicious. Think of it as sunshine on a plate, perfect for brightening up a gloomy monsoon day or adding a touch of warmth to a chilly winter evening.
A Little Trip Down Memory Lane
Ghee Rice has a rich history, deeply rooted in Indian culinary traditions. Ghee, or clarified butter, has been used in Indian cooking for centuries, not just for its flavour but also for its perceived health benefits. This simple dish likely originated as a way to elevate plain rice, adding richness and aroma with the magic of ghee. It’s a dish passed down through generations, each family adding their own special touch.
Ready to Cook? Let’s Get Started!
- Preparation Time: 5 minutes
- Cooking Time: 20 minutes
What You’ll Need (Ingredients List):
- 1 cup Basmati Chawal (Basmati Rice) – the long-grained kind, for extra fluffiness!
- 2 tablespoons Shudh Ghee (Pure Clarified Butter) – the star of the show!
- 1 teaspoon Jeera (Cumin Seeds) – for that earthy aroma.
- 4-5 Laung (Cloves) – adds a warm, sweet note.
- 1-inch Tukda Dalchini (Cinnamon Stick) – for a hint of spice.
- 2-3 Elaichi (Cardamom Pods) – lightly crushed, for a fragrant touch.
- 1/2 cup Pyaaz (Onion) – finely chopped, for a sweet base.
- 2 cups Pani (Water) – or as needed, depending on your rice.
- Swadanusar Namak (Salt) – to taste, of course!
- Optional: A handful of Kaju (Cashews) and Kishmish (Raisins) – for a touch of richness and sweetness.
Let’s Get Cooking (Step-by-Step Instructions):
- Wash the Rice: Gently wash the Basmati rice 2-3 times until the water runs clear. This removes excess starch and helps the rice cook up fluffy.
- Sizzle the Spices: In a heavy-bottomed pot or pan, melt the ghee over medium heat. Once the ghee is hot, add the jeera, laung, dalchini, and elaichi. Let them sizzle for a few seconds until fragrant. The aroma will fill your kitchen, promising a delicious meal!
- Sauté the Onions: Add the chopped pyaaz and sauté until they turn a light golden brown. This adds a touch of sweetness to the rice.
- Toast the Rice: Add the washed rice to the pot and sauté for 2-3 minutes, stirring gently. This helps to toast the rice, adding a nutty flavour.
- Add Water and Season: Pour in the water and add salt to taste. Bring the mixture to a boil.
- Simmer and Cook: Once boiling, reduce the heat to low, cover the pot tightly, and let it simmer for 15-20 minutes, or until the rice is cooked and the water is absorbed. Resist the urge to lift the lid!
- Rest and Fluff: Once the rice is cooked, turn off the heat and let it rest for 5-10 minutes with the lid on. This allows the steam to evenly distribute, resulting in perfectly fluffy rice. Finally, fluff the rice gently with a fork before serving.
- Garnish (Optional): If using, sauté the kaju and kishmish in a little ghee until golden brown and sprinkle over the rice before serving.
Chef Curry’s Top Tips for Ghee Rice Perfection:
- Quality Matters: Use good quality Basmati rice and pure ghee for the best flavour.
- Rice to Water Ratio: The ideal rice-to-water ratio is crucial. Start with 1 cup of rice to 2 cups of water, but adjust as needed depending on your rice.
- Low and Slow: Cooking the rice on low heat ensures that it cooks evenly and doesn’t burn.
- Patience is Key: Don’t rush the cooking process. Let the rice simmer gently until it’s cooked through.
Ghee Rice: Your Way! (Cooking Variations):
- Gas Stove: Follow the instructions above for the classic method.
- Induction Stove: Similar to the gas stove method, adjust heat settings accordingly.
- Pressure Cooker: Add all ingredients to the pressure cooker, close the lid, and cook for 1 whistle on high heat, then reduce heat and cook for 5 minutes. Let the pressure release naturally.
- Oven: Preheat oven to 350°F (175°C). Combine all ingredients in an oven-safe dish, cover tightly with foil, and bake for 30-40 minutes, or until rice is cooked.
- Microwave: Combine all ingredients in a microwave-safe dish, cover, and microwave on high for 5-7 minutes, then reduce power to 50% and cook for another 10-12 minutes, or until rice is cooked.
- Slow Cooker/Crockpot: Combine all ingredients in the slow cooker and cook on low for 2-3 hours, or until rice is cooked.
Nutritional Nuggets (Approximate Values per Serving):
- Calories: 250-300
- Protein: 4-5g
- Carbohydrates: 40-45g
- Fat: 8-10g (mostly from ghee)
Serving Suggestions: A Feast for the Senses!
Ghee Rice is incredibly versatile! Serve it with:
- Dal Makhani (Creamy Lentils)
- Mutton Curry (Mutton in a Rich Gravy)
- Chicken Tikka Masala (Chicken in a Creamy Tomato Sauce)
- Vegetable Korma (Mixed Vegetables in a Creamy Gravy)
- Raita (Yogurt Dip)
Your Turn to Shine!
Now, my dear readers, it’s your turn to create this magic in your own kitchens. Try this Ghee Rice recipe, experiment with your own variations, and share the deliciousness with your friends and family. Remember, cooking is an act of love, so pour your heart into it, and enjoy the process!
Happy cooking, and until next time, keep the flavours flowing!