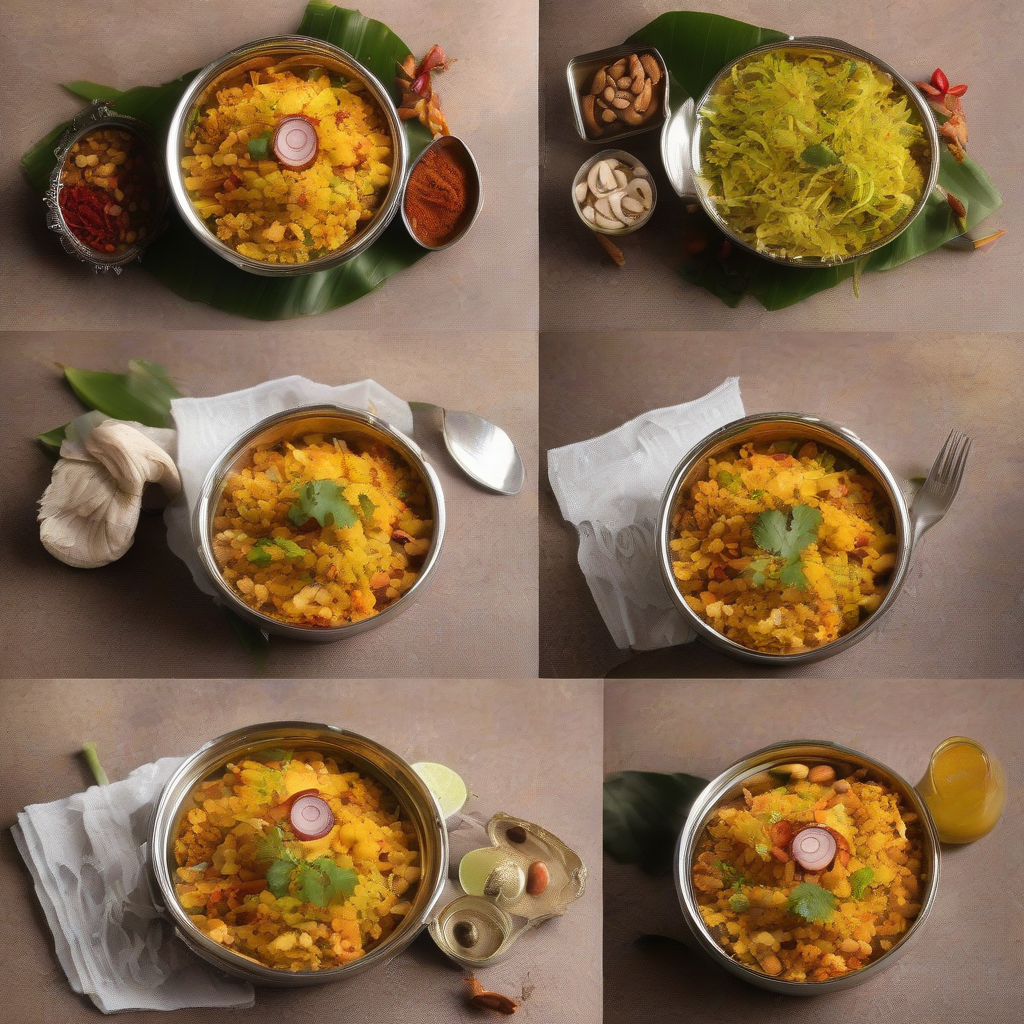
Chivda: Crunchy, Chatpata, and Completely Chakachak!
Namaste Doston! Kem cho? Kai bolu? (Greetings friends! How are you? What’s up?) Your friendly neighborhood Chef Curry Do’pyaza here, ready to spice up your life, one delicious dish at a time! Today, we’re diving headfirst into a snack that’s as ubiquitous as chai in India: Chivda!
This isn’t just any snack, my friends. Chivda is an emotion, a memory, a burst of flavor that reminds you of home, of festivals, of happy times shared with loved ones.
When do we Chivda?
Chivda is a superstar during Diwali, the festival of lights! You’ll find it gracing every home, offered to guests with a warm smile and a cup of tea. It’s also a staple during Ganesh Chaturthi, and often made during Navratri for those observing fasts (depending on the specific recipe). Any time is a good time for Chivda, really! It is a tasty treat for any time of the year.
A Little Chivda History, My Friends
The history of Chivda is a bit like a well-guarded family secret, passed down through generations. It’s believed to have originated in Maharashtra, but its popularity has spread far and wide, with each region adding its own unique twist. It is a truly ancient dish that has been passed down through generations.
Let’s Get Cooking!
Alright, enough chit-chat! Let’s get our hands dirty and whip up a batch of this crunchy goodness.
Preparation Time: 15 minutes
Cooking Time: 20 minutes
Ingredients:
- 2 cups Poha (Flattened Rice) – Choose the thin or medium variety for the best crunch.
- 1/4 cup Mungfali (Peanuts) – Adds a nutty crunch.
- 1/4 cup Dalya (Roasted Split Chickpea Lentils) – For a savory bite.
- 2 tablespoons Kaju (Cashews) – Adds a touch of richness.
- 1 tablespoon Kishmish (Raisins) – For a hint of sweetness.
- 2 tablespoons Tel (Vegetable Oil) – For frying and tempering.
- 1 teaspoon Rai (Mustard Seeds) – They pop and add a pungent flavor.
- 1/2 teaspoon Hing (Asafoetida) – A pinch adds a unique savory depth.
- 8-10 Curry Patta (Curry Leaves) – Adds an aromatic fragrance.
- 1/2 teaspoon Haldi (Turmeric Powder) – For color and health benefits.
- 1 teaspoon Lal Mirch Powder (Red Chili Powder) – Adjust to your spice level.
- 1 teaspoon Dhaniya Powder (Coriander Powder) – Adds an earthy aroma.
- 1 teaspoon Amchur Powder (Dry Mango Powder) – For a tangy kick.
- 1 teaspoon Cheeni (Sugar) – Balances the flavors.
- Swadanusar Namak (Salt to taste)
Step-by-Step Instructions:
- Poha Prep: Gently rinse the poha under running water for just a few seconds. Don’t soak it! We want it to be slightly damp, not soggy. Spread it out on a clean kitchen towel to dry for about 10-15 minutes. This will help it become extra crispy when roasted.
-
Roast the Poha: Heat a large, heavy-bottomed kadhai (wok) or pan over medium heat. Add the slightly damp poha and dry roast it, stirring constantly, until it becomes light, crisp, and easily breaks when you press it. This usually takes about 5-7 minutes. Remove from the pan and set aside.
-
Fry the Goodies: In the same pan, heat the oil over medium heat. First, add the peanuts and fry until golden brown. Remove and set aside. Then, fry the roasted split chickpea lentils, cashews, and raisins until lightly golden. Remove and set aside with the peanuts.
-
Tempering Time! In the same oil, add the mustard seeds. Once they start to splutter, add the asafoetida and curry leaves. Sauté for a few seconds until the curry leaves become fragrant.
-
Spice It Up! Add the turmeric powder, red chili powder, coriander powder, and dry mango powder to the pan. Sauté for just a few seconds, being careful not to burn the spices.
-
The Grand Finale: Add the roasted poha, fried nuts, and raisins to the pan. Mix everything well, ensuring the poha is evenly coated with the spices.
-
Sweet & Salty: Add the sugar and salt to taste. Mix well and continue to roast the chivda for another 2-3 minutes, stirring constantly, until it is heated through and the flavors have melded together beautifully.
-
Cool & Store: Remove the chivda from the pan and spread it out on a large plate or tray to cool completely. Once cooled, store it in an airtight container. It will stay fresh and crunchy for several weeks!
Tips for Best Results:
- Don’t over-soak the poha! This is crucial for achieving that perfect crispy texture.
- Roast the poha on medium heat to prevent it from burning.
- Adjust the spices to your liking. If you prefer a milder flavor, reduce the amount of red chili powder.
- Store the chivda in an airtight container to maintain its crunchiness.
Chivda: Different Cooking Methods
- Gas Stove: Follow the recipe as described above using a kadhai or heavy-bottomed pan.
- Induction Stove: Same as the gas stove method, adjusting the heat settings as needed.
- Oven: Spread the poha on a baking sheet and roast in a preheated oven at 300°F (150°C) for about 10-15 minutes, stirring occasionally, until crispy. Then, follow the tempering and mixing steps on the stovetop.
- Microwave: Microwave the poha in short intervals (1-2 minutes), stirring in between, until crispy. Then, follow the tempering and mixing steps on the stovetop.
- Air Fryer: Air fry the poha in batches at 350°F (175°C) for about 5-7 minutes, shaking the basket occasionally, until crispy. Then, follow the tempering and mixing steps on the stovetop.
Nutritional Information (Approximate, per serving):
- Calories: 200-250
- Protein: 5-7g
- Carbohydrates: 30-35g
- Fat: 8-10g
Serving Suggestions:
- Enjoy it as a standalone snack with a cup of chai or coffee.
- Serve it as a side dish with your meals.
- Pack it in your lunchbox for a quick and satisfying snack.
- Offer it to guests during festivals and celebrations.
Your Turn to Chivda!
So there you have it, folks! A simple yet satisfying recipe for Chivda that’s sure to bring a smile to your face. Now, go ahead, try this recipe at home, and share it with your friends and family. Let’s spread the joy of Chivda far and wide!
Until next time, happy cooking!
Apna,
Chef Curry Do’pyaza