Achaar Mania: Grandma’s Spicy Lal Mirch ka Achaar Recipe!
Namaste Dosto! Kem cho? Kai Po Che! Chef Curry Do’pyaza here, back with another recipe that will set your taste buds dancing! Today, we’re diving headfirst into the fiery world of Lal Mirch ka Achaar – that tangy, spicy, and utterly addictive red chili pickle that’s a staple in many Indian homes.
Think of this achaar as sunshine in a jar, perfect for chasing away the winter blues or adding a zing to those lazy summer afternoons. You’ll find it gracing tables during Diwali celebrations, adding a kick to festive meals, and even accompanying simple dal chawal on an ordinary Tuesday. It’s a year-round delight, especially beloved in North Indian households.
A Little Spice History
Achaar, in general, has a rich history in India, dating back centuries. It was a clever way to preserve fruits and vegetables before refrigeration became commonplace. Lal Mirch ka Achaar, specifically, likely evolved as red chilies became more widely available in India. Each family has its own secret recipe, passed down through generations, with slight variations in spices and techniques. My own Nani’s (grandmother’s) recipe is what I share with you today!
Get Ready to Spice Things Up!
- Preparation Time: 20 minutes (plus 2-3 days of sun-drying, optional)
- Cooking Time: 15 minutes
The Spice Rack: Ingredients You’ll Need
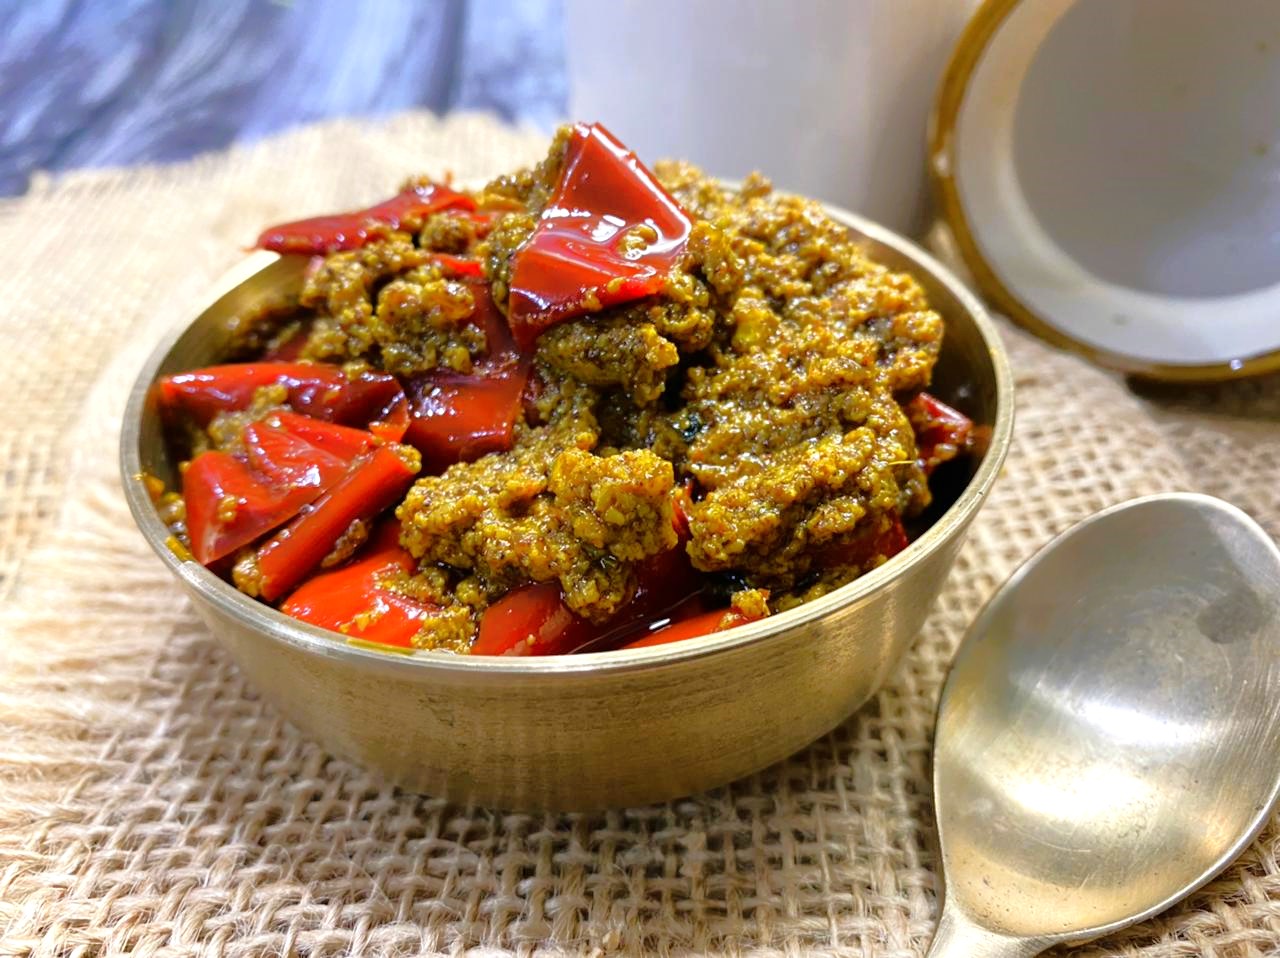
- 250 grams Lal Mirch (Red Chilies), preferably the thick, less spicy variety
- 50 ml Sarson ka Tel (Mustard Oil) – the real deal, folks!
- 2 tablespoons Rai ki Daal (Split Mustard Seeds)
- 1 tablespoon Methi Dana (Fenugreek Seeds)
- 1 teaspoon Kalonji (Nigella Seeds)
- 1/2 teaspoon Hing (Asafoetida)
- 1 tablespoon Haldi Powder (Turmeric Powder)
- 2 tablespoons Laal Mirch Powder (Red Chili Powder), for extra color and spice (optional)
- 2 tablespoons Amchur Powder (Dry Mango Powder)
- 2 tablespoons Saunf Powder (Fennel Seed Powder)
- 2 tablespoons Namak (Salt), or to taste
Let’s Get Cooking!
- Prep the Chilies: Wash the red chilies thoroughly and pat them completely dry with a clean kitchen towel. This is super important! Any moisture will lead to spoilage. Remove the stems and, if you prefer less heat, carefully deseed the chilies. Cut them into 1-inch pieces.
- Sun-Kissed (Optional): Spread the chopped chilies on a clean cloth or tray and let them sun-dry for 2-3 days. This will help remove excess moisture and intensify the flavor. If you don’t have access to strong sunlight, you can skip this step.
- Spice Up the Oil: Heat the mustard oil in a heavy-bottomed pan until it smokes lightly. Turn off the heat and let it cool down slightly.
- Tempering Time: Add the split mustard seeds, fenugreek seeds, nigella seeds, and asafoetida to the slightly cooled oil. They will splutter and release their fragrant aromas. This is called tadka and it’s crucial for flavor!
- Spice Blend Magic: Add the turmeric powder, red chili powder (if using), dry mango powder, fennel seed powder, and salt to the oil. Stir well to combine.
- Chili Time: Add the chopped red chilies to the spice mixture. Mix everything well, ensuring that the chilies are coated evenly with the spices.
- Cool and Store: Let the achaar cool completely. Then, transfer it to a clean, dry, sterilized glass jar. Make sure the chilies are submerged in the oil.
- Patience is a Virtue: Let the achaar mature for at least 3-4 days before eating. The flavors will meld together beautifully during this time.
Chef Curry’s Top Tips for Achaar Perfection
- Dry, Dry, Dry: I cannot stress this enough! Moisture is the enemy of achaar. Ensure all your utensils and ingredients are completely dry.
- Mustard Oil Matters: Mustard oil has a pungent flavor that is essential for authentic achaar. Don’t substitute it with other oils.
- Sterilized Jars: Use sterilized glass jars to prevent bacterial growth and prolong the shelf life of your achaar.
- Sunlight is Your Friend: If you can, sun-drying the chilies will give your achaar a richer, more intense flavor.
- Patience, Young Padawan: Achaar needs time to mature. Don’t be tempted to eat it right away!
Achaar Your Way: Cooking Method Variations
- Gas Stove/Induction Stove: The method described above is perfect for both gas and induction stoves. Just adjust the heat as needed.
- Pressure Cooker: I do not recommend this method.
- Oven: You can roast the chilies and spices in the oven at a low temperature (around 200°F/95°C) for about 30 minutes to dry them out if you don’t have sunlight.
- Microwave: Not recommended.
- Air Fryer: You can air fry the chilies at 300°F/150°C for about 10-15 minutes to dry them out. Keep a close eye on them to prevent burning.
- Slow Cooker/Crockpot: Not recommended.
Nutritional Nuggets (Approximate values per serving)
- Calories: 50-70
- Fat: 4-6 grams
- Sodium: Varies depending on salt content
- Carbohydrates: 2-3 grams
- Fiber: 1-2 grams
Disclaimer: Nutritional information is approximate and can vary based on specific ingredients and serving sizes.
Serving Suggestions: Achaar’s Perfect Partners
- Dal Chawal: The classic combination!
- Parathas: Stuff your parathas with aloo, gobi, or paneer, and serve with a dollop of achaar.
- Curd Rice: A spoonful of achaar adds a spicy kick to cooling curd rice.
- Sandwiches: Spread a thin layer of achaar on your sandwiches for an extra burst of flavor.
- With any Indian Meal: Achaar is a fantastic accompaniment to almost any Indian meal.
Your Mission, Should You Choose to Accept It…
Now it’s your turn! Grab those gorgeous red chilies, gather your spices, and get ready to create your own batch of Lal Mirch ka Achaar. Follow my recipe, add your own personal touch, and most importantly, have fun! Share your delicious creation with your family and friends, and let them experience the magic of homemade achaar.
Happy Cooking, Dosto! Until next time, keep those pots simmering and those spices sizzling!