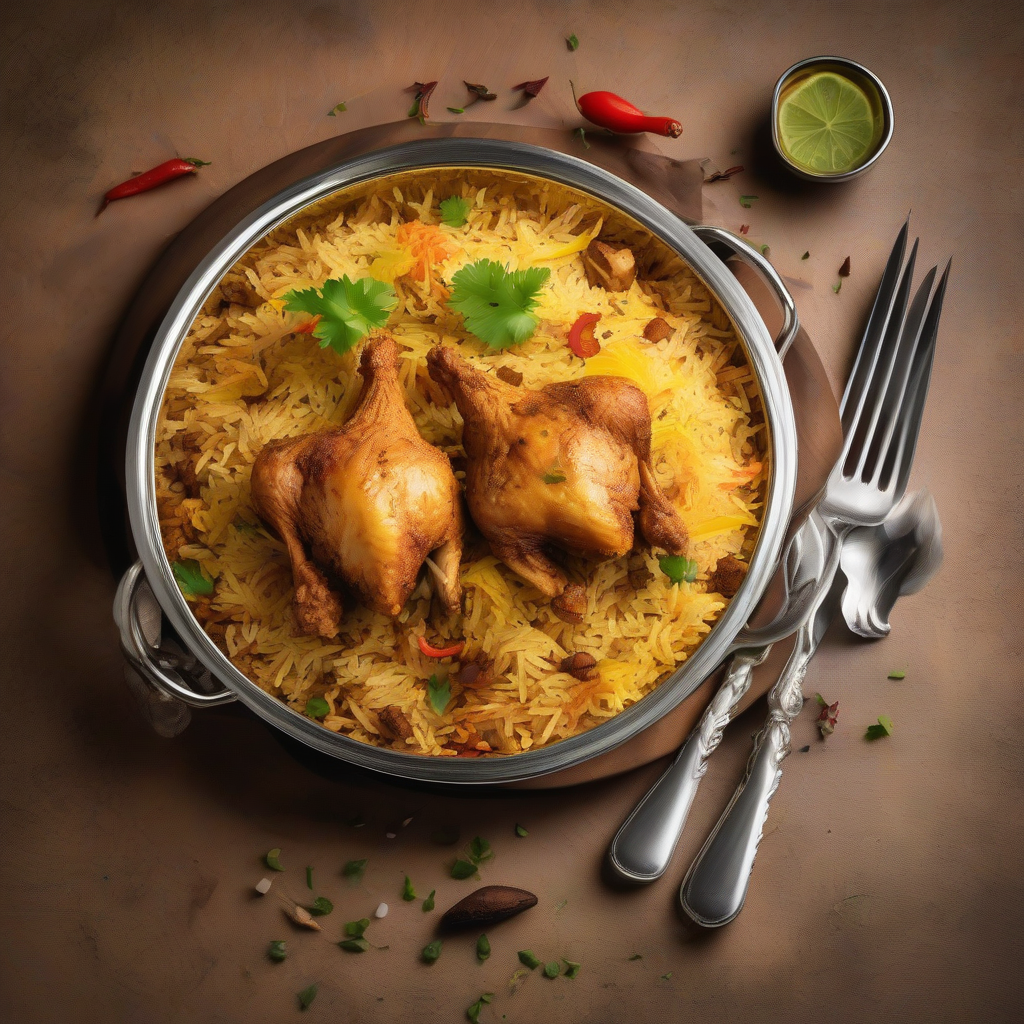
Biryani Bliss: Your Ticket to a Royal Chicken Feast!
Namaste, mere pyaare doston! And a warm Adaab to my Muslim brothers and sisters! Chef Curry Do’pyaza here, back in your kitchens and ready to whisk you away on another delicious adventure! Today, we’re diving headfirst into a dish that’s close to every Indian’s heart – the majestic, the magnificent, the mouthwatering… Chicken Biryani!
This isn’t just food, folks. It’s a celebration on a plate!
A Dish Fit for a King (and You!)
Biryani is the star of many Indian occasions. From the joyous celebrations of Eid and Diwali to the colorful weddings filled with laughter and music, and even those cozy winter nights when you crave something warm and comforting, biryani is always there. It’s a dish that brings people together, a culinary hug in every bite.
A Little History Lesson (with a Lot of Flavor)
The story of biryani is as rich and layered as the dish itself. Legend has it that biryani originated in Persia (modern-day Iran) and was brought to India by the Mughals. Some say Mumtaz Mahal, Shah Jahan’s beloved wife, inspired the dish by ordering her chefs to create a balanced meal for the army. Whatever the true origin, biryani quickly became a royal favorite and evolved into the many regional variations we know and love today. Each region adds its own unique twist, making biryani a truly pan-Indian treasure.
Ready to Cook? Let’s Get Started!
Here’s my foolproof recipe for a flavorful and aromatic Chicken Biryani that will impress your family and friends. Don’t worry, it’s easier than you think!
- Preparation Time: 30 minutes
- Cooking Time: 60 minutes
Ingredients You’ll Need:
- Chicken: 1 kg, cut into medium-sized pieces
- Basmati Rice: 2 cups, soaked in water for 30 minutes
- Onions: 2 large, thinly sliced
- Tomatoes: 2 medium, chopped
- Ginger-Garlic Paste (Adrak-Lahsun Paste): 2 tablespoons
- Green Chilies (Hari Mirch): 3-4, slit lengthwise (adjust to your spice level!)
- Yogurt (Dahi): 1 cup, whisked
- Turmeric Powder (Haldi Powder): 1 teaspoon
- Red Chili Powder (Lal Mirch Powder): 1 teaspoon (adjust to your spice level!)
- Coriander Powder (Dhania Powder): 2 teaspoons
- Garam Masala: 1 teaspoon
- Biryani Masala: 2 tablespoons (available at most Indian grocery stores)
- Mint Leaves (Pudina): A handful, chopped
- Coriander Leaves (Hara Dhaniya): A handful, chopped
- Saffron Strands (Kesar): A pinch, soaked in 2 tablespoons of warm milk
- Ghee (Clarified Butter): 3 tablespoons
- Oil: 2 tablespoons
- Whole Spices (Khade Masale):
- 2 Bay Leaves (Tej Patta)
- 4-5 Green Cardamoms (Elaichi)
- 4-5 Cloves (Laung)
- 1-inch Cinnamon Stick (Dalchini)
- 1 Black Cardamom (Badi Elaichi)
- 1 Star Anise (Chakra Phool)
- Salt (Namak): To taste
Let’s Cook! Step-by-Step Instructions:
- Marinate the Chicken: In a large bowl, combine the chicken with yogurt, ginger-garlic paste, turmeric powder, red chili powder, coriander powder, biryani masala, and salt. Mix well and let it marinate for at least 30 minutes (or even better, for a couple of hours in the refrigerator!).
- Fry the Onions: Heat oil and ghee in a large, heavy-bottomed pot or Dutch oven. Add the sliced onions and fry them until they are golden brown and crispy. This is crucial for that authentic biryani flavor! Remove half of the fried onions and set aside for garnishing.
- Sauté the Aromatics: In the same pot, add the whole spices (bay leaves, cardamom, cloves, cinnamon stick, black cardamom, star anise) and sauté for a minute until fragrant.
- Cook the Chicken: Add the marinated chicken to the pot and cook over medium heat until it’s browned on all sides. Then, add the chopped tomatoes and green chilies. Cook until the tomatoes are softened and the oil starts to separate from the masala.
- Layer the Rice: Drain the soaked basmati rice and spread it evenly over the chicken. Do NOT stir.
- Add Water and Flavor: Gently pour 3 cups of hot water over the rice. Add salt to taste. Drizzle the saffron milk over the rice.
- Dum Cooking (The Secret to Perfect Biryani): Bring the mixture to a boil, then reduce the heat to the lowest setting. Cover the pot tightly with a lid. You can even seal the lid with dough to prevent steam from escaping (this is called “dum cooking”). Cook for 20-25 minutes, or until the rice is cooked through and the water has been absorbed.
- Garnish and Serve: Gently fluff the biryani with a fork. Garnish with the reserved fried onions, chopped mint leaves, and chopped coriander leaves. Serve hot and enjoy!
Chef Curry’s Top Tips for Biryani Brilliance:
- Soak the rice: Soaking the rice is essential for fluffy and non-sticky biryani.
- Don’t overcook the rice: Overcooked rice will result in a mushy biryani.
- Low and slow is the way to go: Dum cooking on low heat allows the flavors to meld together beautifully.
- Use good quality biryani masala: This will add depth and complexity to the flavor.
- Be patient: Biryani is a labor of love, but the results are well worth the effort!
Biryani Your Way: Cooking Method Options
- Gas Stove/Induction Stove: Follow the recipe as written above.
- Pressure Cooker: After layering the rice, add only 1.5 cups of water. Cook on low pressure for 1 whistle. Let the pressure release naturally.
- Oven: Preheat oven to 350°F (175°C). After layering the rice, cover the pot tightly with foil and bake for 45-50 minutes.
- Slow Cooker/Crockpot: Not recommended, as the rice may become mushy.
- Air Fryer/Microwave: Not recommended for this recipe.
Nutritional Information (Approximate, per serving):
- Calories: 450-550
- Protein: 30-40g
- Carbohydrates: 50-60g
- Fat: 20-30g
Serving Suggestions:
Chicken Biryani is delicious on its own, but it’s even better with:
- Raita (Yogurt Dip): Cool and refreshing, raita is the perfect accompaniment to biryani.
- Salad: A simple cucumber and tomato salad adds a fresh crunch.
- Mirchi ka Salan (Chili Curry): A spicy Hyderabadi specialty that adds a fiery kick.
Time to Cook!
So there you have it, folks! My recipe for a truly unforgettable Chicken Biryani. I urge you, go ahead and try this recipe at home. Gather your ingredients, put on some good music, and get ready to create a magical meal for your loved ones. Enjoy the process, savor the aromas, and share the deliciousness!
Happy cooking, and remember, every meal is an opportunity to create memories!