Aaila! Thalipeeth with White Butter: Your New Favourite Snack, Hai-Allah!
Namaste, Ram Ram, and Sat Sri Akal to all my amazing readers! Chef Curry Do-Pyaza here, back in your kitchens and hearts, ready to spice up your lives with another delicious recipe. Today, we’re diving headfirst into the world of Thalipeeth, a savoury flatbread that’s a true taste of Maharashtra.
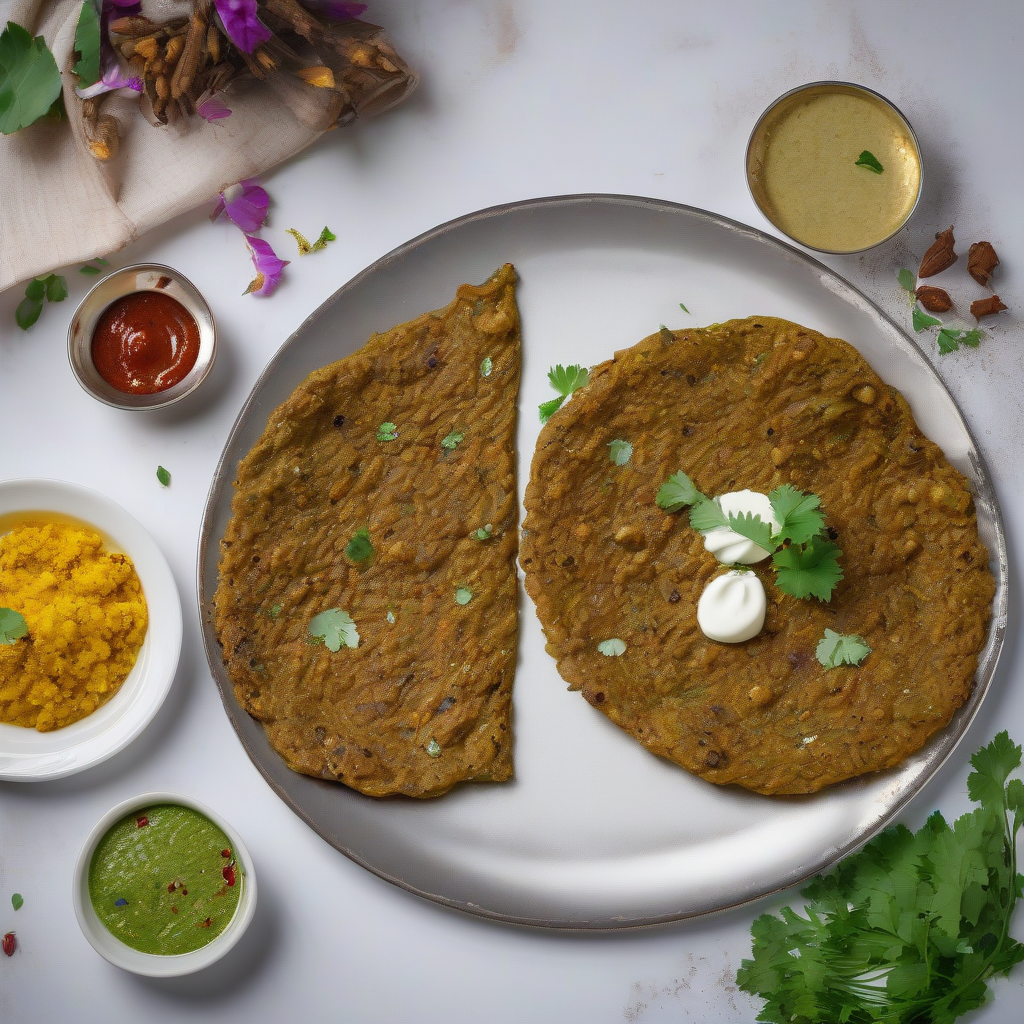
Think of Thalipeeth as the ultimate comfort food, a hug on a plate, especially when slathered with a generous dollop of creamy white butter. It’s a dish that evokes memories of Aaji’s (Grandmother’s) kitchen, filled with warmth, laughter, and the irresistible aroma of spices.
This hearty bread is particularly popular during festivals like Holi, Gudi Padwa, and Sankranti. It’s also a common sight during the monsoon season, when a hot, spicy Thalipeeth with a cup of chai (tea) is pure bliss. In some families, it’s even a tradition to make Thalipeeth for breakfast on special occasions.
A Little History Lesson:
Thalipeeth has been around for generations, a testament to its simplicity and deliciousness. It’s believed to have originated as a way to use leftover grains and flours. Resourceful Maharashtrian cooks would mix these ingredients with spices and vegetables, creating a nutritious and flavourful dish that’s both satisfying and economical.
Let’s Get Cooking!
Preparation Time: 15 minutes
Cooking Time: 20 minutes
Ingredients You’ll Need:
- Jwariche Peeth (Sorghum Flour): 1 cup
- Bajriche Peeth (Pearl Millet Flour): 1/2 cup
- Besan (Chickpea Flour): 1/4 cup
- Gahu Peeth (Whole Wheat Flour): 1/4 cup
- Kanda (Onion), finely chopped: 1 medium
- Kothimbir (Cilantro), finely chopped: 2 tablespoons
- Hirvi Mirchi (Green Chilies), finely chopped: 1-2 (adjust to your spice level)
- Lasan (Garlic), crushed: 2 cloves
- Hing (Asafoetida): A pinch
- Halad (Turmeric Powder): 1/2 teaspoon
- Lal Tikhat (Red Chili Powder): 1 teaspoon (adjust to your spice level)
- Dhanya-Jeera Powder (Coriander-Cumin Powder): 1 teaspoon
- Til (Sesame Seeds): 1 tablespoon
- Tel (Oil): For cooking
- Makkhan (White Butter): For serving
- Salt to taste
Step-by-Step Instructions:
- Mix it Up: In a large bowl, combine all the flours – jwariche peeth, bajriche peeth, besan, and gahu peeth.
- Add the Flavours: Add the chopped kanda, kothimbir, hirvi mirchi, crushed lasan, hing, halad, lal tikhat, dhanya-jeera powder, til, and salt.
- Knead the Dough: Gradually add water, mixing with your hands until you form a soft, pliable dough. The dough should not be too sticky or too dry.
- Rest the Dough: Cover the dough and let it rest for at least 15 minutes. This allows the flours to absorb the water and the flavours to meld together beautifully.
- Shape the Thalipeeth: Divide the dough into equal-sized balls. On a clean, lightly oiled surface (or a banana leaf or parchment paper), flatten a ball of dough with your fingers, gently patting it into a circular shape, about 6-8 inches in diameter. Make a few holes in the centre of the Thalipeeth to help it cook evenly.
- Cook to Perfection: Heat a tawa (griddle) over medium heat. Carefully transfer the Thalipeeth onto the hot tawa. Drizzle a little tel around the edges and in the holes.
- Flip and Cook: Cook for 2-3 minutes on one side, until golden brown spots appear. Flip and cook for another 2-3 minutes on the other side, pressing gently with a spatula to ensure even cooking.
- Serve Hot: Remove the Thalipeeth from the tawa and serve immediately with a generous dollop of makkhan (white butter).
Chef Curry’s Top Tips:
- The Right Consistency: The dough is key! If it’s too dry, the Thalipeeth will crack. If it’s too sticky, it will be difficult to shape. Add water gradually to achieve the perfect consistency.
- Don’t Overcook: Overcooking will make the Thalipeeth hard and dry. Cook until golden brown and slightly crispy.
- Spice it Up: Feel free to adjust the amount of hirvi mirchi and lal tikhat to your liking. You can also add other spices like methi (fenugreek) leaves or jeera (cumin) seeds for extra flavour.
- Use your hands: Patting the dough with your hands is the most authentic way to make Thalipeeth. It gives it a rustic texture and allows you to control the thickness.
Cooking Variations:
- Gas Stove: The traditional method, as described above.
- Induction Stove: Works just as well as a gas stove. Adjust the heat settings accordingly.
- Oven: Preheat your oven to 350°F (175°C). Place the Thalipeeth on a baking sheet and bake for 10-12 minutes, flipping halfway through.
- Air Fryer: Preheat your air fryer to 350°F (175°C). Place the Thalipeeth in the air fryer basket and cook for 8-10 minutes, flipping halfway through.
- Slow Cooker/Crockpot: While not the traditional method, you could theoretically cook Thalipeeth in a slow cooker. However, it would likely become quite soft and lose its crispy texture. I wouldn’t recommend it!
Nutritional Information (approximate, per serving):
- Calories: 250-300
- Protein: 8-10g
- Carbohydrates: 40-45g
- Fat: 8-10g
Serving Suggestions:
- White Butter: The classic accompaniment!
- Yogurt: Plain yogurt or raita (yogurt dip) adds a cooling contrast to the spicy Thalipeeth.
- Pickle: A tangy pickle like mango pickle or lime pickle is a perfect complement.
- Chutney: Green chutney or tamarind chutney adds a burst of flavour.
- Tea: A hot cup of chai is the perfect beverage to enjoy with Thalipeeth.
So there you have it! My easy and delicious Thalipeeth recipe. It’s a fantastic way to experience the authentic flavours of Maharashtra.
Now, my dear readers, it’s your turn! Go ahead, try this recipe at home. Share the deliciousness with your friends and family. Let me know how it turns out! Happy cooking!