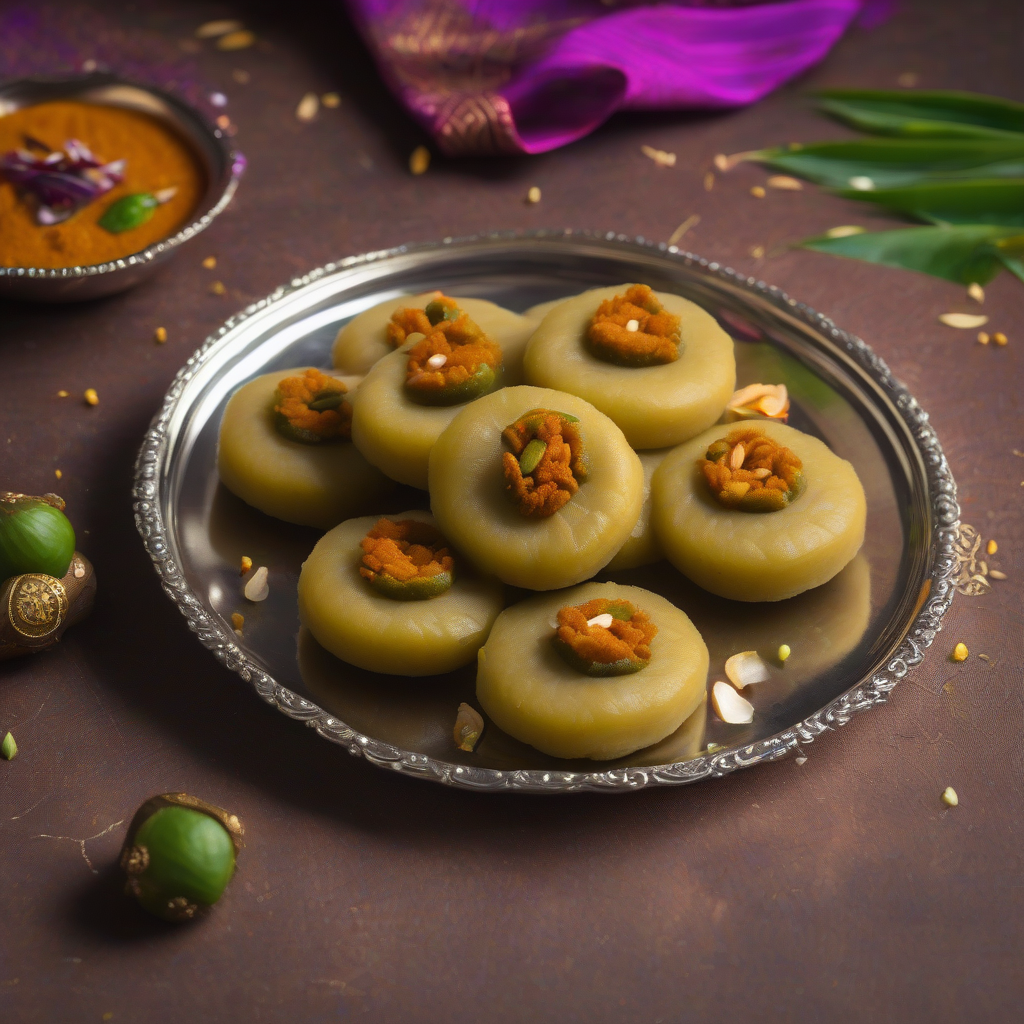
Pahari Peda: A Sweet Symphony from the Hills, Boss!
Namaste, Ram-Ram, and Sat Sri Akal, my foodie friends! Chef Curry Do-Pyaza here, back in your kitchens and in your hearts! Today, we’re not just cooking; we’re taking a delicious trip to the majestic hills of Uttarakhand, where the air is crisp, the views are breathtaking, and the sweets are simply divine. We’re making Pahari Peda!
This isn’t just any peda, my friends. This is a taste of tradition, a bite of nostalgia, and a whole lotta love rolled into one sweet treat.
When Do We Eat This Sweetness?
Pahari Peda is the star of many celebrations! You’ll find it gracing tables during Diwali, the festival of lights, adding its golden glow to the festivities. It’s a must-have during weddings, symbolising the sweetness of new beginnings. And of course, no puja (prayer) is complete without offering these delectable pedas to the deities. Think of it as a sweet blessing, a tasty prayer you can eat! It’s especially popular during the cooler months, when the warm, comforting flavors are most welcome.
A Little History Lesson, Just a Pinch!
Pahari Peda hails from the Kumaon region of Uttarakhand. The story goes that it was first created by halwais (sweet makers) in the towns nestled in the hills. The fresh milk from the region’s cows, known for its rich flavour, and the local traditions blended to create this simple yet irresistible sweet. Over time, it became a regional specialty, passed down through generations.
Let’s Get Cooking!
- Preparation Time: 10 minutes
- Cooking Time: 30-40 minutes
Ingredients – The Star Cast of Our Sweet Drama:
- 2 cups Khoa/Khoya (Mawa) – Unsweetened Dried Evaporated Milk Solids
- 1 cup Cheeni (Sugar) – Granulated White Sugar
- 1/4 teaspoon Elaichi Powder (Cardamom Powder) – Ground Cardamom
- 1 tablespoon Doodh (Milk) – Whole Milk (Optional, for softening)
- Ghee (Clarified Butter) – For greasing
Let’s Make Some Magic – Step-by-Step Instructions:
- Crumble Time!: Take your khoa and crumble it nicely with your hands. Make sure there are no big lumps. We want a smooth canvas for our sweet masterpiece!
- Sizzle and Stir: In a heavy-bottomed kadhai (wok) or pan, put the crumbled khoa. Turn on the heat to medium-low.
- The Melting Game: Now, slowly roast the khoa, stirring continuously. This is important, my friends! We don’t want it to burn. Keep stirring until it melts and becomes a smooth, golden-brown liquid. This might take around 15-20 minutes. Be patient!
- Sugar Rush: Once the khoa has melted and turned a lovely light brown, add the sugar.
- Stirring Symphony: Keep stirring! The sugar will melt, and the mixture will become a little runny again. Don’t worry, that’s normal. Continue cooking and stirring until the mixture thickens and starts to leave the sides of the pan. This will take another 10-15 minutes.
- Cardamom Kiss: Take the pan off the heat. Stir in the cardamom powder. It adds a beautiful aroma and flavour!
- Cool Down, My Friend!: Let the mixture cool down a bit until it’s warm enough to handle.
- Shape Up!: Grease your palms with a little ghee. Take a small portion of the mixture and roll it into a smooth ball. Flatten it slightly to give it the classic peda shape.
- Repeat and Rejoice!: Repeat the process with the remaining mixture.
- Let It Set: Place the pedas on a plate and let them set completely at room temperature. This will take about an hour or two.
Chef’s Tips for Peda Perfection:
- Khoa is King: The quality of your khoa is crucial! Use fresh, good-quality khoa for the best taste.
- Low and Slow: Roast the khoa on low heat to prevent burning. Patience is your best friend here.
- Stirring is Key: Constant stirring ensures even cooking and prevents sticking.
- Don’t Overcook: Be careful not to overcook the mixture, or the pedas will become hard.
- Softening Power: If your khoa is too dry, add a tablespoon of milk while roasting.
Cooking Variations – Peda Your Way!
- Gas Stove: The classic method! Follow the steps above.
- Induction Stove: Works just as well! Adjust the heat settings as needed.
- Microwave: Not recommended, as it’s difficult to control the cooking process and achieve the right texture.
- Oven: Not recommended for this recipe.
Nutritional Information (Approximate per Peda):
- Calories: 80-100
- Fat: 4-6g
- Carbohydrates: 8-10g
- Protein: 2-3g
Note: These values are approximate and may vary depending on the ingredients used.
Serving Suggestions – Sweet Endings!
- Serve these delectable pedas as a sweet treat after a meal.
- Offer them as prasad (offering) during pujas and festivals.
- Pack them as a sweet surprise in lunchboxes.
- Enjoy them with a hot cup of chai (tea) or coffee.
Now, It’s Your Turn!
Go on, my friends! Try this delightful Pahari Peda recipe at home. It’s easier than you think, and the results are simply divine. Share these sweet treats with your friends and family, and spread the joy of Indian cuisine. Let me know how it turns out in the comments below!
Happy Cooking, and remember – every dish is a story, so tell it with love!