Rasgulla: Syrupy Spheres of Sweetness – Straight From My Kitchen to Your Heart!
Namaste, and Kem Cho, my lovely food-loving friends! Chef Curry Do’pyaza here, ready to whisk you away on another delicious culinary adventure. Today, we’re diving deep into the sugary depths of a classic Indian sweet: the Rasgulla! This is a dessert that brings back fond memories of festivals, family gatherings, and pure, unadulterated joy.
When Do We Feast on These Delightful Balls?
Rasgullas are not just a dessert; they’re an emotion! You’ll find these spongy delights gracing the tables during joyous occasions like Diwali, Durga Puja (especially in Bengal!), weddings, and even just a simple family celebration. They are a year-round favorite, but somehow, they taste even sweeter during the festive season. They are a perfect way to end a hearty meal.
A Little History Lesson (Don’t Worry, It’s Tasty!)
The origin of Rasgulla is a bit of a sweet debate! While both West Bengal and Odisha claim it as their own, the popular consensus leans towards Bengal. Legend has it that a sweet maker named Nobin Chandra Das created the modern-day Rasgulla in Kolkata in the late 19th century. Before that, there were similar sweets, but Das perfected the recipe we know and love today.
Ready to Cook? Let’s Get Started!
This recipe is simple, but requires a little bit of patience. Trust me, the results are worth it!
Preparation Time: 15 minutes
Cooking Time: 30 minutes
Ingredients – The Sweet Symphony:
- Chenna (Indian Cottage Cheese): 200 grams (fresh, homemade is best!)
- Maida (All-Purpose Flour): 1 tablespoon
- Cheeni (Sugar): 2 cups
- Pani (Water): 6 cups
- Elaichi (Cardamom) pods: 3-4, lightly crushed
- Kesar (Saffron) strands: A pinch (optional, for that beautiful golden hue)
Let’s Cook – Step by Step to Sweet Success:
- Knead the Chenna: Crumble the chenna in a large bowl. Add the maida. Now, this is important: Knead the chenna with the base of your palm until it is smooth and lump-free. This takes about 5-7 minutes. Think of it like giving the chenna a gentle massage! The smoother the chenna, the softer your Rasgullas will be.
- Shape the Balls: Divide the chenna mixture into small, equal-sized portions. Gently roll each portion between your palms to form smooth, round balls. Make sure there are no cracks! Cracks can cause the Rasgullas to break apart in the syrup.
- Prepare the Sugar Syrup: In a large, wide-bottomed pot (a pressure cooker without the lid works well), combine the cheeni and pani. Bring the mixture to a rolling boil over medium-high heat.
- Cook the Rasgullas: Once the syrup is boiling vigorously, gently drop the chenna balls into the syrup, one at a time. Don’t overcrowd the pot!
- Cover and Cook: Cover the pot and cook for about 15-20 minutes. The Rasgullas will double or even triple in size as they cook! Keep an eye on the syrup level; if it gets too thick, add a little more pani.
- Add Flavor: After 15-20 minutes, gently add the crushed elaichi pods and kesar strands (if using). This will infuse the Rasgullas with a delicate, aromatic flavor.
- Cool and Refrigerate: Turn off the heat and let the Rasgullas cool completely in the syrup. Once cooled, transfer them to a container and refrigerate for at least 2-3 hours before serving. This allows the Rasgullas to absorb even more syrup and become even more delicious!
Chef Curry’s Tips for Rasgulla Perfection:
- Fresh Chenna is Key: The quality of your chenna will directly impact the texture of your Rasgullas. Homemade chenna is always the best option!
- Don’t Over-Knead: While kneading is important, over-kneading can make the Rasgullas tough. Aim for a smooth, pliable dough.
- High Heat is Your Friend: Cooking the Rasgullas in a vigorously boiling syrup is crucial for their spongy texture.
- Patience is a Virtue: Don’t be tempted to open the lid too often while the Rasgullas are cooking. Let them work their magic!
Rasgulla – The Multi-Talented Sweet:
- Gas Stove: This is the classic method, and the one I recommend for beginners.
- Induction Stove: Works perfectly fine, just adjust the heat settings accordingly.
- Pressure Cooker: You can cook Rasgullas in a pressure cooker (without the whistle!). Cook for 1 whistle on high heat, then reduce the heat to low and cook for another 5-7 minutes.
- Oven: Not recommended for this recipe.
- Microwave: Not recommended for this recipe.
- Air Fryer: Not recommended for this recipe.
- Slow Cooker/Crockpot: Not recommended for this recipe.
Nutritional Information (per Rasgulla):
- Calories: Approximately 150-200 (depending on size and sugar content)
- Carbohydrates: Mostly from sugar
- Protein: Small amount from the chenna
- Fat: Minimal
Serving Suggestions – The Grand Finale:
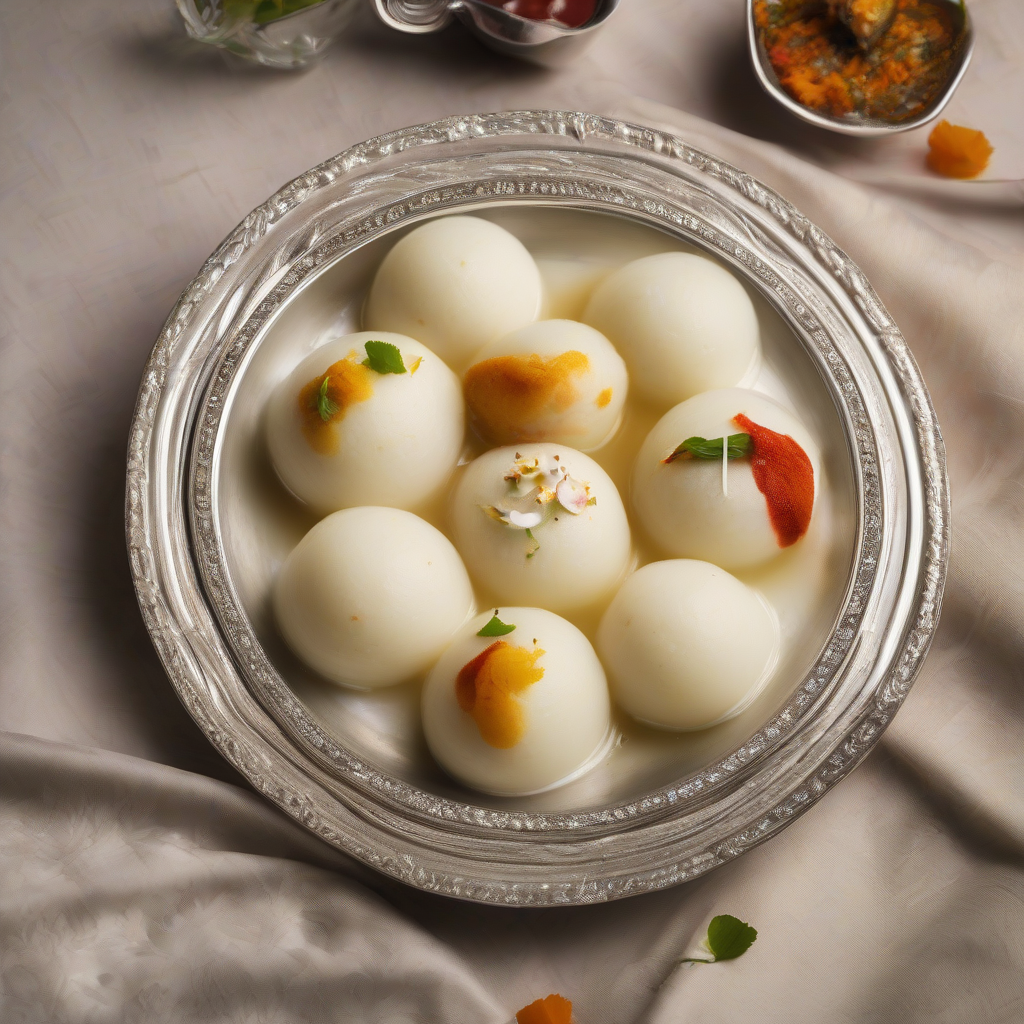
Serve chilled Rasgullas in a bowl, generously drizzled with the syrup. You can garnish them with chopped nuts like pistachios or almonds for a touch of elegance. They pair perfectly with other Indian sweets like Gulab Jamun or Jalebi.
A Sweet Call to Action:
Now, my dear friends, it’s your turn to create some sweet magic in your own kitchens! Try this Rasgulla recipe, and I promise you’ll be rewarded with a dessert that’s as delightful to make as it is to eat. Share these fluffy spheres of joy with your friends and family – because sharing is caring, and especially when it comes to delicious food! Happy Cooking!