Aye Mere Desi Foodies! Let’s Get Laai-d Back!
Namaste, Sat Sri Akal, Kem Chho, and Vanakkam, my beloved food fanatics! Chef Curry Do’pyaza here, back in your lives with a recipe that’s as comforting as a warm hug from your nani (grandmother). Today, we’re diving headfirst into the delightful world of Laai!
Laai isn’t just a snack; it’s a cherished memory, a taste of home, and a burst of simple joy. It’s that crunchy, sweet treat that reminds you of carefree childhood days.
When Do We Gobble Down This Goodness?
Laai truly shines during festivals like Makar Sankranti, Lohri, and even Diwali in some regions. It’s a symbol of prosperity and good fortune, often offered to deities and shared amongst family and friends. Think of it as edible sunshine, perfect for chasing away the winter blues!
A Little Laai History Lesson
Laai has been around for ages! It’s a traditional Indian sweet, believed to have originated in the northern parts of India. Passed down through generations, each family has its own special twist. It’s a testament to the ingenuity of our ancestors, who knew how to transform simple ingredients into something truly special.
Ready to Get Cooking?
Preparation Time: 10 minutes
Cooking Time: 20 minutes
Ingredients – The Magic Makers:
- Murmura (Puffed Rice): 4 cups – Choose a light and crispy variety.
- Gur (Jaggery): 1 cup – This is the star of the show! It adds that rich, earthy sweetness.
- Pani (Water): 2 tablespoons – Just a splash to get things moving.
- Ghee (Clarified Butter): 1 tablespoon – For that luxurious, melt-in-your-mouth texture.
- Elaichi Powder (Cardamom Powder): ½ teaspoon – A pinch of fragrant magic!
- Badam (Almonds) & Pista (Pistachios): 2 tablespoons, chopped (optional) – For a delightful nutty crunch.
Let’s Get Laai-ving! (Cooking Instructions):
- Roast the Murmura: In a large, heavy-bottomed kadai (wok) or pan, gently roast the murmura over medium heat for about 5-7 minutes. Keep stirring constantly! You want them to be nice and crispy, not burnt. This step is crucial for that perfect crunch. Remove from the pan and set aside.
- Melt the Gur: In the same kadai, add the gur and water. Cook over low heat, stirring continuously, until the gur melts completely. This will take about 5-7 minutes. Be patient, my friend!
- Check the Consistency: This is the tricky part! To test if the gur syrup is ready, drop a small amount into a bowl of cold water. If it forms a hard, brittle ball, you’re good to go! If it’s still sticky, cook for a minute or two more and test again.
- Add the Ghee and Elaichi: Once the gur syrup is ready, quickly add the ghee and elaichi powder. Stir well to combine. The ghee adds richness, and the elaichi brings a beautiful aroma.
- Combine and Conquer: Remove the kadai from the heat. Immediately add the roasted murmura and chopped nuts (if using) to the gur syrup. Mix everything together very quickly and thoroughly. Make sure every piece of murmura is coated with that glorious gur syrup!
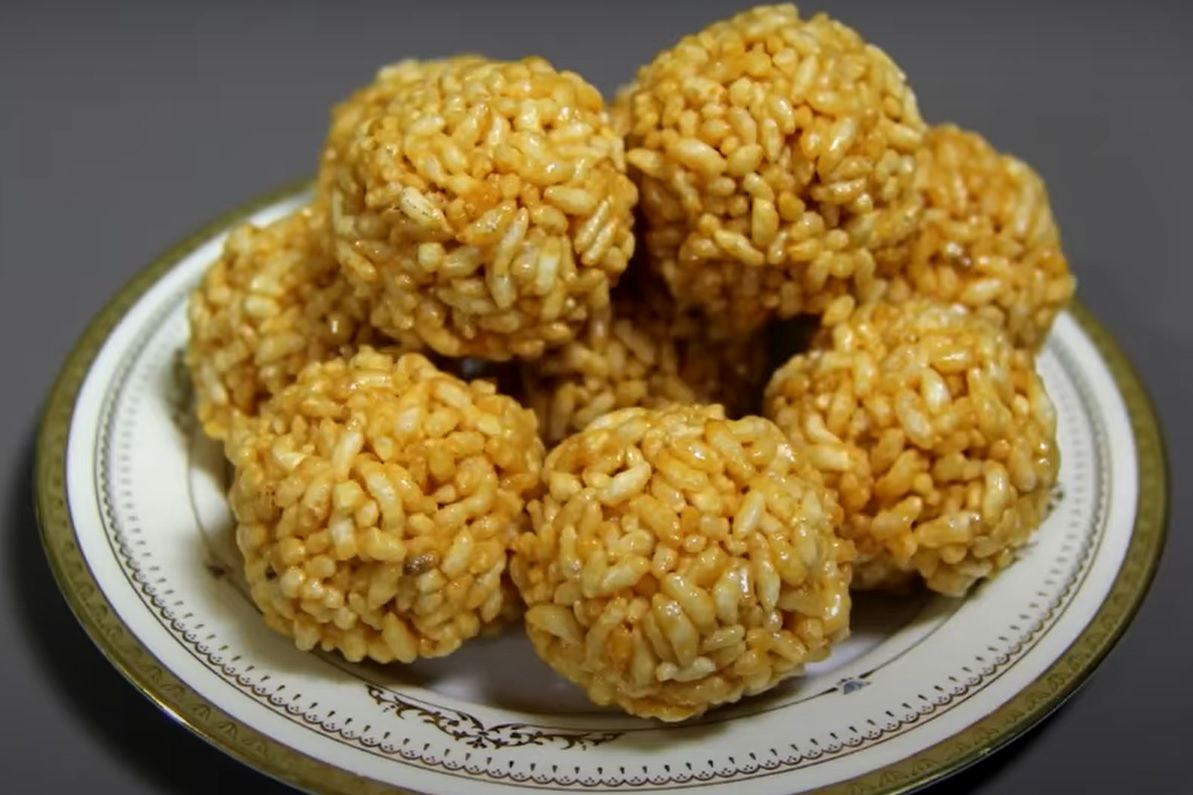
- Shape and Set: Grease your hands with a little ghee. While the mixture is still warm (but not too hot to handle!), take a small portion and shape it into round balls or laddoos. You can also spread the mixture onto a greased tray and cut it into squares once it cools down.
- Cool and Enjoy: Let the laai cool completely before storing it in an airtight container. This will ensure they stay crispy and delicious!
Chef’s Secret Tips for Laai Perfection:
- Crispy Murmura is Key: Don’t skip the roasting step! It makes all the difference.
- Gur Consistency Matters: The gur syrup has to be perfect. Too soft, and your laai will be sticky. Too hard, and they’ll be difficult to shape.
- Work Quickly: Once you add the murmura to the gur syrup, you need to work fast! The syrup hardens quickly, so don’t dilly-dally.
- Grease is Your Friend: Greasing your hands and the tray will prevent the laai from sticking.
Laai Your Way! (Cooking Variations):
- Gas Stove: The traditional method, and my personal favorite! Just follow the instructions above.
- Induction Stove: Works just as well as a gas stove. Adjust the heat settings accordingly.
- Microwave (for melting Gur): You can melt the gur in the microwave in short bursts, stirring in between, until melted. Be careful not to overheat it!
- Oven (for roasting Murmura): Spread the murmura on a baking sheet and roast in a preheated oven at 300°F (150°C) for 5-7 minutes, stirring occasionally.
- Slow Cooker/Crockpot (not recommended): This method isn’t suitable for laai as the murmura will lose its crispiness.
Nutritional Nuggets (Approximate Values):
- Laai is a good source of carbohydrates for energy.
- Gur is a healthier alternative to refined sugar, containing some minerals like iron.
- Nuts add healthy fats and protein.
- Remember, it’s still a sweet treat, so enjoy in moderation!
Serving Suggestions – Let’s Get Creative!
- Enjoy it as a simple snack with a cup of chai (tea).
- Pack it in your kids’ lunchboxes for a delightful surprise.
- Serve it as a festive treat during celebrations.
- Crumble it over yogurt or ice cream for a crunchy topping.
Now, Go Forth and Laai!
My dear readers, I urge you to try this simple yet delightful recipe at home. Share it with your family, your friends, your neighbors – spread the Laai love! It’s a taste of India that’s sure to bring a smile to everyone’s face. Happy cooking!