Mutton Biryani: Aye Haye! Dil Maange More!
Namaste Dosto! Assalamualaikum! Sat Sri Akal! Kem Chho!
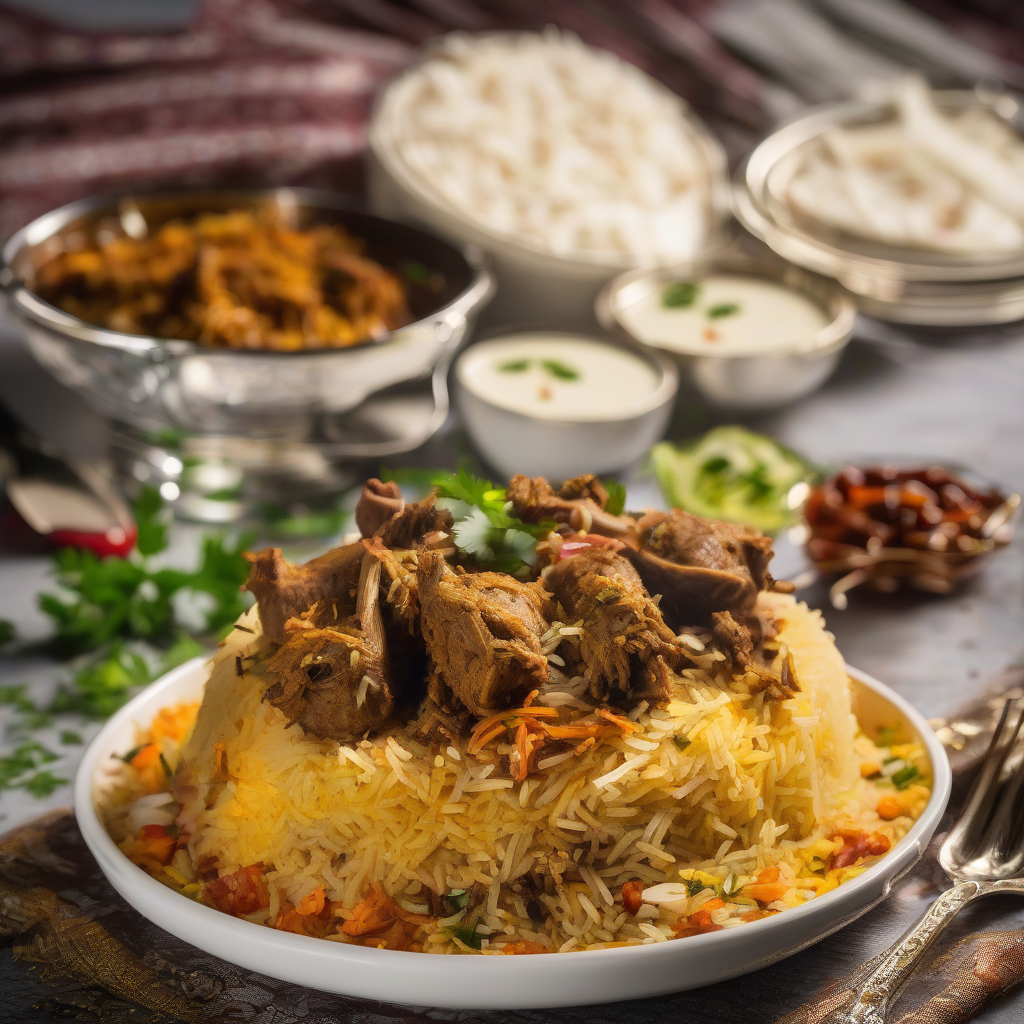
Chef Curry Do’pyaza here, back in your kitchens and hearts, ready to share another culinary gem! Today, we’re diving deep into the fragrant, flavorful world of Mutton Biryani – a dish so good, it makes your taste buds sing a Bollywood tune!
This biryani is not just food; it’s an emotion. It’s the star of Eid celebrations, the heart of wedding feasts, and the comforting hug you need during Diwali. From the bustling streets of Lucknow to the serene backwaters of Kerala, everyone has their own special way of making this royal dish.
A Little History Lesson (Chalo, Back to School!)
Biryani’s story is as layered as the dish itself! It’s believed to have originated in Persia or maybe even further back in the mists of time. Some say it came to India with the Mughals, while others believe it existed here long before. What we know for sure is that it evolved into the delicious, diverse dish we know and love today, with each region adding its own unique touch.
Get Ready to Cook!
Preparation Time: 30 minutes (for marinating the mutton) + 20 minutes (for prepping ingredients)
Cooking Time: 60-75 minutes
Ingredients Ka List (The Shopping List!)
- Mutton: 1 kg, cut into medium-sized pieces (Use good quality, tender pieces for the best results!)
- Basmati Chawal (Basmati Rice): 750 grams, soaked in water for at least 30 minutes
- Pyaaz (Onions): 3 large, thinly sliced
- Adrak-Lahsun Paste (Ginger-Garlic Paste): 2 tablespoons
- Dahi (Yogurt): 1 cup, whisked smooth
- Tamatar (Tomatoes): 2 medium, finely chopped
- Hari Mirch (Green Chillies): 4-5, slit lengthwise (Adjust to your spice level, boss!)
- Tej Patta (Bay Leaves): 2
- Laung (Cloves): 4-5
- Elaichi (Cardamom): 4-5 green, slightly crushed
- Dalchini (Cinnamon Stick): 1 inch piece
- Shah Jeera (Caraway Seeds): 1 teaspoon
- Haldi Powder (Turmeric Powder): 1 teaspoon
- Lal Mirch Powder (Red Chilli Powder): 1-2 teaspoons (Again, adjust to your liking!)
- Dhania Powder (Coriander Powder): 2 teaspoons
- Garam Masala: 1 teaspoon
- Kesar (Saffron): A pinch, soaked in 2 tablespoons of warm milk
- Hara Dhania (Fresh Coriander Leaves): A handful, chopped
- Pudina (Mint Leaves): A handful, chopped
- Ghee (Clarified Butter): 4 tablespoons
- Tel (Cooking Oil): 2 tablespoons
- Namak (Salt): To taste
Cooking Instructions (Chalo, Let’s Get Cooking!)
- Marinate the Mutton: In a large bowl, combine the mutton with ginger-garlic paste, yogurt, turmeric powder, red chilli powder, coriander powder, and salt. Mix well and let it marinate for at least 30 minutes (or even better, overnight in the fridge!).
- Fry the Onions: Heat oil and ghee in a heavy-bottomed pot or a Dutch oven. Add the sliced onions and fry them until they are golden brown and crispy. This takes patience, but trust me, it’s worth it! Remove half of the fried onions and set them aside for garnishing.
- Sauté the Aromatics: In the same pot, add bay leaves, cloves, cardamom, cinnamon stick, and shah jeera. Sauté for a minute until fragrant.
- Cook the Mutton: Add the marinated mutton to the pot and cook on medium-high heat until it’s browned on all sides.
- Add Tomatoes and Chillies: Add the chopped tomatoes and slit green chillies. Cook until the tomatoes are softened and the oil starts to separate from the masala.
- Layer the Rice: Spread half of the soaked and drained rice evenly over the mutton. Sprinkle with half of the chopped coriander and mint leaves. Add the remaining rice and top with the remaining coriander, mint, and saffron milk.
- Dum Cooking: Cover the pot tightly with a lid. You can seal the edges with dough (atta) for extra security. Cook on low heat for 45-60 minutes, or until the rice is cooked through and the mutton is tender. This slow cooking process is called “dum” and it’s what makes biryani so special.
- Garnish and Serve: Gently fluff the biryani with a fork. Garnish with the reserved fried onions. Serve hot!
Chef’s Tips and Tricks (Secret Masala!)
- Quality Mutton: Use tender cuts of mutton like the leg or shoulder for the best results.
- Soak the Rice: Soaking the rice ensures that it cooks evenly and stays fluffy.
- Don’t Overcook: Overcooked rice is a biryani sin! Keep a close eye on the cooking time.
- Resting Time: Let the biryani rest for 10-15 minutes after cooking before serving. This allows the flavors to meld together beautifully.
Biryani, Your Way! (Cooking Options)
- Pressure Cooker: Reduce the cooking time by using a pressure cooker. Cook the mutton for 4-5 whistles before layering the rice.
- Oven: For a truly authentic “dum” experience, bake the biryani in a preheated oven at 325°F (160°C) for 1-1.5 hours.
- Slow Cooker/Crockpot: This is a great option for busy days! Cook the mutton on low for 6-8 hours before adding the rice for the final hour.
Nutrition Ka Gyan (Food Facts!)
Mutton Biryani is a rich and flavorful dish, so enjoy it in moderation! It provides a good source of protein from the mutton and carbohydrates from the rice. It also contains essential vitamins and minerals from the spices and vegetables. But remember, it’s also high in calories and fat, so balance it with a healthy diet.
Serving Suggestions (Khane Ka Time!)
Mutton Biryani is best served hot with:
- Raita: A cooling yogurt dip with cucumber, onions, and coriander.
- Mirchi Ka Salan: A spicy chilli and peanut gravy.
- Baingan Bharta: Smoked eggplant mash.
Now It’s Your Turn!
So there you have it, my friends! A delicious and easy-to-follow recipe for Mutton Biryani. Now, go ahead, try it out in your own kitchen! Share the joy of this flavorful dish with your friends and family. Let the aroma of spices fill your home and create memories that will last a lifetime.
Happy Cooking!
Your Friend,
Chef Curry Do’pyaza