Sweet Nothings: Cracking the Code to Perfect Dharwad Peda, Boss!
Namaste Doston! Kem cho? Kai Kar Chho? (Hello friends! How are you? What are you doing?)
Chef Curry Do-Pyaza here, back in your kitchens (and hearts!) with another recipe that’s guaranteed to make you the star of your next family gathering. Today, we are diving deep into the world of Dharwad Peda, a sweet treat so delicious, it’ll make you want to sing Bollywood songs at the top of your lungs!
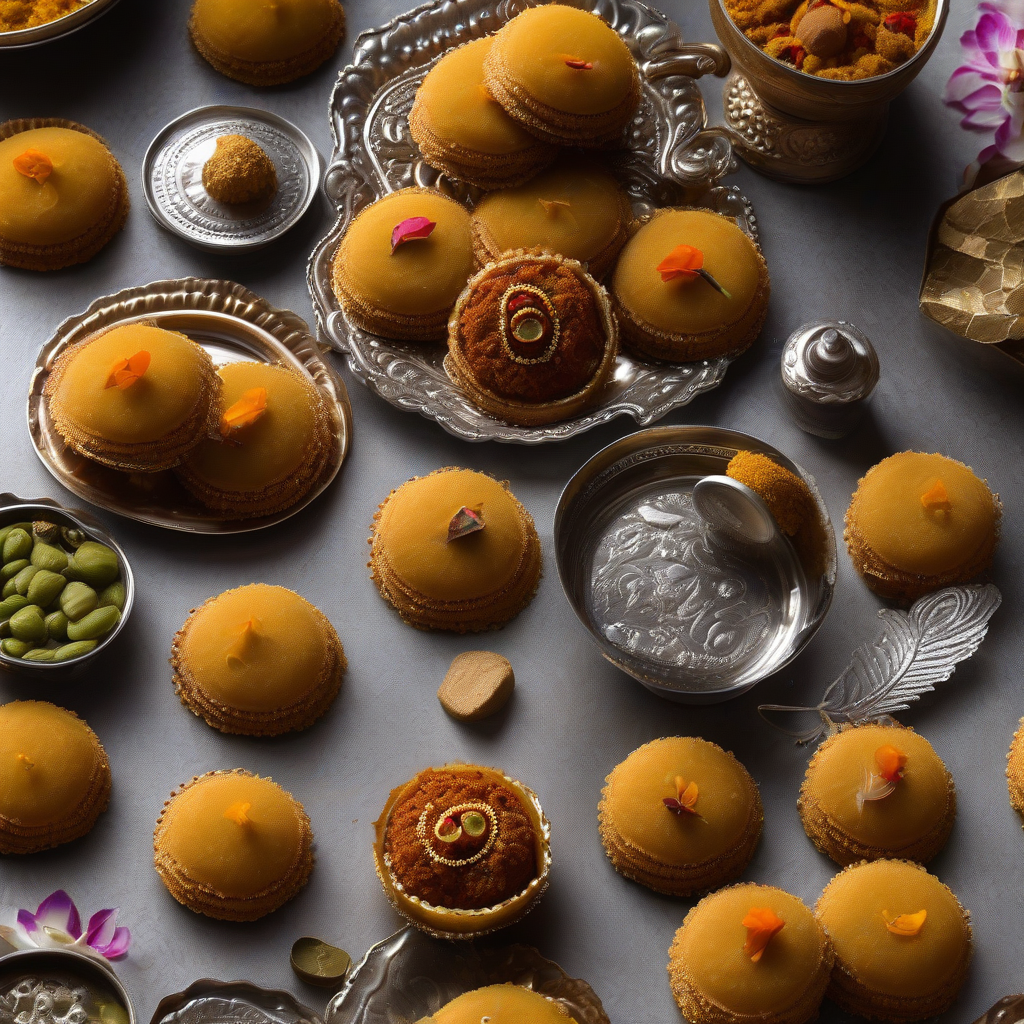
Dharwad Peda isn’t just a sweet; it’s a feeling. It’s the taste of home, the warmth of a loving grandmother, and the joy of festivals all rolled into one delightful, brown ball.
When Do We Eat This Magical Goodness?
Think of Diwali, the festival of lights, when families come together, and sweets are shared with joyous abandon. Or maybe a wedding, where the air is thick with love and the aroma of delicious food. Even a simple pooja (prayer) at home feels incomplete without a plate of these melt-in-your-mouth pedas. It’s the perfect mithai (sweet) for any happy occasion!
A Little History Lesson (Don’t Worry, It’s Short!)
Legend has it that the Dharwad Peda originated in the town of Dharwad, Karnataka. The story goes that the Thakur family, who migrated from Uttar Pradesh, accidentally burnt some khoya (milk solids) while making sweets. Instead of throwing it away, they added sugar and created this unique, caramelized treat. And just like that, a legend was born!
Let’s Get Cooking!
Preparation Time: 10 minutes
Cooking Time: 45-60 minutes
Ingredients – The Star Cast of Our Sweet Drama:
- Khoya (Milk Solids): 2 cups (use good quality, fresh khoya for the best results)
- Cheeni (Sugar): 1 cup (adjust to your sweetness preference, you sweet tooth!)
- Elaichi Powder (Cardamom Powder): 1/2 teaspoon (for that aromatic touch)
- Ghee (Clarified Butter): 1 teaspoon (just a tiny bit for that extra richness)
Step-by-Step Instructions – Your Guide to Peda Perfection:
- Crumble Time: First, crumble the khoya into a heavy-bottomed pan. This ensures it cooks evenly.
- The Slow Burn: Place the pan on medium-low heat. This is crucial! We want to caramelize the khoya, not burn it to a crisp.
- Stirring is Caring: Keep stirring the khoya continuously. This prevents it from sticking to the bottom and burning. It’s like giving it a gentle massage!
- The Color Change: As you stir, the khoya will start to melt and gradually change color from white to a light brown. This process takes time and patience, but trust me, it’s worth it.
- Sugar Rush: Once the khoya has turned a lovely light brown, add the sugar.
- Melting Moments: Continue stirring until the sugar melts completely and blends well with the khoya. The mixture will become a little runny at this stage. Don’t panic!
- The Thickening Game: Keep cooking and stirring until the mixture starts to thicken again and forms a soft, dough-like consistency. This is when you know you’re getting close!
- Aromatic Magic: Add the elaichi powder and ghee. Stir well to combine. The aroma will fill your kitchen, promising sweet delights.
- Cooling Down: Remove the pan from the heat and let the mixture cool down slightly. It should be warm enough to handle.
- Shaping Up: Grease your palms with a little ghee. Take a small portion of the mixture and roll it into a smooth, round ball.
- Peda Parade: Repeat this process with the remaining mixture until you have a plate full of beautiful, brown pedas.
- Cooling and Setting: Let the pedas cool completely at room temperature. This will allow them to firm up and set properly.
Chef’s Tips for Peda Perfection:
- Quality Khoya is Key: Use the best quality khoya you can find. Fresh, grainy khoya works best.
- Low and Slow: Cooking the khoya on low heat is essential for achieving that perfect caramelized flavor.
- Patience is a Virtue: Don’t rush the process. It takes time for the khoya to caramelize and for the mixture to thicken.
- Grease is Good: Greasing your palms with ghee prevents the mixture from sticking and makes shaping the pedas easier.
- Cool Completely: Allow the pedas to cool completely before serving. This will allow them to firm up and develop their characteristic texture.
Cooking it Your Way:
- Gas Stove: The traditional method, as described above, works perfectly on a gas stove.
- Induction Stove: Follow the same instructions as for a gas stove, adjusting the heat accordingly.
- Pressure Cooker (Not Recommended): While some recipes use a pressure cooker, it’s not ideal for Dharwad Peda as it can be difficult to control the caramelization process.
- Oven (Not Recommended): Similarly, baking in an oven isn’t the best method for this recipe.
- Microwave (Not Recommended): Microwaving can lead to uneven cooking and a rubbery texture.
- Air Fryer (Not Recommended): Air frying is not suitable for this recipe.
- Slow Cooker/Crockpot (Not Recommended): The slow cooking process doesn’t lend itself well to the caramelization needed for Dharwad Peda.
Nutritional Information (Approximate, per Peda):
- Calories: 80-100
- Fat: 4-6g
- Carbohydrates: 8-10g
- Protein: 2-3g
(Note: These values can vary depending on the ingredients used.)
Serving Suggestions – The Grand Finale!
Serve these delectable pedas at room temperature. They pair perfectly with a cup of hot chai (tea) or coffee. You can also garnish them with chopped nuts like pistachios or almonds for an extra touch of elegance.
Time to Get Your Aprons On!
So there you have it, folks! The secret to making perfect Dharwad Peda, revealed. Now, go forth, conquer your kitchens, and create these sweet delights for your loved ones. Trust me, they’ll thank you for it!
Don’t forget to try this recipe at home and share the joy with your friends and family. Happy cooking!