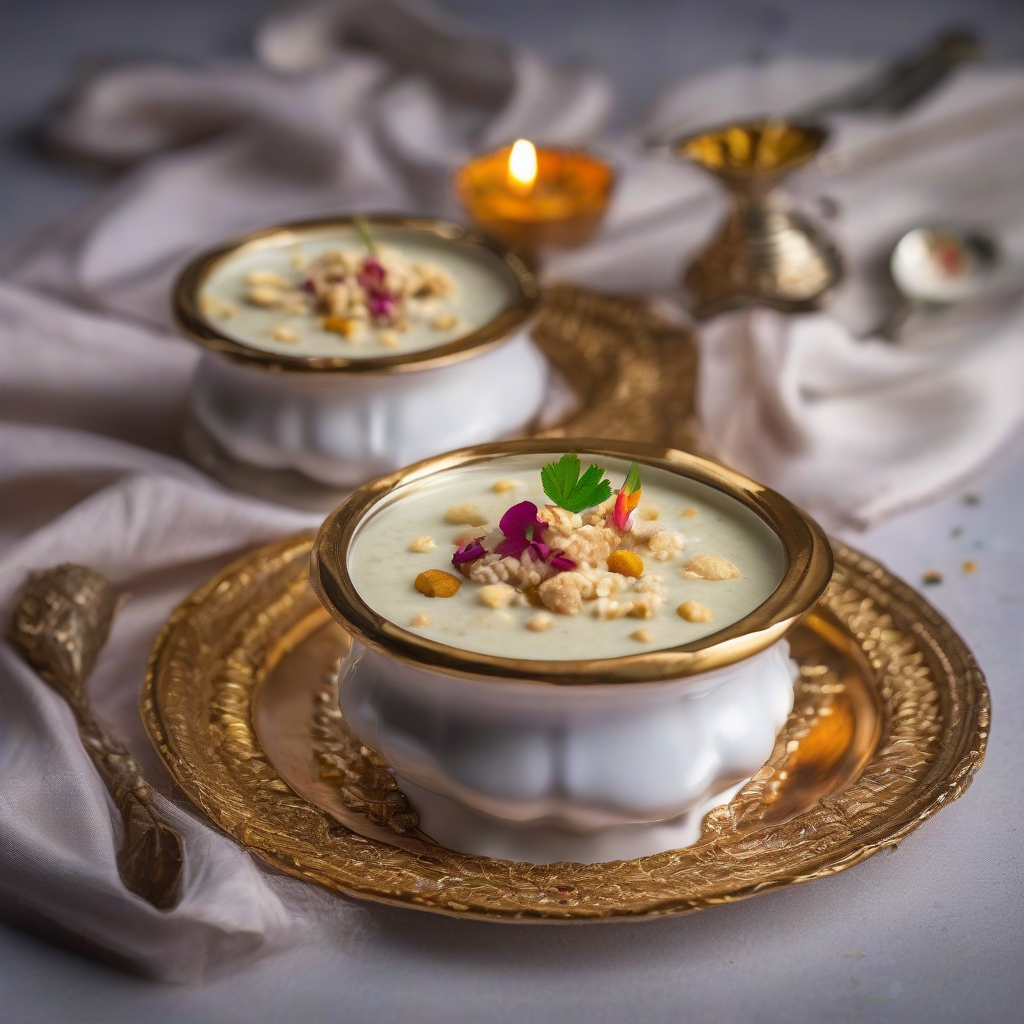
Bread Kheer: Sweetness so Good, It’ll Make You Say “Wah!”
Namaste and Aadaab, my lovely foodies! Chef Curry Do’pyaza here, back in your kitchens (virtually, of course!) with a dessert that’s as comforting as a warm hug on a chilly monsoon evening. Today, we are diving headfirst into the delightful world of Bread Kheer, a sweet treat that’s easier to make than saying “butter chicken” (and almost as satisfying!).
This isn’t just any dessert, folks. Bread Kheer is a star during festive occasions like Diwali, Eid, and even simple family get-togethers. It’s that one dish that brings smiles to faces, from your nani (grandmother) to your little bachcha (child). Think of it as the edible equivalent of a Bollywood song – universally loved and guaranteed to lift your spirits!
A Little Trip Down Memory Lane
Kheer, in general, has been gracing Indian tables for centuries. While the exact origins of Bread Kheer are a bit hazy, it’s believed to have emerged as a clever way to use leftover bread. Our ancestors were resourceful people, weren’t they? They took something simple and transformed it into something truly special. And that, my friends, is the magic of Indian cuisine!
Get Ready to Cook!
Preparation Time: 15 minutes
Cooking Time: 30 minutes
What You’ll Need (Ingredients):
- 6 slices Safed Bread (White Bread) – The softer, the better!
- 1 litre Doodh (Full Cream Milk) – Makes it rich and creamy!
- ½ cup Cheeni (Sugar) – Adjust to your sweet tooth’s desire!
- ¼ cup Ghee (Clarified Butter) – For that nutty, fragrant touch!
- 1 teaspoon Elaichi Powder (Cardamom Powder) – Adds a warm, aromatic note.
- 2 tablespoons Kaju (Cashews), chopped – For a delightful crunch!
- 2 tablespoons Badam (Almonds), slivered – Adds a touch of elegance!
- 1 tablespoon Kishmish (Raisins) – Sweet little bursts of joy!
- A pinch of Kesar (Saffron) strands (optional) – For a beautiful color and subtle flavor. Soak in 2 tablespoons of warm milk.
Let’s Get Cooking (Step-by-Step):
- Bread Prep: Tear the bread slices into small, bite-sized pieces. Don’t worry about being perfect; rustic is the name of the game!
- Ghee Magic: Heat the ghee in a heavy-bottomed pan or kadai. Once it’s melted and shimmering, add the bread pieces.
- Toast Time: Fry the bread pieces in the ghee until they turn a beautiful golden brown. This step is crucial for adding a lovely texture and flavor to the kheer. Keep stirring so it doesn’t burn!
- Milk Bath: Pour the milk into the pan. Bring it to a gentle simmer, stirring occasionally to prevent sticking.
- Sweet Symphony: Add the sugar, cardamom powder, and saffron milk (if using). Continue to simmer on low heat, stirring frequently, until the milk thickens and the bread softens completely. This usually takes about 20-25 minutes.
- Nutty Delight: Stir in the chopped cashews, slivered almonds, and raisins.
- Simmer Down: Let the kheer simmer for another 5 minutes, allowing the flavors to meld together beautifully.
- Ready to Serve: Take the pan off the heat and let the kheer cool slightly. It will thicken as it cools.
Chef Curry’s Top Tips:
- Bread is Key: Use fresh, soft bread for the best results. Stale bread will work in a pinch, but the texture won’t be quite as heavenly.
- Low and Slow: Simmering the kheer on low heat is essential. This allows the milk to thicken without scorching and the bread to absorb all the delicious flavors.
- Sweetness Check: Taste the kheer as it cooks and adjust the sugar according to your preference.
- Don’t Skip the Ghee: The ghee is what gives the kheer its rich, nutty flavor. Don’t skimp on it!
- Patience is a Virtue: Don’t rush the cooking process. The longer the kheer simmers, the richer and more flavorful it will become.
Different Ways to Cook Your Kheer:
- Gas Stove: Follow the recipe above for a classic, stovetop kheer.
- Induction Stove: Works just like a gas stove! Just be sure to use a heavy-bottomed pan suitable for induction cooking.
- Pressure Cooker: Not recommended for this recipe. The milk can easily scorch and burn.
- Oven: Not suitable for this recipe.
- Microwave: Not recommended as it’s difficult to control the cooking process and prevent scorching.
- Air Fryer: Not suitable for this recipe.
- Slow Cooker/Crockpot: While possible, it’s not ideal. The kheer can take a very long time to thicken. If you do use a slow cooker, cook on low for 4-6 hours, stirring occasionally.
Nutritional Information (Approximate per serving):
- Calories: 350-400
- Fat: 15-20g
- Protein: 8-10g
- Carbohydrates: 40-45g
Note: These values are approximate and may vary based on specific ingredients and portion sizes.
Serving Suggestions:
- Serve warm or chilled, depending on your preference.
- Garnish with extra chopped nuts and a sprinkle of cardamom powder.
- A dollop of fresh cream or a scoop of vanilla ice cream is always a welcome addition!
- Pair it with a crispy puri (Indian fried bread) for a truly decadent treat.
Time to Get Cooking!
There you have it, folks! My simple, delicious, and oh-so-comforting Bread Kheer recipe. Now, go forth and create some sweet magic in your kitchens.
Try this recipe at home, and share the delicious joy with your friends and family. This is one dish that’s guaranteed to bring smiles and create lasting memories. Happy cooking!