Mathura Peda: Sweetness From the Land of Krishna, Made Easy Peasy!
Namaste Doston! Ram Ram! Sat Sri Akal! Kem Cho?
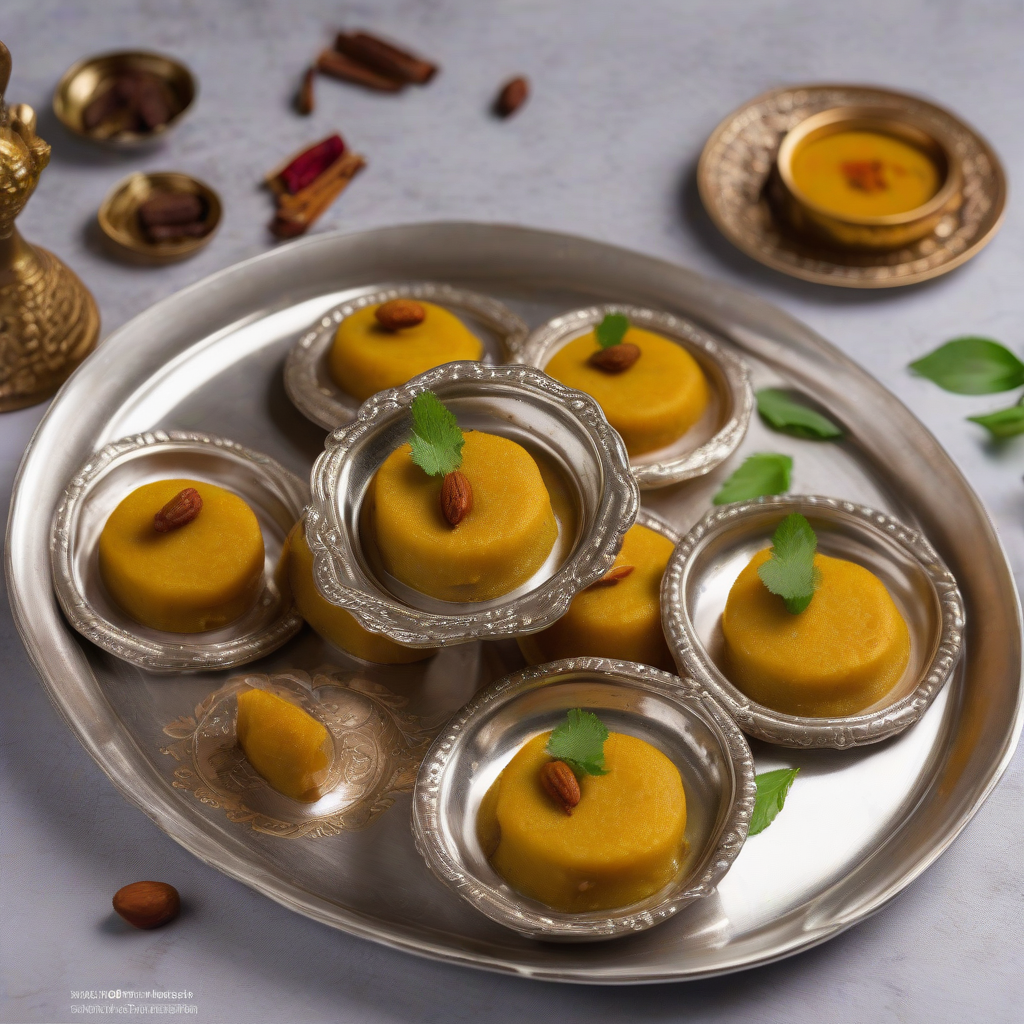
Chef Curry Do’pyaza here, back in your kitchens and in your hearts! Today, we’re diving headfirst into a classic Indian sweet, a treat so divine, it feels like a blessing from the gods themselves: Mathura Peda!
This humble, yet incredibly delicious sweet is more than just a dessert. It’s a taste of tradition, a bite of history, and a whole lotta love rolled into one delightful sphere.
When Do We Devour These Delicious Balls of Goodness?
Mathura Pedas are especially popular during festivals like Janmashtami (Lord Krishna’s birthday, of course!), Diwali, and Holi. They are also a staple offering (“prasad”) in temples, especially in Mathura and Vrindavan, the birthplace of Lord Krishna. Any auspicious occasion, any moment that calls for celebration, is the perfect excuse to whip up a batch of these sweet wonders. They are a delicious accompaniment with your evening chai or coffee.
A Little Trip Down Memory Lane
The Mathura Peda boasts a rich history, deeply intertwined with the sacred city of Mathura. Legend has it that the recipe originated in the temples of Mathura, where it was prepared as an offering to Lord Krishna. Over time, it became a beloved sweet enjoyed by people all over India. The recipe has been passed down generations of sweet makers (halwais) in Mathura and across India.
Ready to Get Cooking?
Here’s what you need to know:
- Preparation Time: 15 minutes
- Cooking Time: 30 minutes
Ingredients – The Magic Makers!
- 2 cups Khoya/Mawa (Unsweetened Milk Solids) – Khoa/Mawa
- 1 cup Bura/Tagar (Powdered Sugar) – Bura/Tagar
- 2 tablespoons Ghee (Clarified Butter) – Ghee
- 1/2 teaspoon Elaichi Powder (Cardamom Powder) – Elaichi Powder
- A pinch of Jaiphal Powder (Nutmeg Powder) – Jaiphal Powder (optional, but adds a lovely warmth)
Let’s Get Cooking! Step-by-Step Instructions
- Crumble the Khoya: In a heavy-bottomed pan (kadai), crumble the khoya into small pieces. This makes it easier to cook evenly.
- Roast the Khoya: Turn on the heat to medium-low. We want a nice, gentle roast. Keep stirring constantly! This is important to prevent burning. The khoya will start to melt and change color. It will turn a beautiful light brown. This usually takes about 20-25 minutes. Keep stirring, stirring, stirring!
- Cool it Down: Once the khoya is nicely roasted, remove it from the heat and let it cool completely. This is crucial! We don’t want to add the sugar to hot khoya, or it will melt and become sticky.
- Sweeten the Deal: Once the khoya is cool, add the powdered sugar, cardamom powder, and nutmeg powder (if using). Mix everything together really well. Use your hands! It’s the best way to get everything combined evenly.
- Shape the Pedas: Now for the fun part! Take a small portion of the mixture (about a tablespoon) and roll it between your palms to form a smooth, round ball. Flatten it slightly to give it that classic peda shape.
- Garnish (Optional): You can roll the pedas in a little extra powdered sugar or chopped nuts for a fancy touch.
- Chill Out: Place the pedas in the refrigerator for at least 30 minutes to set. This will help them firm up and taste even better!
Chef Curry’s Top Tips for Peda Perfection
- Quality Khoya is Key: Use the best quality khoya you can find. It makes all the difference in the taste and texture of the pedas.
- Patience is a Virtue: Roasting the khoya properly is crucial. Don’t rush the process. Low and slow is the way to go!
- Don’t Overcook: Be careful not to overcook the khoya, or it will become hard and dry.
- Adjust Sweetness: You can adjust the amount of sugar to your liking. Taste the mixture before shaping the pedas and add more sugar if needed.
Cooking Variations for the Modern Kitchen
- Gas Stove: The traditional method, as described above, works perfectly on a gas stove.
- Induction Stove: Follow the same instructions as for the gas stove, but be mindful of the heat settings. Induction stoves can heat up very quickly.
- Microwave (For Roasting Khoya): Crumble the khoya in a microwave-safe bowl. Microwave in 1-minute intervals, stirring in between, until the khoya is browned and cooked through. This usually takes about 5-7 minutes.
- Oven (For Roasting Khoya): Preheat oven to 300°F (150°C). Spread the crumbled khoya on a baking sheet and bake for 20-25 minutes, stirring occasionally, until browned.
Nutritional Information (Approximate, per Peda):
- Calories: 80-100
- Fat: 4-6g
- Carbohydrates: 8-10g
- Protein: 2-3g
Note: Nutritional information can vary depending on the specific ingredients and portion sizes used.
Serving Suggestions – How to Enjoy Your Pedas
- Serve them as a dessert after a delicious Indian meal.
- Offer them as prasad during religious ceremonies.
- Pack them in a gift box for friends and family.
- Enjoy them with a cup of hot chai or coffee.
Time to Get Cooking, Yaar!
Now that you have the recipe and all my secret tips, it’s time to roll up your sleeves and get cooking! Make a batch of these delicious Mathura Pedas for your loved ones. They will be delighted! Do share the recipe with your friends and family.
Happy Cooking, and remember, food is love!
Until next time,
Chef Curry Do’pyaza, signing off!