Wah! Wah! – Scrumptious Paneer Paratha: A Taste of Home!
Namaste Doston! And a big Sat Sri Akal to all my Punjabi food lovers! Chef Curry Do-Pyaza here, ready to share another slice of my culinary heart with you all. Today, we’re diving into the warm, comforting world of Paneer Paratha – a dish that’s more than just food; it’s a hug on a plate!
This delightful flatbread is a staple in many North Indian homes, especially in Punjab. You’ll find it gracing breakfast tables on chilly winter mornings, fueling festive celebrations like Diwali and Lohri, and even packed in lunchboxes for school or work. It’s a versatile dish, perfect for any occasion that calls for a hearty and satisfying meal.
A Little Trip Down Memory Lane
The history of paratha itself is quite fascinating! It is believed to have originated in the Indian subcontinent. Over time, regional variations emerged, with paneer paratha becoming a beloved version, particularly in Punjab, where dairy products are abundant and cherished. Each family has their own secret twist, passed down through generations. My nani (grandmother) used to make the softest, most flavorful paneer parathas – and I’m excited to share my version with you today, which is a homage to hers!
Ready to Get Cooking?
Preparation Time: 25 minutes
Cooking Time: 20 minutes
What You’ll Need (Ingredients)
For the Dough:
- 2 cups Gehun ka atta (Whole Wheat Flour)
- 1 teaspoon Tel (Vegetable Oil)
- Namak (Salt) to taste
- Pani (Water) as needed
For the Filling:
- 200 grams Paneer (Indian Cottage Cheese), crumbled
- 1 medium Pyaaz (Onion), finely chopped
- 2-3 Hari Mirch (Green Chilies), finely chopped (adjust to your spice level!)
- 1 teaspoon Adrak-Lahsun ka Paste (Ginger-Garlic Paste)
- 1/2 teaspoon Lal Mirch Powder (Red Chili Powder)
- 1/2 teaspoon Dhania Powder (Coriander Powder)
- 1/4 teaspoon Garam Masala
- Fresh Hara Dhania (Cilantro), finely chopped
- Namak (Salt) to taste
Let’s Get Cooking! (Instructions)
- Make the Dough: In a large bowl, combine the atta, oil, and salt. Gradually add water, kneading until you have a soft, pliable dough. Cover it with a damp cloth and let it rest for at least 15 minutes. This resting period is crucial for soft parathas.
-
Prepare the Filling: In another bowl, mix the crumbled paneer, chopped pyaaz, hari mirch, adrak-lahsun ka paste, lal mirch powder, dhania powder, garam masala, hara dhania, and salt. Mix well until everything is evenly combined. Give it a little taste and adjust the seasoning if needed. This filling should be flavorful and slightly spicy!
-
Roll and Stuff: Divide the dough into equal-sized balls. Roll out one ball into a small circle (about 4 inches in diameter). Place a generous spoonful of the paneer filling in the center.
-
Seal the Paratha: Bring the edges of the circle together to cover the filling, forming a pouch. Pinch the edges tightly to seal it completely. Gently flatten the stuffed ball.
-
Roll it Out: On a lightly floured surface, gently roll out the stuffed ball into a slightly thicker circle (about 6-7 inches in diameter). Be careful not to apply too much pressure, or the filling might leak out.
-
Cook on the Tawa: Heat a tawa (griddle) or a flat pan over medium heat. Place the rolled-out paratha on the hot tawa. Cook for about a minute on each side, or until you see small bubbles forming.
-
Add the Goodness: Drizzle a little ghee (clarified butter) or oil on both sides of the paratha. Cook, pressing gently with a spatula, until both sides are golden brown and crispy.
-
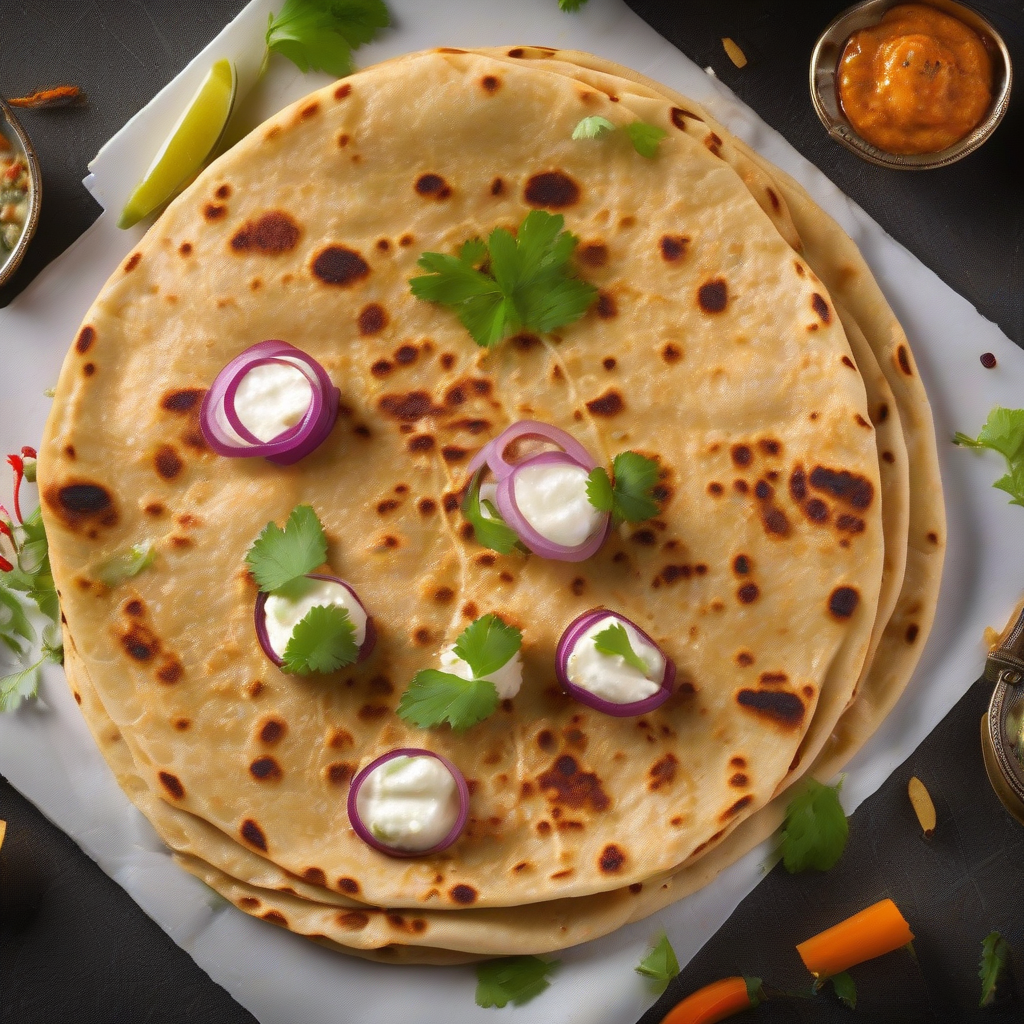
Serve Hot: Remove the paratha from the tawa and serve immediately.
Chef’s Secret Tips for the Best Paneer Paratha
- Soft Dough is Key: A well-kneaded, rested dough is the secret to soft parathas.
- Don’t Overfill: Too much filling can make the paratha difficult to roll and prone to tearing.
- Gentle Rolling: Roll the paratha gently to avoid bursting the filling.
- Ghee is Your Friend: Ghee adds a rich flavor and helps the paratha become beautifully golden brown.
Different Ways to Cook Your Paratha
- Gas Stove: The traditional method, as described above, using a tawa.
- Induction Stove: Works exactly like a gas stove, just ensure your tawa is induction-friendly.
- Oven: You can bake parathas in the oven, but they won’t be as soft as tawa-cooked ones. Preheat your oven to 350°F (175°C) and bake for about 10-12 minutes, flipping halfway through.
- Air Fryer: For a healthier option, air fry the parathas at 375°F (190°C) for about 8-10 minutes, flipping halfway through. Lightly brush with oil before air frying.
- Slow Cooker/Crockpot: Not suitable for parathas, as they require high heat for quick cooking.
- Microwave: Microwaving will make the parathas rubbery, so it’s best to avoid this method.
Nutritional Information (Approximate, per paratha)
- Calories: 250-300
- Protein: 10-12g
- Fat: 12-15g
- Carbohydrates: 30-35g
Note: These values are approximate and can vary depending on the specific ingredients and portion sizes used.
Serving Suggestions
- Dahi (Yogurt): A classic accompaniment!
- Achar (Pickle): Adds a tangy and spicy kick.
- Makhan (Butter): A dollop of butter on top makes it even more indulgent.
- Chutney: Mint-coriander chutney or tamarind chutney are excellent choices.
- Lassi: A refreshing yogurt-based drink.
Time to Get Cooking!
So there you have it, folks! My recipe for the most delicious, comforting Paneer Paratha you’ll ever taste. I encourage you to try this recipe at home and share the joy of homemade goodness with your friends and family. Let me know how it turns out! Happy cooking!
Phir milenge! (We’ll meet again!)
Chef Curry Do-Pyaza, signing off!