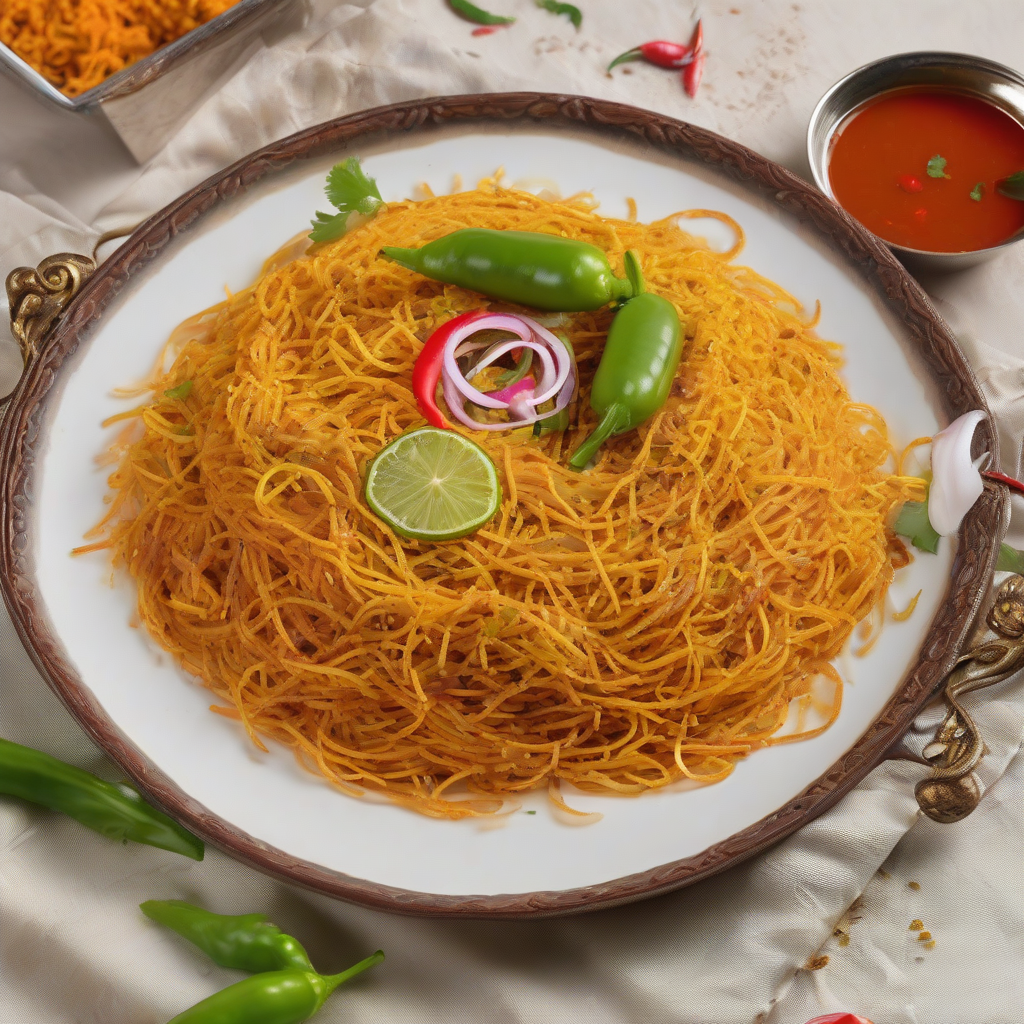
Arey Wah! Spicy Mirchi Sev – Your New Favourite Crunchy Snack!
Namaste, Kem Chho, Sat Sri Akal, and Salaam my dear food-loving friends! Chef Curry Do’pyaza here, ready to spice up your life with a delightful, crunchy, and utterly addictive snack: Mirchi Sev!
This fiery little treat holds a special place in my heart, reminding me of joyous Diwali celebrations, vibrant Holi gatherings, and lazy summer evenings spent with family. It’s a staple in many Indian homes, especially in Gujarat and Rajasthan, where it’s served with pride alongside a hot cup of chai or as a crunchy topping for chaats.
A Pinch of History
The story of Mirchi Sev is as intriguing as its taste. It’s believed to have originated in the western states of India, where the love for spicy food runs deep. Over time, each region added its own twist, resulting in the diverse variations we see today. But one thing remains constant: the irresistible spicy kick!
Get Ready to Crunch!
Preparation Time: 15 minutes
Cooking Time: 20 minutes
What You Need (The Samagri)
- 1 cup Besan (Gram Flour)
- 2 tbsp Chawal ka Atta (Rice Flour) – for extra crispness!
- 1 tbsp Lal Mirch Powder (Red Chilli Powder) – adjust to your spice level!
- ½ tsp Haldi Powder (Turmeric Powder) – for that golden glow
- ¼ tsp Hing (Asafoetida) – adds a unique flavour
- 1 tsp Ajwain (Carom Seeds) – aids digestion and adds a subtle flavour
- 1 tbsp Tel (Vegetable Oil) – plus more for deep frying
- Salt to taste
- Water – as needed to make a smooth dough
Let’s Get Cooking! (Chalo Banaye!)
- Mix the Magic: In a large bowl, combine the besan, chawal ka atta, lal mirch powder, haldi powder, hing, ajwain, salt, and 1 tablespoon of oil. Mix it well with your hands.
- Knead the Dough: Gradually add water, a little at a time, and knead into a smooth, non-sticky dough. It should be similar to the consistency of chapati dough.
- Heat the Oil: Heat enough oil in a kadai (wok) or deep frying pan over medium heat. You want it hot, but not smoking!
- Prepare the Sev Maker: Grease your sev maker (a special kitchen tool with a perforated plate) with a little oil. Choose the plate with the smallest holes for thin sev.
- Fill and Press: Fill the sev maker with the dough and press it directly over the hot oil in a circular motion.
- Fry to Perfection: Fry the sev until it turns golden brown and crispy, flipping it gently in between. This usually takes about 2-3 minutes.
- Drain and Cool: Remove the sev from the oil and drain it on a paper towel to remove excess oil.
- Break and Enjoy: Once cooled, break the sev into smaller pieces. Now, it’s ready to be devoured!
Chef Curry’s Gyan (Tips) for the Best Mirchi Sev
- Spice it Up (or Down): Adjust the amount of lal mirch powder to suit your taste. If you prefer a milder flavour, reduce the quantity.
- Crispy is Key: The rice flour is crucial for achieving that perfect crispy texture. Don’t skip it!
- Hot Oil is Essential: Ensure the oil is hot enough before frying. If the oil is not hot enough, the sev will absorb too much oil and become soggy.
- Storage Secrets: Store the Mirchi Sev in an airtight container at room temperature. It will stay fresh and crunchy for up to two weeks (if it lasts that long!).
Cooking It Your Way
While traditionally deep-fried, you can adapt this recipe to other cooking methods:
- Gas Stove/Induction Stove: Follow the deep-frying instructions as outlined above.
- Air Fryer: Preheat your air fryer to 350°F (175°C). Lightly grease the air fryer basket. Press the sev dough into the basket in a single layer. Air fry for 8-10 minutes, flipping halfway through, until golden brown and crispy.
- Oven: Preheat your oven to 350°F (175°C). Spread the sev dough thinly on a baking sheet lined with parchment paper. Bake for 10-12 minutes, or until golden brown and crispy.
Note: Pressure cookers, slow cookers, microwaves, and crockpots are not suitable for this recipe.
Nutritional Nuggets (per serving, approximate)
- Calories: 150
- Protein: 5g
- Fat: 8g
- Carbohydrates: 15g
Disclaimer: Nutritional information is an estimate and may vary based on specific ingredients and cooking methods.
Serving Suggestions
- Enjoy it as a standalone snack with a cup of chai.
- Sprinkle it over chaats like bhel puri or sev puri for added crunch and flavour.
- Serve it as a side dish with your meals.
- Add it to your favourite namkeen mix.
Aao Banaye, Aao Khaye! (Come Cook, Come Eat!)
So there you have it, my friends! A simple yet incredibly delicious recipe for Mirchi Sev that’s sure to become a family favourite. I urge you to try this recipe at home and share the joy with your loved ones. Trust me, the spicy, crunchy goodness will have everyone reaching for more!
Happy Cooking!
Chef Curry Do’pyaza.
