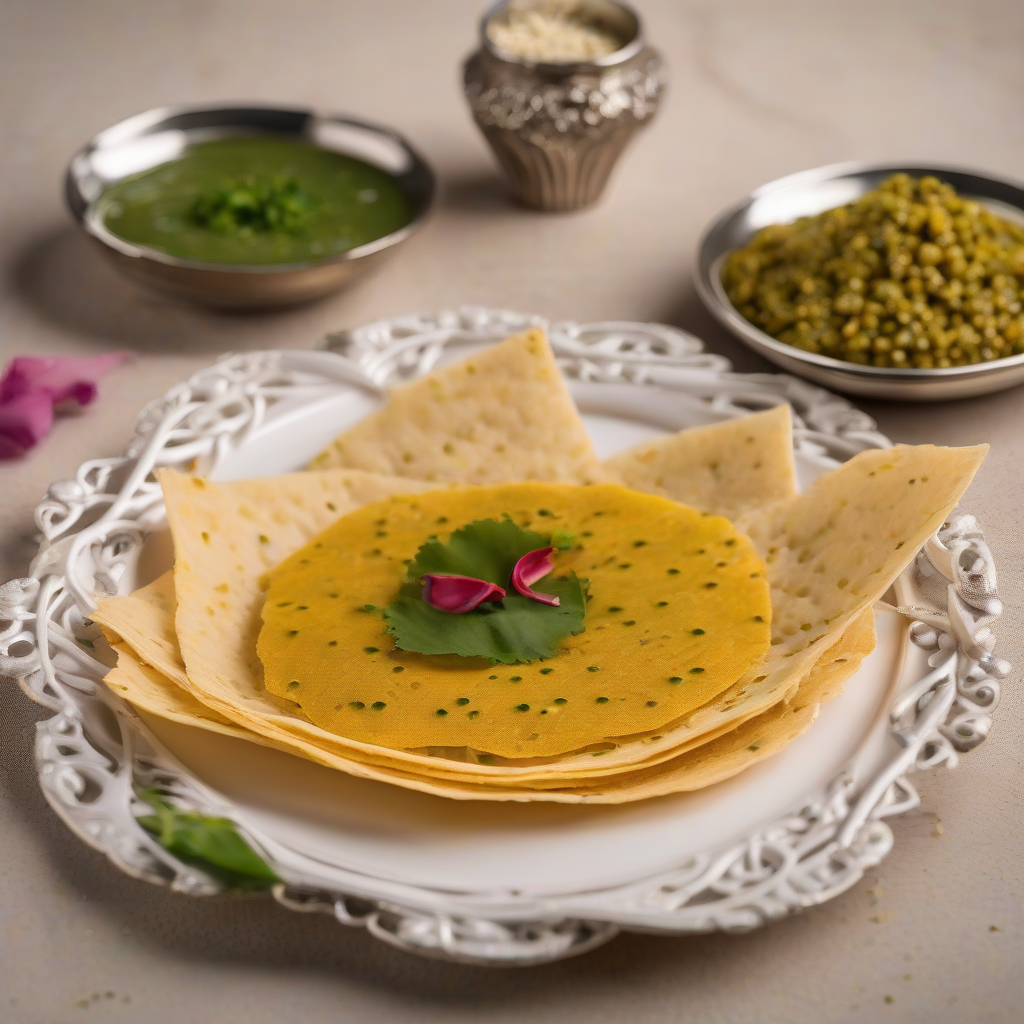
Moong Dal Papad: A Crunchy Affair, Made with Love!
Namaste Dosto! Kem Cho? Sat Sri Akal!
Chef Curry Do’pyaza here, back with another cracking recipe to tickle your taste buds and bring a little bit of India into your kitchen. Today, we’re diving into the world of papad, that quintessential Indian snack that’s as versatile as it is delicious. But not just any papad, we’re talking about the humble, yet utterly delightful, Moong Dal Papad!
This isn’t just a recipe; it’s a journey into the heart of Indian snacking.
When Do We Munch on These Crispy Delights?
Moong Dal Papad is a constant companion during festive occasions. Diwali, Holi, weddings – you name it, papad is there! They are also a staple during the hot summer months, enjoyed with a cool glass of lassi (buttermilk) or as a crunchy side with a simple dal-chawal (lentil and rice) meal. It’s a year-round favorite in many Indian households.
A Little Papad History, Just for You!
The history of papad is as old as the Indian culinary tradition itself. While its exact origins are shrouded in mystery, papad is believed to have originated in the kitchens of Rajasthan. Traditionally, it was a way to preserve lentils and spices during the dry season. Over time, it evolved into the crispy, flavorful snack we all know and love.
Let’s Get Cooking!
Preparation Time: 15 minutes (excluding soaking)
Cooking Time: 2-3 minutes per papad (depending on the method)
Ingredients – The Magic Makers!
- 1 cup Moong Dal (Split Yellow Lentils), soaked for at least 4 hours
- 1/2 tsp Kali Mirch Powder (Black Pepper Powder) – for that extra zing!
- 1/4 tsp Hing (Asafoetida) – a pinch of magic!
- 1/2 tsp Lal Mirch Powder (Red Chili Powder) – adjust to your spice level!
- 1/2 tsp Jeera (Cumin Seeds) – earthy goodness!
- Salt to taste – don’t be shy!
- 1 tbsp Cooking Oil – for a smooth dough
Step-by-Step Instructions – Your Papad Adventure Begins!
- Soak the Dal: Wash the moong dal thoroughly and soak it in enough water for at least 4 hours, or even overnight. This makes it easier to grind.
- Grind it Fine: Drain the dal and grind it into a very smooth paste using a grinder or blender. Add a little water if needed, but be careful not to make it too watery.
- Spice it Up: In a large bowl, mix the ground dal paste with kali mirch powder, hing, lal mirch powder, jeera, and salt. Mix everything really well until all the spices are evenly distributed.
- Knead the Dough: Add the cooking oil and knead the mixture into a smooth, non-sticky dough. It should be firm but pliable.
- Roll it Out: Divide the dough into small, equal-sized balls. On a lightly oiled surface, roll each ball into a very thin circle, about 3-4 inches in diameter. You can use a rolling pin or a papad press if you have one.
- Dry it Out: Place the rolled-out papads on a clean cloth or parchment paper and let them dry in the sun for 2-3 days, turning them occasionally. If you don’t have access to sunlight, you can dry them in a low-temperature oven (around 150°F or 65°C) for a few hours.
- Fry or Roast: Once the papads are completely dry, you can fry them in hot oil until golden brown and crispy, or roast them directly over an open flame until they puff up.
Chef Curry’s Tips for Papad Perfection!
- Soaking is Key: Don’t skimp on the soaking time. It ensures a smooth paste and easier digestion.
- Thin is In: The thinner you roll the papads, the crispier they will be.
- Drying is Crucial: Make sure the papads are completely dry before frying or roasting. This prevents them from becoming soggy.
- Spice it Right: Adjust the amount of lal mirch powder to your taste. If you prefer a milder flavor, reduce the quantity.
Papad, Your Way! Different Cooking Methods
- Gas Stove: The traditional method. Fry or roast directly over the flame.
- Induction Stove: Use a flat pan for roasting or deep fry in a wok.
- Oven: Bake at 350°F (175°C) for a few minutes until crispy.
- Microwave: Place a papad on a microwave-safe plate and microwave for 30-60 seconds. Watch carefully to avoid burning.
- Air Fryer: Air fry at 350°F (175°C) for 2-3 minutes, flipping halfway through.
Nutritional Nuggets!
Moong Dal Papad is a good source of protein and fiber. It’s also low in fat, especially if roasted instead of fried. However, it’s important to remember that it’s also high in sodium, so consume it in moderation.
Serving Suggestions – Let’s Get Creative!
- As a Side: Serve it with your favorite dal, rice, or curry.
- As a Snack: Enjoy it with chutney or raita.
- Crushed and Sprinkled: Crumble it over salads or chaats for a crunchy topping.
- Papad Cones: Make small cones and fill them with savory fillings.
Time to Get Cooking!
There you have it, folks! A simple yet satisfying recipe for Moong Dal Papad. I encourage you to try this recipe at home and share it with your friends and family. It’s a great way to experience the authentic flavors of India.
Happy Cooking, and remember, the best ingredient is always love!
