Sael Roti: A Taste of Festive Cheer, Just Like Ghar Ka Khana!
Namaste and Sat Sri Akal, my lovely foodies! Chef Curry Do-Pyaza here, back with another recipe that’s close to my heart, and I hope will soon be close to yours too! Today, we’re diving into the warm, comforting world of Sael Roti – a sweet, almost doughnut-like bread that’s a staple in many Nepali and North Indian homes. It’s like a warm hug on a cold day, truly ghar ka khana (food of the home)!
This isn’t just a recipe; it’s a story. It’s a tradition.
When Do We Eat Sael Roti?
Sael Roti is more than just a snack; it’s a symbol of celebration! You’ll find it gracing tables during Dashain (a major Hindu festival), Tihar (the festival of lights, also known as Diwali in other parts of India), and weddings. It’s often prepared for special occasions and family gatherings. Think of it as the Indian equivalent of a festive doughnut, bringing joy and sweetness to every occasion. It’s especially enjoyed during the cooler months, as the warm, fried bread is incredibly comforting.
A Little History Lesson (Don’t Worry, It’s Short!)
Sael Roti has been around for generations, passed down through families like a cherished secret. Its origins are deeply rooted in Nepali culture, and it has since become a beloved treat in many parts of India, especially in regions with a strong Nepali influence. Every family has their own little twist on the recipe, making each bite a unique experience.
Let’s Get Cooking!
Preparation Time: 20 minutes (plus soaking time)
Cooking Time: 30-40 minutes
What You’ll Need (Ingredients):
- Chawal ka Atta (Rice Flour): 2 cups
- Cheeni (Sugar): ½ cup (adjust to your sweetness preference)
- Ghee (Clarified Butter): 2 tablespoons (plus more for frying)
- Dahi (Yogurt): 2 tablespoons (plain, unsweetened)
- Elaichi Powder (Cardamom Powder): ½ teaspoon
- Laung (Cloves): 2-3 (optional, for flavouring the ghee)
- Tel (Oil): For deep frying
Let’s Make Some Magic (Instructions):
- Soak the Rice: Wash the rice flour and soak it in enough water to cover it completely for at least 4-5 hours, or preferably overnight. This makes the roti soft and fluffy.
- Blend it Smooth: Drain the soaked rice flour completely. Now, in a blender, grind the soaked rice flour with sugar, yogurt, cardamom powder, and ghee. Add a little water if needed to form a smooth, thick batter. It should be the consistency of pancake batter.
- Heat the Ghee: In a deep kadhai (wok) or frying pan, heat enough ghee or oil for deep frying. If using cloves, add them to the ghee to infuse it with a warm, aromatic flavour. Remove the cloves before frying.
- Fry the Rotis: Once the ghee is hot (test with a tiny drop of batter – it should sizzle and rise to the top), carefully pour a ladleful of batter into the hot ghee. Use a spoon or skewer to gently shape the roti into a ring or doughnut shape.
- Golden Brown Goodness: Fry the roti on medium heat until it turns golden brown on both sides. Flip it carefully to ensure even cooking.
- Drain and Enjoy: Remove the fried roti from the ghee and place it on a paper towel-lined plate to drain excess oil.
- Serve Warm: Sael Roti is best enjoyed warm!
Chef Curry’s Top Tips:
- Batter Consistency is Key: The batter should be thick enough to hold its shape when poured into the hot ghee, but not so thick that it becomes difficult to pour.
- Temperature Control: Maintaining the right ghee temperature is crucial. If it’s too hot, the roti will burn quickly. If it’s not hot enough, the roti will absorb too much oil.
- Patience is a Virtue: Don’t overcrowd the kadhai. Fry only one or two rotis at a time to ensure they cook evenly.
- Sweetness Adjustment: Feel free to adjust the amount of sugar to your liking. Some people prefer a sweeter roti, while others prefer a more subtle sweetness.
Cooking It Your Way:
- Gas Stove: The traditional method, and the one I recommend! Use a heavy-bottomed kadhai for even heat distribution.
- Induction Stove: Works perfectly well! Just be sure to use a compatible kadhai.
- Air Fryer: While not traditional, you can experiment with air frying. Brush the rotis with ghee and air fry at 350°F (175°C) for about 10-12 minutes, flipping halfway through. The texture will be different, but it’s a healthier alternative.
- Oven: Not recommended as it will dry out the roti.
Nutritional Information (Approximate, per roti):
- Calories: 150-200
- Carbohydrates: 25-30g
- Fat: 5-10g
- Protein: 2-3g
Note: Nutritional information varies based on ingredients and cooking methods.
Serving Suggestions:
- Enjoy Sael Roti as is, warm and fresh.
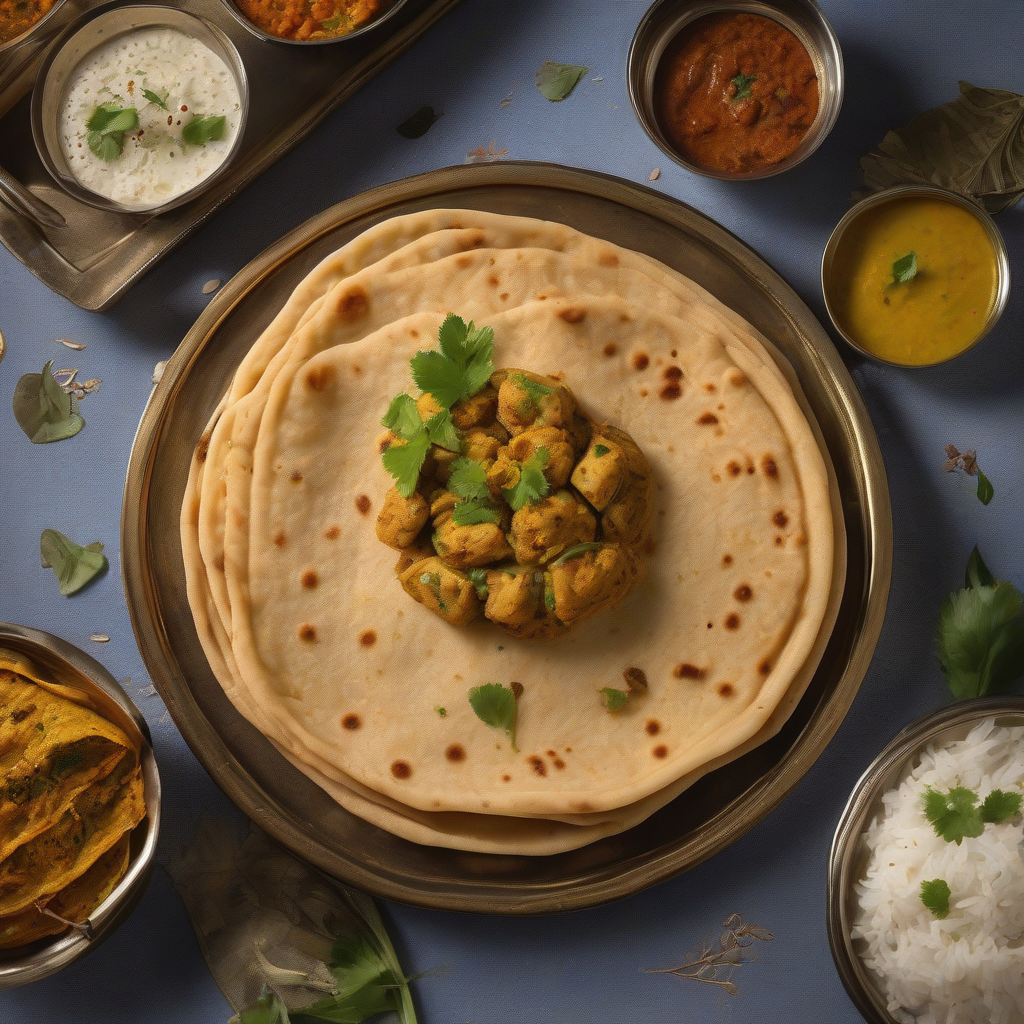
- Serve it with a side of aloo dum (potato curry) or tarkari (mixed vegetable curry) for a complete meal.
- Pair it with a cup of chai or coffee for a delightful afternoon snack.
- It also tastes great with a dollop of yogurt or a sprinkle of powdered sugar.
Time to Cook!
So there you have it, folks! My simple yet delicious recipe for Sael Roti. I encourage you to try this recipe at home and share the joy with your friends and family. Nothing beats the taste of homemade goodness, especially when it’s shared with loved ones.
Happy cooking, and until next time, keep the flavours alive!