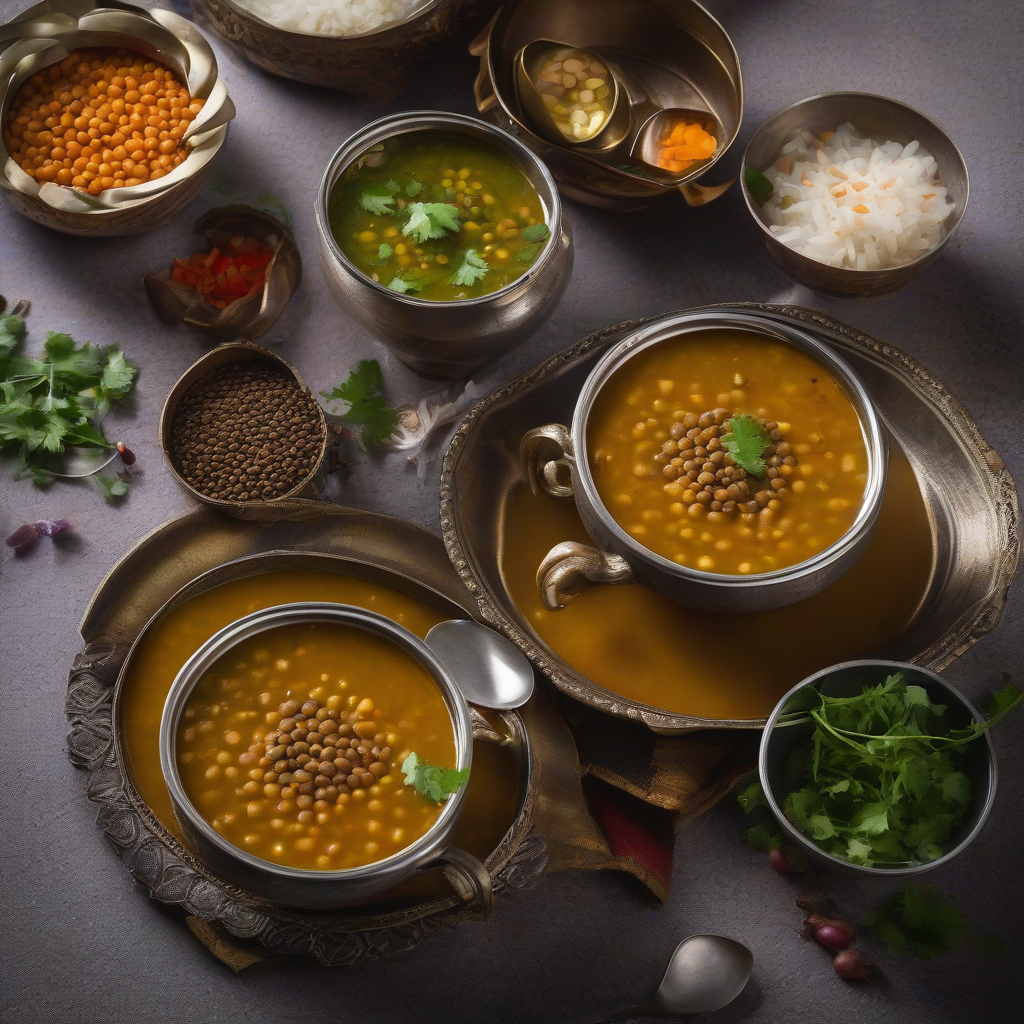
Ooti Magic: A Soul-Satisfying Lentil Delight!
Namaste Dosto! Kem cho? Aadaab! Chef Curry Do’pyaza here, back with another delicious dish to brighten your day. Today, we’re diving into the warm, comforting world of Ooti, a humble yet incredibly flavourful lentil soup that’s a staple in many Maharashtrian homes.
Ooti isn’t just a soup; it’s a hug in a bowl!
When do we make Ooti?
You’ll often find Ooti gracing the tables during auspicious occasions like Gudi Padwa, Diwali, and Ganesh Chaturthi. It’s a simple, satvik (pure) dish, perfect for offering during prayers and celebrations. It is also a common dish during the monsoon season, when a hot bowl of soup is exactly what you need to warm you up on a cold day.
A Little History Lesson
Ooti has been around for generations, passed down through families. It’s a testament to the ingenuity of Indian cooks, who transformed simple lentils into something truly special. It’s a dish rooted in tradition, made with love and care.
Let’s Get Cooking!
Here’s how to make a pot of Ooti that will make you the star of your kitchen!
Preparation Time: 15 minutes
Cooking Time: 30 minutes
What You’ll Need (Ingredients):
- 1 cup Toor Dal (Split Pigeon Peas)
- 4 cups Pani (Water)
- 1 tsp Haldi Powder (Turmeric Powder)
- 1/2 tsp Hing (Asafoetida)
- 1-2 Green Chillies, finely chopped (adjust to your spice level)
- 1 inch Adrak (Ginger), grated
- 1 tbsp Ghee (Clarified Butter) or Oil
- 1 tsp Rai (Mustard Seeds)
- 1/2 tsp Jeera (Cumin Seeds)
- 5-6 Curry Leaves
- 2 tbsp fresh Hara Dhaniya (Cilantro), chopped
- Nimak (Salt) to taste
- 1 tbsp Lemon Juice (optional)
Step-by-Step Instructions:
- Wash the Dal: Rinse the Toor Dal thoroughly under running water until the water runs clear. This removes any impurities.
- Cook the Dal: In a pot, combine the washed dal with 4 cups of water and turmeric powder. Bring to a boil, then reduce the heat and simmer until the dal is soft and mushy. This usually takes about 20-25 minutes. Keep an eye on it, and add more water if needed.
- Temper the Spices: While the dal is cooking, let’s prepare the tempering! Heat ghee (or oil) in a small pan. Once hot, add mustard seeds. When they start to splutter, add cumin seeds, hing, and curry leaves. Sauté for a few seconds until fragrant.
- Add the Aromatics: Add the chopped green chillies and grated ginger to the tempering. Sauté for another minute.
- Combine Everything: Pour the tempering into the cooked dal. Mix well.
- Season and Simmer: Add salt to taste. Let the Ooti simmer for another 5-7 minutes, allowing the flavours to meld together beautifully.
- Garnish and Serve: Stir in the fresh cilantro. If you like, add a squeeze of lemon juice for a tangy kick.
Chef Curry’s Top Tips for Ooti Perfection:
- Soak the Dal: Soaking the dal for 30 minutes before cooking helps it cook faster and makes it easier to digest.
- Don’t Overcook: Overcooked dal can become sticky. Cook until it’s soft but still retains some texture.
- Adjust the Spices: Feel free to adjust the amount of green chillies to suit your spice preference.
- Fresh is Best: Use fresh ingredients for the best flavour.
Cooking it Your Way:
- Pressure Cooker: For a faster version, pressure cook the dal with water and turmeric powder for 3-4 whistles.
- Slow Cooker/Crockpot: Combine the dal, water, and turmeric in a slow cooker. Cook on low for 6-8 hours, or on high for 3-4 hours. Add the tempering just before serving.
- Induction Stove: Use the same method as the gas stove, adjusting the heat settings as needed.
- Microwave: Not recommended for this recipe.
Nutritional Goodness:
Ooti is packed with protein, fiber, and essential nutrients. It’s a healthy and wholesome dish that’s good for your body and soul.
Serving Suggestions:
- Serve Ooti hot with steamed rice or roti.
- It also pairs well with a side of vegetable sabzi or a dollop of yogurt.
- For a complete Maharashtrian meal, serve it with bhakri (millet flatbread) and pithla (gram flour curry).
Time to Cook!
There you have it, folks! A simple yet satisfying recipe for Ooti. It’s a dish that’s easy to make, bursting with flavour, and sure to bring a smile to your face. Try this recipe at home and share the deliciousness with your friends and family.
Happy Cooking!