Paneer Rolls: A Chatpata Treat to Spice Up Your Day, My Doston!
Namaste, Sat Sri Akal, Kem Chho, and Vanakkam, my dear food-loving friends! Chef Curry Do’pyaza here, back with another tantalizing recipe that will transport your taste buds straight to the bustling streets of India. Today, we are diving into the world of Paneer Rolls – a delightful, flavorful, and oh-so-satisfying snack that is perfect for any occasion.
When the Paneer Rolls Roll Out!
Paneer Rolls are not just a snack; they are a celebration! You will find them gracing tables during festive times like Diwali, Holi, and even those joyous wedding celebrations. They are also a popular treat during monsoon season when you crave something warm and spicy. Think of them as a comforting hug in a crispy, flaky package. They are also a great addition to any picnic basket.
A Little History, My Yaars!
While the exact origin of the Paneer Roll is a bit hazy, it is believed to have evolved from the popular Indian street food culture. The concept of wrapping flavorful fillings in bread or flatbreads is ancient, but the modern Paneer Roll, with its specific blend of spices and textures, likely emerged in the vibrant culinary landscape of urban India. It’s a delicious marriage of traditional Indian flavors and convenient, portable eating.
Let’s Get Cooking!
Preparation Time: 20 minutes
Cooking Time: 25 minutes
Ingredients, Mere Pyare Doston!
- For the Paneer Filling:
- 250 grams Paneer (Indian Cottage Cheese), crumbled
- 1 medium Onion (Pyaaz), finely chopped
- 1 Green Bell Pepper (Shimla Mirch), finely chopped
- 1 inch Ginger-Garlic Paste (Adrak-Lahsun ka Paste)
- 1-2 Green Chilies (Hari Mirch), finely chopped (adjust to your spice level!)
- 1 teaspoon Garam Masala (Garam Masala)
- 1/2 teaspoon Turmeric Powder (Haldi Powder)
- 1 teaspoon Red Chili Powder (Lal Mirch Powder)
- 1 teaspoon Coriander Powder (Dhaniya Powder)
- 1/2 teaspoon Cumin Powder (Jeera Powder)
- 1 tablespoon Lemon Juice (Nimbu ka Ras)
- 2 tablespoons Chopped Cilantro (Hara Dhaniya)
- Salt (Namak) to taste
- 2 tablespoons Oil (Tel)
- For the Rolls:
- 6-8 Roti (Indian Flatbreads) or Tortillas
- Green Chutney (Hari Chutney)
- Tamarind Chutney (Imli Chutney)
- Optional: Finely chopped Onion and Cilantro for garnish
Step-by-Step Instructions, Chalo!
- Prepare the Paneer Filling: In a kadai or pan, heat the oil over medium heat. Add the chopped onion and sauté until golden brown. This usually takes about 5 minutes.
- Add the ginger-garlic paste and green chilies. Sauté for another minute until fragrant. The aroma will fill your kitchen with a delicious, inviting smell.
- Add the chopped bell pepper and sauté for 2-3 minutes, until slightly softened but still crunchy.
- Add the crumbled paneer and all the spice powders (garam masala, turmeric powder, red chili powder, coriander powder, cumin powder). Mix well to coat the paneer evenly with the spices.
- Sauté for 5-7 minutes, stirring occasionally, until the paneer is heated through and the spices are well combined. Be careful not to overcook the paneer, as it can become dry.
- Stir in the lemon juice and chopped cilantro. Mix well and remove from heat. Your paneer filling is ready!
- Assemble the Rolls: Warm the roti or tortillas on a tawa or skillet. This will make them more pliable and easier to roll.
- Spread a generous amount of green chutney and tamarind chutney on each roti.
- Spoon a portion of the paneer filling onto the center of each roti.
- Optional: Sprinkle some finely chopped onion and cilantro over the filling.
- Roll up the roti tightly, like a burrito. You can secure the roll with a toothpick if needed.
- Toast the Rolls (Optional): You can toast the rolls on a tawa or skillet for a few minutes on each side, until golden brown and crispy. This step is optional, but it adds a nice texture to the rolls.
Chef Curry’s Top Tips for Perfect Paneer Rolls!
- Paneer Power: Use fresh, good-quality paneer for the best flavor and texture. If your paneer is too firm, you can soak it in warm water for a few minutes to soften it.
- Spice it Up (or Down): Adjust the amount of green chilies and red chili powder to suit your spice preference. Remember, you can always add more spice, but you can’t take it away!
- Chutney Choices: Feel free to experiment with different chutneys. Mint-coriander chutney, garlic chutney, or even a simple tomato chutney can be delicious additions.
- Get Creative with Veggies: You can add other vegetables to the filling, such as grated carrots, shredded cabbage, or chopped spinach.
- Make it Ahead: You can prepare the paneer filling ahead of time and store it in the refrigerator for up to 2 days. Just warm it up before assembling the rolls.
Cooking it Your Way!
- Gas Stove/Induction Stove: The recipe is designed for these. Follow the instructions above.
- Oven: Assemble the rolls and place them on a baking sheet. Bake at 350°F (175°C) for 10-15 minutes, or until heated through and slightly crispy.
- Air Fryer: Place the assembled rolls in the air fryer basket and cook at 350°F (175°C) for 5-7 minutes, or until golden brown and crispy.
- Microwave: Not recommended, as the rolls can become soggy.
Nutritional Information (Approximate, per roll):
- Calories: 250-300
- Protein: 15-20g
- Carbohydrates: 25-30g
- Fat: 10-15g
Serving Suggestions, Mere Dost!
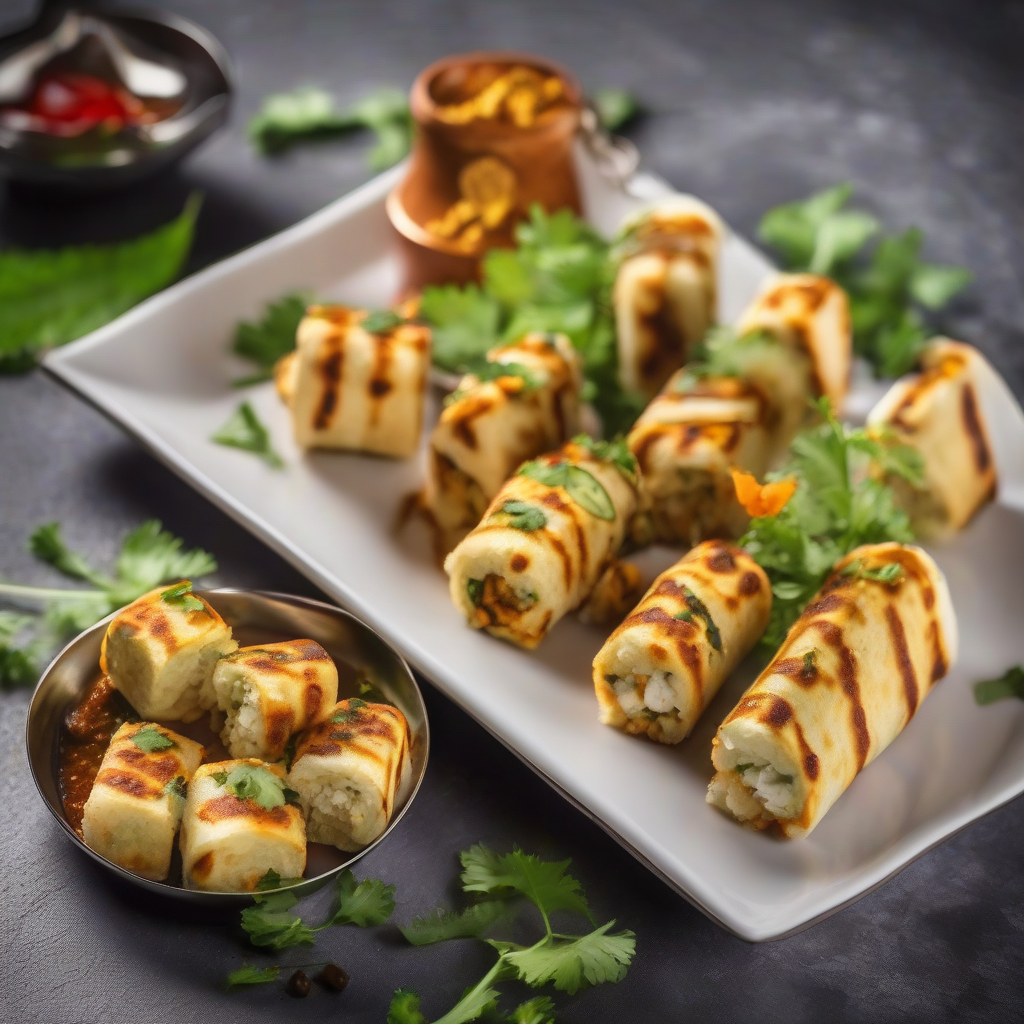
Serve these scrumptious Paneer Rolls hot as a snack, appetizer, or light meal. They are perfect with a side of yogurt dip, raita, or extra chutney. You can also cut them into smaller pieces and serve them as party snacks.
A Final Word, and a Call to Action!
So there you have it, my friends! A simple, yet incredibly flavorful recipe for Paneer Rolls that you can easily make at home. I encourage you to try this recipe and experience the joy of creating something delicious with your own hands. Share these delightful rolls with your friends and family and spread the love of Indian cuisine.
Happy cooking, and remember, the best ingredient is always love!