Kya Baat Hai! Thalassery Biryani – The King of Flavours from Kerala!
Namaste and Aadaab, my lovely food-loving friends! Chef Curry Do’pyaza here, ready to whisk you away on another delicious culinary adventure. Today, we’re journeying to the beautiful Malabar coast of Kerala to explore a biryani that’s truly special: the magnificent Thalassery Biryani!
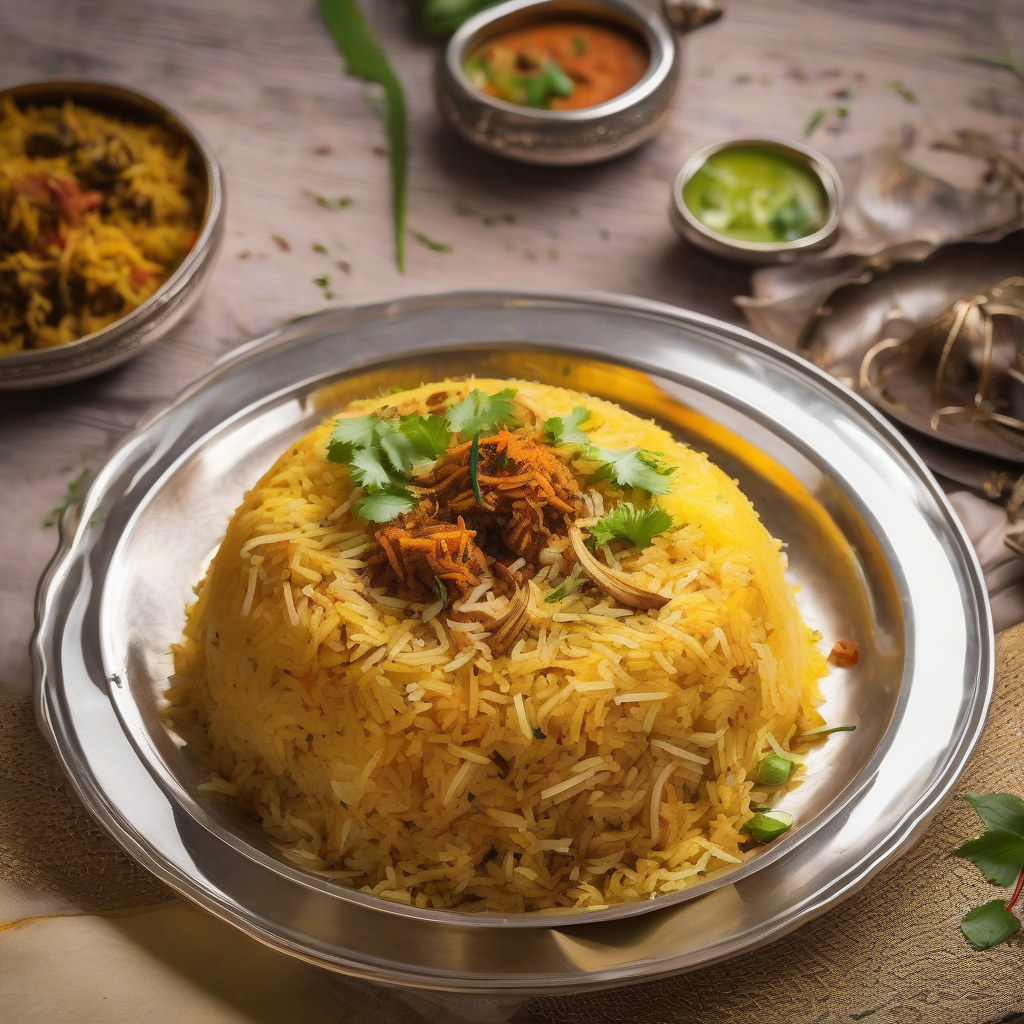
This isn’t just any biryani, folks. It’s a celebration on a plate! In the vibrant region of Thalassery, this dish is the star of many occasions. Think Eid celebrations filled with joyous gatherings, weddings where the aroma fills the air with happiness, and even simple family get-togethers where love is served alongside fragrant rice and tender meat. It’s especially popular during the monsoon season, when a warm, flavorful meal is exactly what the soul craves.
A Little Bit of History, a Whole Lotta Flavour
Thalassery Biryani boasts a fascinating past. It’s believed to have originated from the Mughal kitchens, brought to the Malabar coast by traders. Over time, it blended seamlessly with the local flavors and spices, resulting in the unique and utterly delightful dish we know and love today. What sets it apart is the use of short-grain Khaima rice, also known as Jeerakasala rice, and the distinctive Malabar spices.
Let’s Get Cooking!
Preparation Time: 45 minutes
Cooking Time: 60 minutes
Ingredients: The Magic Makers
- For the Mutton:
- 750g Mutton (with bone), cut into medium pieces
- 2 large Onions (Pyaaz), thinly sliced
- 2 tbsp Ginger-Garlic Paste (Adrak-Lahsun Paste)
- 2 Green Chillies (Hari Mirch), slit
- 1 tsp Turmeric Powder (Haldi)
- 2 tbsp Red Chilli Powder (Lal Mirch Powder)
- 1 tbsp Coriander Powder (Dhania Powder)
- 1/2 tsp Garam Masala
- 1/4 cup Yogurt (Dahi), whisked
- 2 tbsp Lemon Juice (Nimbu Ka Ras)
- Salt (Namak) to taste
- 3 tbsp Coconut Oil (Nariyal Tel)
- For the Rice:
- 2 cups Khaima Rice (Jeerakasala Rice), soaked for 30 minutes
- 4 cups Water
- 2 Bay Leaves (Tej Patta)
- 4 Cloves (Laung)
- 4 Cardamoms (Elaichi)
- 1 inch Cinnamon Stick (Dalchini)
- 1 tbsp Ghee (Clarified Butter)
- Salt (Namak) to taste
- For Garnish:
- 1 large Onion (Pyaaz), thinly sliced and deep-fried (Birista)
- 1/4 cup Cashews (Kaju), fried
- 1/4 cup Raisins (Kishmish), fried
- 2 tbsp chopped Coriander Leaves (Hara Dhania)
- 2 tbsp chopped Mint Leaves (Pudina)
- A pinch of Saffron strands (Kesar), soaked in 2 tbsp warm milk
Step-by-Step Instructions: Your Guide to Biryani Bliss
- Marinate the Mutton: In a large bowl, combine the mutton pieces with ginger-garlic paste, green chillies, turmeric powder, red chilli powder, coriander powder, garam masala, yogurt, lemon juice, and salt. Mix well and let it marinate for at least 30 minutes. The longer, the better!
- Cook the Mutton: Heat coconut oil in a heavy-bottomed pot or pressure cooker. Add the sliced onions and sauté until golden brown. Add the marinated mutton and cook on medium heat until the mutton is browned and the spices are fragrant. Add about 1 cup of water, cover, and cook until the mutton is tender. If using a pressure cooker, cook for about 4-5 whistles. Ensure the mutton is cooked through but not falling apart.
- Prepare the Rice: While the mutton is cooking, drain the soaked rice. In a large pot, bring 4 cups of water to a boil. Add bay leaves, cloves, cardamoms, cinnamon stick, ghee, and salt. Add the drained rice and cook on medium heat until the rice is about 70% cooked. It should still have a slight bite to it. Drain the rice, reserving about 1/2 cup of the starchy water (rice stock).
- Layer the Biryani: In a large, heavy-bottomed pot, layer half of the cooked rice. Spread the cooked mutton evenly over the rice. Top with the remaining rice. Drizzle the reserved rice stock over the rice. Sprinkle saffron milk, fried onions (birista), fried cashews, fried raisins, chopped coriander leaves, and chopped mint leaves on top.
- Dum Cooking: Cover the pot tightly with a lid. You can seal the edges with dough to prevent steam from escaping. Cook on very low heat (dum) for about 20-25 minutes. This allows the flavors to meld together beautifully.
- Serve and Enjoy: Gently fluff the biryani with a fork, being careful not to break the rice grains. Serve hot and bask in the aroma and flavors!
Tips for the Perfect Biryani
- Quality Ingredients: Use the best quality Khaima rice and fresh spices for the most authentic flavor.
- Don’t Overcook the Mutton: Tender mutton is key to a delicious biryani.
- Low and Slow: Dum cooking is crucial for the flavors to blend perfectly. Be patient!
- Ghee is Gold: Don’t skimp on the ghee! It adds richness and flavor.
Cooking Variations: Your Kitchen, Your Rules!
- Gas Stove: Follow the recipe as is, ensuring the heat is low during the dum cooking process.
- Induction Stove: Use a heavy-bottomed pot and adjust the heat settings accordingly.
- Pressure Cooker: You can cook the mutton in the pressure cooker. For the dum, transfer the layered biryani to a regular pot and cook on low heat.
- Oven: Layer the biryani in an oven-safe dish, cover tightly with foil, and bake at 300°F (150°C) for about 20-25 minutes.
- Slow Cooker/Crockpot: Not recommended for traditional Thalassery Biryani, as the layering and dum process are essential.
Nutritional Information (Approximate, per serving):
- Calories: 600-700
- Protein: 30-40g
- Carbohydrates: 70-80g
- Fat: 25-35g
Note: Nutritional information may vary based on specific ingredients and portion sizes.
Serving Suggestions: A Feast for the Senses
Thalassery Biryani is a complete meal in itself! However, it pairs wonderfully with:
- Raita (Yogurt Dip)
- Papadum
- Pickles
- Salad
Time to Cook!
So there you have it, folks! My treasured recipe for Thalassery Biryani. Now, it’s your turn to create magic in your kitchen. Try this recipe at home, share it with your loved ones, and let the aromatic flavors transport you to the beautiful shores of Kerala. Happy cooking!