Arey Wah! Bread Rasmalai: A Quick & Easy Sweet Treat That’ll Make You Go “Mmm!”
Namaste Doston! And a very warm Kem Chho and Sat Sri Akal to all my lovely readers! Chef Curry Do’pyaza here, ready to spice up your lives with a dessert that’s as easy as pie… well, easier than making a perfect roti, that’s for sure!
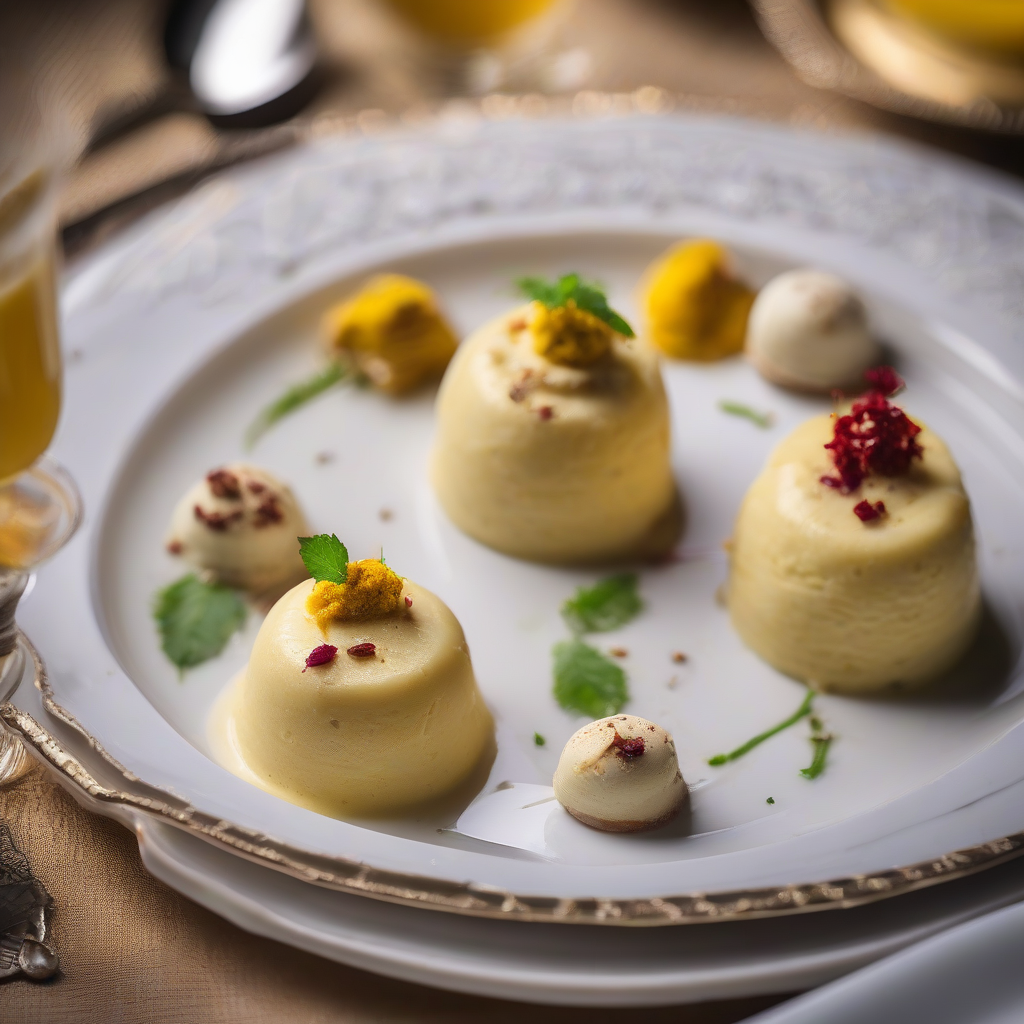
Today, we’re diving headfirst into the delightful world of Bread Rasmalai. This quick and clever twist on the classic Rasmalai is perfect for those sudden sweet cravings or when unexpected guests arrive. It’s a star during festive times like Diwali, Holi, or even a simple family get-together. Because let’s be honest, is there ever a wrong time for a delicious dessert? I think not!
A Little History Lesson (with a Twist!)
Rasmalai, the original, is believed to have originated in Bengal, a land known for its sweet creations. This bread version is a modern, ingenious adaptation, likely born from a home cook’s desire to whip up something similar, faster! It’s a testament to the Indian spirit of jugaad – finding clever solutions with what you have.
Prep Time: 15 minutes
Cook Time: 20 minutes
Ingredients – The Magic Makers!
- For the Ras (Milk Sauce):
- Dudh (Full Cream Milk): 1 litre
- Cheeni (Sugar): ½ cup (adjust to your sweet tooth!)
- Elaichi Powder (Cardamom Powder): ¼ teaspoon
- Kesar (Saffron Strands): A pinch (soaked in 2 tablespoons of warm milk)
- Pista & Badam (Pistachios & Almonds): Chopped, for garnish
- For the Bread Rasmalai:
- Bread Slices (White or Brown): 6-8 slices
- Malai (Fresh Cream) or Paneer (Indian Cottage Cheese): 2 tablespoons (optional, for stuffing)
- Ghee (Clarified Butter): For toasting (optional)
Let’s Get Cooking! – Step-by-Step Instructions
- Making the Ras (Milk Sauce): Pour the dudh into a heavy-bottomed pan. Bring it to a boil over medium heat, stirring occasionally to prevent it from sticking to the bottom.
- Once boiling, reduce the heat to low and let it simmer for about 15-20 minutes, stirring frequently. The milk should thicken slightly. This is where the magic happens!
- Add the cheeni and elaichi powder. Stir well until the sugar dissolves completely.
- Now, gently pour in the saffron-infused milk. This will give the ras a beautiful golden hue and a wonderful aroma. Simmer for another 5 minutes. Your kitchen will smell heavenly!
- Preparing the Bread: While the ras is simmering, trim the edges of the bread slices. You can use a cookie cutter or a glass to cut them into round shapes, if you like. It’s all about presentation, my friend!
- (Optional) Stuffing the Bread: If you’re feeling fancy, spread a little malai or mashed paneer on one slice of bread and top it with another. This adds a richer texture.
- (Optional) Toasting the Bread: Lightly toast the bread slices on a tawa (griddle) with a little ghee until golden brown on both sides. This prevents them from becoming too soggy in the ras.
- Assembling the Bread Rasmalai: Gently dip the bread slices into the warm ras for a few seconds on each side. Don’t soak them for too long, or they’ll fall apart!
- Arrange the soaked bread slices in a serving dish. Pour the remaining ras over them.
- Garnish with chopped pista and badam.
- Let it cool down to room temperature, then refrigerate for at least an hour before serving. This allows the flavors to meld together beautifully.
Chef Curry’s Top Tips for a Perfect Bread Rasmalai:
- Use full-cream milk for a richer, creamier ras. Skimmed milk will work, but the taste won’t be as decadent.
- Don’t over-soak the bread! A quick dip is all it needs.
- Adjust the sugar according to your preference. Remember, you can always add more, but you can’t take it away!
- Refrigerating the Rasmalai for a few hours allows the bread to absorb the ras and develop a wonderful flavor.
Cooking it Your Way!
- Gas Stove: The traditional method, and my personal favorite! Allows for precise control over heat.
- Induction Stove: Works just as well as a gas stove, offering similar heat control.
- Microwave: While I don’t recommend making the ras entirely in the microwave, you can use it to warm up the milk initially to speed up the process. Just microwave in short bursts, stirring in between, to prevent it from boiling over.
- Slow Cooker/Crockpot: You can use a slow cooker to simmer the ras for a longer period, resulting in an even richer flavor. Cook on low for 3-4 hours, stirring occasionally.
- Pressure Cooker: Absolutely not recommended for this recipe. The ras needs to simmer gently, which is not possible in a pressure cooker.
Nutritional Information (Approximate, per serving):
- Calories: 250-300
- Fat: 15-20g
- Protein: 8-10g
- Carbohydrates: 25-30g
Serving Suggestions:
Serve chilled as a dessert after a delicious Indian meal. It pairs perfectly with a cup of hot chai or coffee. You can also add a scoop of vanilla ice cream for an extra indulgent treat!
Now it’s Your Turn!
Go ahead, try this super easy Bread Rasmalai recipe at home. It’s a guaranteed crowd-pleaser. Share it with your friends and family and watch their faces light up with joy. After all, isn’t that what cooking is all about? Happy cooking, my friends! And remember, keep the spice alive!