Ram Ram, Namaste, and Kem Chho, Food Lovers! Chef Curry Do’pyaza is here!
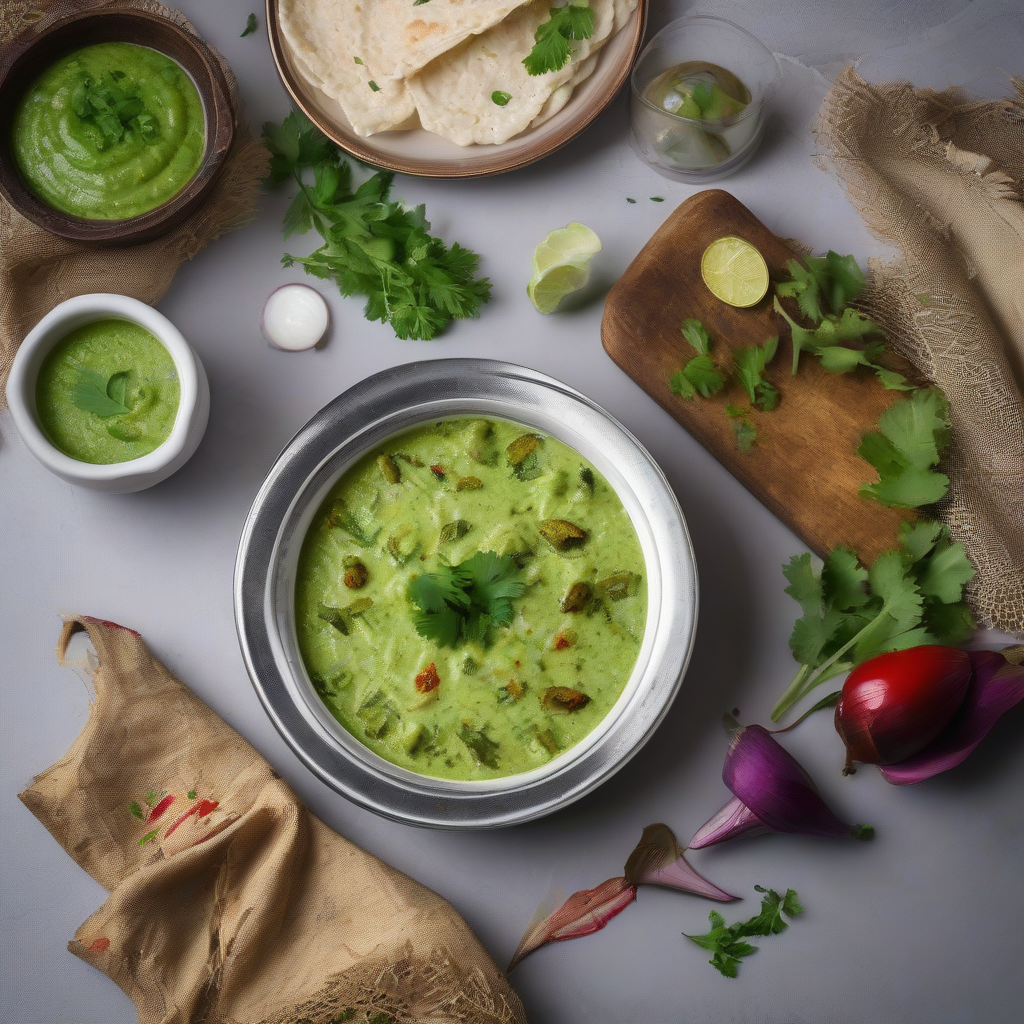
Welcome back to my little corner of the internet, where the aroma of spices dances in the air and every recipe tells a story. Today, we are diving into the cool, refreshing world of Pudina Raita – a dish so simple, yet so incredibly versatile.
Think of Pudina Raita as that reliable friend who always knows how to make you feel better on a hot summer day. It is a staple in Indian homes, especially during festivals like Holi, Diwali, and the scorching months of April and May when we crave something light and cooling. It is also a regular at weddings and family gatherings, adding a touch of freshness to the rich, spicy dishes.
A Glimpse into the Past
Raita, in general, has been a part of Indian cuisine for centuries. Its origins are a bit hazy, but it is believed to have evolved as a way to balance the heat of spicy curries. Pudina Raita, specifically, likely emerged as mint (pudina) became more widely cultivated and appreciated for its cooling properties. It is a testament to Indian ingenuity – using simple ingredients to create something truly special!
Let’s Get Cooking!
Preparation Time: 10 minutes
No Cooking Time! (That’s right, folks, it is that easy!)
What You Will Need (The Ingredients):
- 1 cup Dahi (Plain Yogurt) – Choose a thick, creamy one for the best texture.
- 1/2 cup Pudina ke Patte (Fresh Mint Leaves) – Packed tightly, for maximum flavor.
- 1/4 cup Hara Dhaniya (Fresh Cilantro Leaves) – Adds a bright, zesty note.
- 1-2 Hari Mirch (Green Chilies) – Adjust to your spice preference! I like mine with a little kick.
- 1/2 teaspoon Bhuna Jeera Powder (Roasted Cumin Powder) – This adds a lovely earthy aroma.
- 1/4 teaspoon Kala Namak (Black Salt) – The secret ingredient for that unique, savory flavor.
- Salt to taste – Regular table salt will do just fine.
- 1 tablespoon Nimbu ka Ras (Lemon Juice) – For a tangy twist.
- 1/4 cup Boondhi (Tiny fried gram flour balls) – Optional, but adds a delightful crunch!
How to Make Magic (The Instructions):
- Prep the Greens: Wash the pudina and hara dhaniya thoroughly. Nobody wants sandy raita! Pat them dry.
- Make a Paste: In a blender or food processor, combine the pudina, hara dhaniya, and hari mirch. Add a splash of water (just a tablespoon or two) to help it blend into a smooth, vibrant green paste.
- Whisk the Yogurt: In a bowl, whisk the dahi until it is smooth and creamy. No lumps allowed!
- Combine and Season: Add the green paste to the whisked dahi. Mix well until everything is evenly combined and you have a beautiful, light green color.
- Spice it Up: Add the bhuna jeera powder, kala namak, regular salt, and nimbu ka ras. Mix well.
- Chill Out: Cover the raita and refrigerate for at least 30 minutes. This allows the flavors to meld together beautifully.
- The Grand Finale: Just before serving, stir in the boondhi (if using). This keeps them nice and crunchy.
Chef Curry’s Top Tips:
- Use Fresh Ingredients: The fresher the mint and cilantro, the better the flavor.
- Don’t Over-Blend: Over-blending the herbs can make the paste bitter. Just blend until smooth.
- Taste and Adjust: Always taste the raita before serving and adjust the salt, spice, and lemon juice to your liking.
- Make it Ahead: Pudina Raita can be made a few hours in advance. Just store it in the refrigerator until ready to serve.
Cooking Mediums? Not Needed!
This recipe is wonderfully simple and does not require any cooking! No gas stove, induction, pressure cooker, oven, microwave, air fryer, slow cooker, fast cooker, or crockpot needed. It is a truly effortless dish.
Nutritional Nuggets:
Pudina Raita is not only delicious but also quite healthy! Yogurt is a great source of calcium and probiotics, while mint and cilantro are packed with vitamins and antioxidants. It is a guilt-free way to add flavor to your meals.
Serving Suggestions:
- Serve it as a cooling side dish with biryani, pulao, or tandoori dishes.
- Use it as a dip for pakoras or samosas.
- Enjoy it as a refreshing accompaniment to spicy curries.
- Simply enjoy it on its own as a light and flavorful snack.
Time to Get Cooking!
Now that you have the recipe, go ahead and try making Pudina Raita at home. It is incredibly easy and guaranteed to impress your family and friends. Share the deliciousness, and let me know how it turns out!