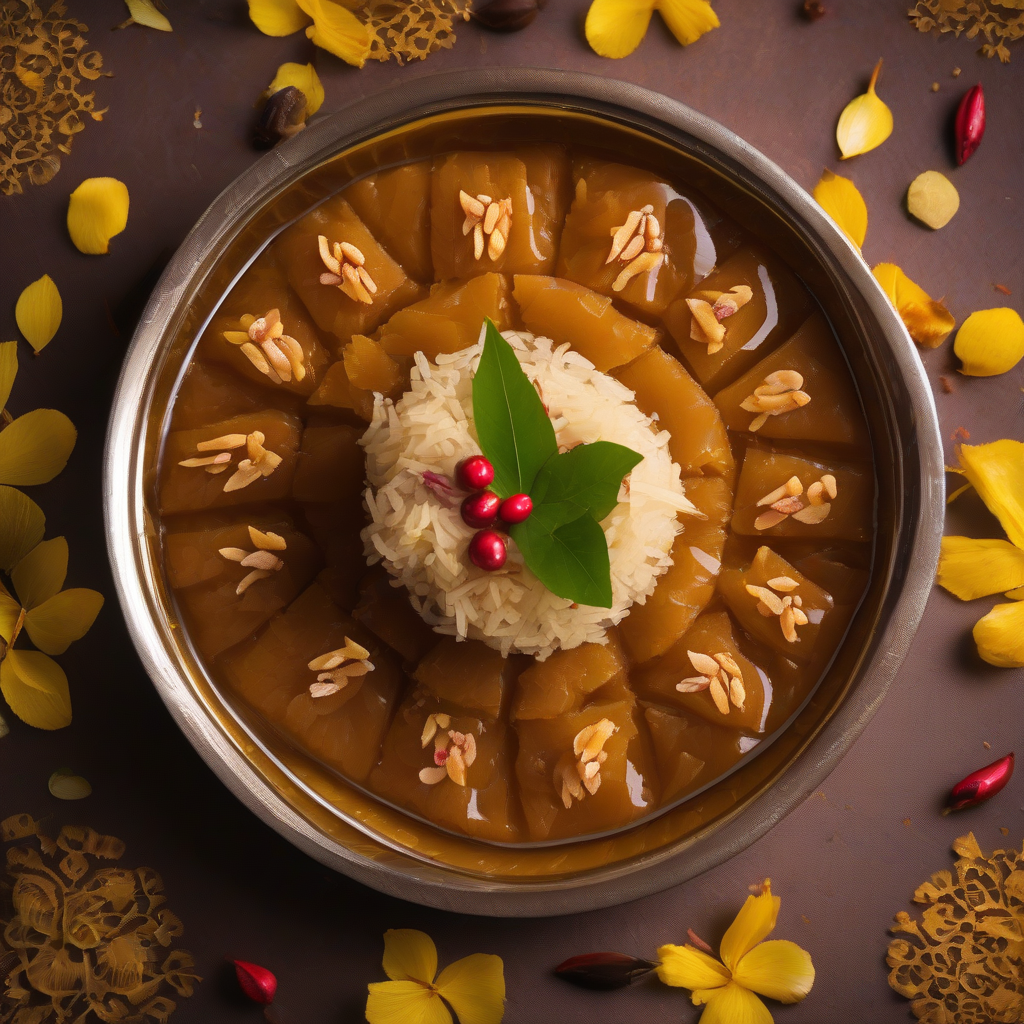
Aye Baburao! Chakko This Tirunelveli Halwa – A Sweet Symphony From the South!
Namaste Doston! Vanakkam Makkale! (Greetings friends! Greetings people!) Chef Curry Do’pyaza here, back in your kitchens and hearts with a recipe that’s as rich and heartwarming as a Bollywood hug! Today, we’re diving deep into the vibrant flavors of Tamil Nadu, all the way to Tirunelveli, the land of paddy fields and… you guessed it… the legendary Tirunelveli Halwa!
This isn’t just any halwa, folks. This is a dark, glistening, melt-in-your-mouth marvel that’s been tantalizing taste buds for generations. It’s the perfect sweet ending to a festive meal, a thoughtful gift during Diwali or Pongal, and a comforting treat on a cool monsoon evening. Trust me, once you try it, you’ll understand the hype!
A Glimpse into Halwa History
Legend has it that this delightful halwa originated in the late 19th century. A Rajasthani family, who migrated to Tirunelveli, adapted their traditional halwa recipe using the locally abundant Samba wheat and the pristine water of the Thamirabarani river. The unique combination of ingredients and the special cooking process gave birth to the Tirunelveli Halwa we know and love today. It’s a testament to the beautiful blend of cultures that makes India so special!
Get Ready to Cook!
Preparation Time: 15 minutes (plus soaking time)
Cooking Time: 45-60 minutes
What You’ll Need (The Khazana of Ingredients):
- Godhuma Rava (Broken Wheat/Dalia): 1 cup
- Sarkarai (Sugar): 2 cups (adjust to your sweetness preference, you sweet tooth, you!)
- Nei (Ghee/Clarified Butter): 1 cup (the star of the show!)
- Mundhiri Paruppu (Cashews): 1/4 cup, broken into pieces
- Elakkai Podi (Cardamom Powder): 1/2 teaspoon (for that aromatic touch)
- Food Colouring: A pinch of edible red food colouring (optional, for that rich, dark hue)
- Water: 4 cups (for soaking and cooking)
Let’s Get Cooking (The Step-by-Step Magic):
- Soaking the Rava: Wash the broken wheat thoroughly under running water. Soak it in 2 cups of water for at least 4 hours, or even better, overnight. This softens the wheat and makes it easier to cook.
-
Extracting the Milk: After soaking, grind the broken wheat with the remaining 2 cups of water in a blender until you get a smooth, milky consistency. Strain this mixture through a fine-mesh sieve or muslin cloth to separate the wheat milk from the coarse residue. Discard the residue.
-
The Halwa Begins to Form: In a heavy-bottomed pan or kadhai (wok), combine the wheat milk and sugar. Cook over medium heat, stirring continuously to prevent sticking.
-
Ghee, Glorious Ghee!: As the mixture starts to thicken, add ghee, a tablespoon at a time. Keep stirring! This is where the magic happens. The halwa will gradually absorb the ghee and develop a glossy sheen.
-
Color and Aroma: Once the halwa has absorbed most of the ghee and reached a thick, pudding-like consistency, add the red food coloring (if using) and cardamom powder. Mix well.
-
Nutty Delight: Fry the cashew pieces in a little ghee until golden brown. Add them to the halwa and mix well.
-
The Final Touch: Continue cooking and stirring until the halwa starts to leave the sides of the pan and forms a single mass. This indicates that it’s perfectly cooked.
-
Serve and Enjoy!: Remove the halwa from the heat and let it cool slightly before serving.
Chef Curry’s Top Tips:
- Patience is Key: This halwa requires constant stirring. Don’t rush the process.
- Ghee Quality Matters: Use good quality ghee for the best flavor and texture.
- Adjust Sweetness: Feel free to adjust the amount of sugar according to your taste.
- Don’t Burn It!: Keep the heat at medium and stir continuously to prevent burning.
- The Colour: The dark brown colour comes from the Maillard reaction of the sugar. It is not always necessary to add food colouring.
Halwa Hacks: Different Ways to Cook
- Gas Stove: Follow the recipe as described above.
- Induction Stove: Use medium heat and adjust as needed to prevent burning.
- Pressure Cooker (Not Recommended): While possible, it’s tricky to control the consistency. Avoid this method for best results.
- Oven (Not Recommended): This method is not suitable for this halwa.
- Microwave (Not Recommended): Not recommended, it is hard to get the same taste and texture as traditional methods.
- Air Fryer (Not Recommended): This method is not suitable for this halwa.
- Slow Cooker/Crockpot (Not Recommended): This method is not suitable for this halwa.
Nutritional Information (Approximate per serving):
- Calories: 350-400
- Fat: 20-25g
- Carbohydrates: 40-45g
- Protein: 3-4g
Note: These values are approximate and may vary depending on the specific ingredients used.
Serving Suggestions:
- Serve warm or at room temperature.
- Garnish with extra cashews or almonds.
- Enjoy it as a dessert after a hearty South Indian meal.
- Pair it with a scoop of vanilla ice cream for a decadent treat.
Now It’s Your Turn!
So there you have it, folks! The secret to making authentic Tirunelveli Halwa, straight from my kitchen to yours. Don’t be intimidated – it’s easier than it looks! Try this recipe at home and share the sweet joy with your friends and family. This halwa is best enjoyed when shared with loved ones.
Happy cooking, and remember to always cook with love!
Until next time, keep those pots simmering and those flavors dancing!
Your pal,
Chef Curry Do’pyaza!
