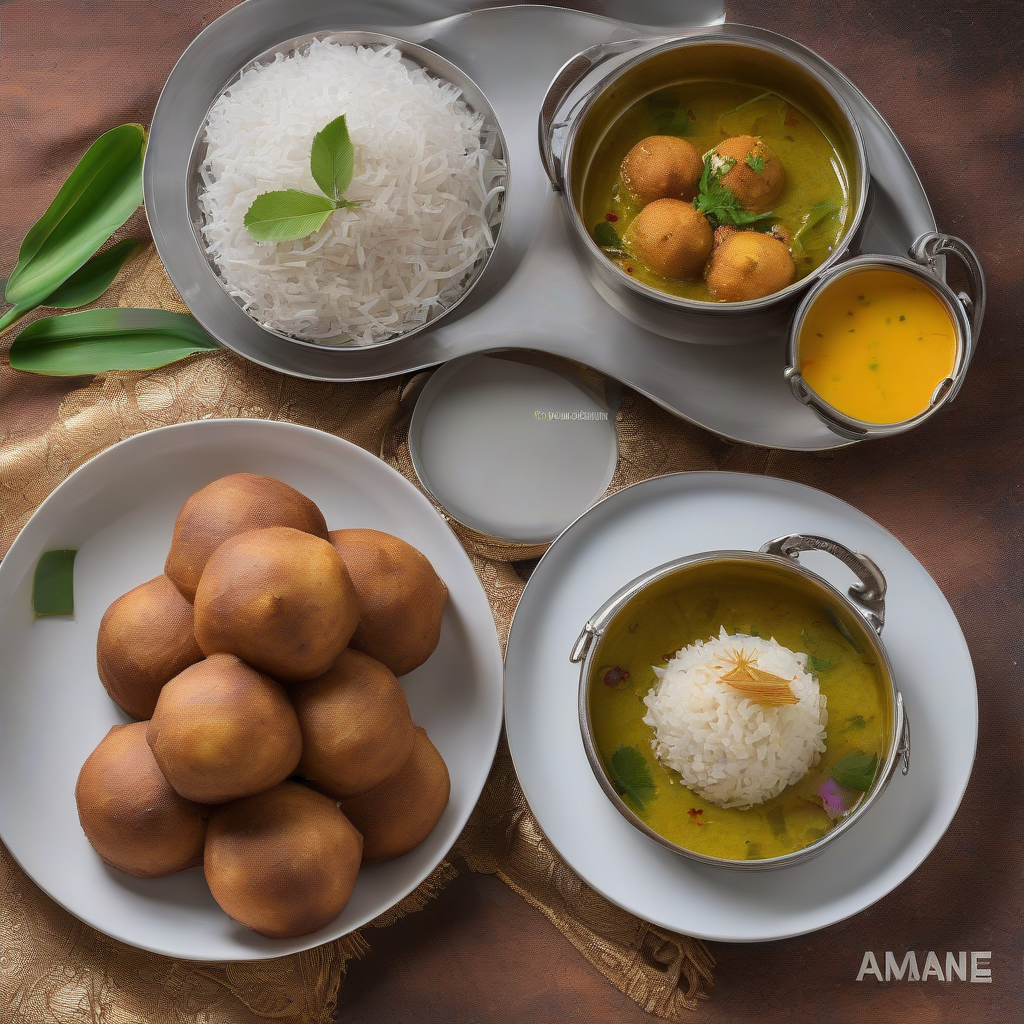
Achappam Antics: Let’s Get Cracking with Crispy Rosettes!
Namaste Doston! Kem cho? Vanakkam!
Chef Curry Do’pyaza here, back in your kitchens and hearts with another delicious adventure. Today, we’re diving deep into the world of Achappam – those delicate, crispy, rosette-shaped treats that are simply irresistible.
A Festive Favourite!
Now, Achappam isn’t just any snack; it’s a symbol of celebration! In Kerala, where my ancestors hail from, you’ll find these beauties gracing tables during Christmas, Easter, and even weddings. They’re also a staple during Onam, the harvest festival, adding a touch of sweetness to the joyous occasion. Think of it as a crunchy, sweet hug from Kerala!
A Little History, A Lot of Flavour
The history of Achappam is as intriguing as its shape. Some say it’s a legacy of Dutch influence in Kerala, a local twist on European rosette cookies. Others believe it has its own unique Indian origin. Whatever the truth, one thing is certain: it’s been delighting taste buds for generations!
Ready to Roll? Let’s Get Cooking!
Here’s what you’ll need to create your own batch of these golden wonders:
- Preparation Time: 20 minutes (plus soaking time)
- Cooking Time: 30-40 minutes
Ingredients List (with a Curry Do’pyaza Twist!)
- Maida (All-Purpose Flour): 1 cup
- Chawal ka Atta (Rice Flour): 1/2 cup – This gives it that extra crispiness!
- Cheeni (Sugar): 1/2 cup (adjust to your sweet tooth’s delight!)
- Anda (Egg): 1 large, adds richness and binding.
- Nariyal ka Doodh (Coconut Milk): 1 cup – Fresh is best, but canned works too!
- Til (Sesame Seeds): 1 tablespoon (for that nutty crunch!)
- Elaichi Powder (Cardamom Powder): 1/4 teaspoon (a pinch of aromatic magic!)
- Namak (Salt): A pinch (enhances the sweetness!)
- Tel (Oil): For deep frying – I prefer groundnut oil for its neutral flavour.
Step-by-Step: Achappam Alchemy!
- Soak it Up: In a large bowl, whisk together the Maida, Chawal ka Atta, Cheeni, Elaichi Powder, and Namak.
- Egg-cellent Addition: Crack in the Anda and whisk well.
- Coconutty Goodness: Gradually add the Nariyal ka Doodh, whisking constantly to avoid lumps. You want a smooth, flowing batter, like thin pancake batter.
- Sesame Sprinkle: Stir in the Til.
- Rest and Relax: Cover the batter and let it rest for at least 2 hours, or even overnight in the refrigerator. This allows the flours to absorb the liquid, resulting in a lighter Achappam.
- Heat is On: Heat the Tel in a deep, heavy-bottomed pan or kadai over medium heat. Make sure the oil is hot enough – a small drop of batter should sizzle and rise to the top.
- Dip and Fry: Dip the Achappam mould (available in Indian stores or online) into the hot oil for a few seconds to heat it up. Then, dip the hot mould into the batter, making sure not to submerge the top of the mould.
- Into the Oil: Carefully lower the mould into the hot oil. After a few seconds, the Achappam should detach from the mould. If it doesn’t, gently nudge it with a fork.
- Golden Brown Bliss: Fry the Achappam until golden brown and crispy on both sides, turning occasionally.
- Drain and Cool: Remove the Achappam from the oil and drain on paper towels.
- Repeat and Rejoice: Repeat the process with the remaining batter.
- Serve and Savour: Let the Achappam cool completely before serving.
Chef Curry’s Top Tips for Achappam Perfection!
- Hot Mould is Key: Ensure the mould is hot before dipping it into the batter. This helps the batter stick to the mould.
- Batter Consistency: The batter should be thin enough to coat the mould evenly, but not so thin that it drips off.
- Oil Temperature: Maintain a consistent medium heat. Too hot, and the Achappam will burn; too cold, and it will absorb too much oil.
- Patience is a Virtue: Don’t overcrowd the pan. Fry a few Achappams at a time to maintain the oil temperature.
Achappam: Multi-Cooking Magic!
While traditionally deep-fried, here are a few alternative cooking methods:
- Gas Stove/Induction Stove: Follow the deep-frying instructions above, adjusting heat as needed.
- Air Fryer (For a Healthier Twist): Lightly brush the Achappam mould with oil. Dip into the batter and place in the air fryer basket. Air fry at 350°F (175°C) for 8-10 minutes, flipping halfway through, until golden brown.
- Oven (Not Recommended): The unique shape and crispness of Achappam are best achieved through frying or air frying. Baking will likely result in a different texture.
- Microwave, Pressure Cooker, Slow Cooker, Crockpot: These methods are not suitable for Achappam.
Nutritional Nuggets (per serving, approximate):
- Calories: 150-200
- Fat: 8-12g
- Carbohydrates: 15-20g
- Protein: 2-3g
Note: These values are approximate and can vary depending on the specific ingredients and serving size.
Serving Suggestions: Beyond the Plate!
- Tea Time Treat: Enjoy Achappam with a steaming cup of chai or coffee.
- Dessert Delight: Serve as a sweet ending to a traditional Indian meal.
- Gift Giving: Package them beautifully and gift them to friends and family during festive occasions.
Now, it’s your turn!
Go ahead, try this Achappam recipe at home. I promise, the joy of creating these delicate, crispy treats is just as rewarding as the taste! Share your culinary creations with your loved ones. After all, food is best enjoyed when shared with friends and family!
Happy Cooking, Doston!
Your friendly neighbourhood chef,
Chef Curry Do’pyaza.
