Gol Gappe Ka GupShup: Let’s Make Pani Puri, Yaar!
Namaste Doston! Kem Chho? Sat Sri Akal! Chef Curry Do’pyaza here, back with another lip-smacking recipe that’s guaranteed to make your taste buds sing! Today, we’re diving deep into the delicious world of Pani Puri, also lovingly called Gol Gappe, Puchka, or Gupchup depending on which part of India you’re from. This isn’t just a snack; it’s an emotion, a memory, a burst of flavor in every bite!
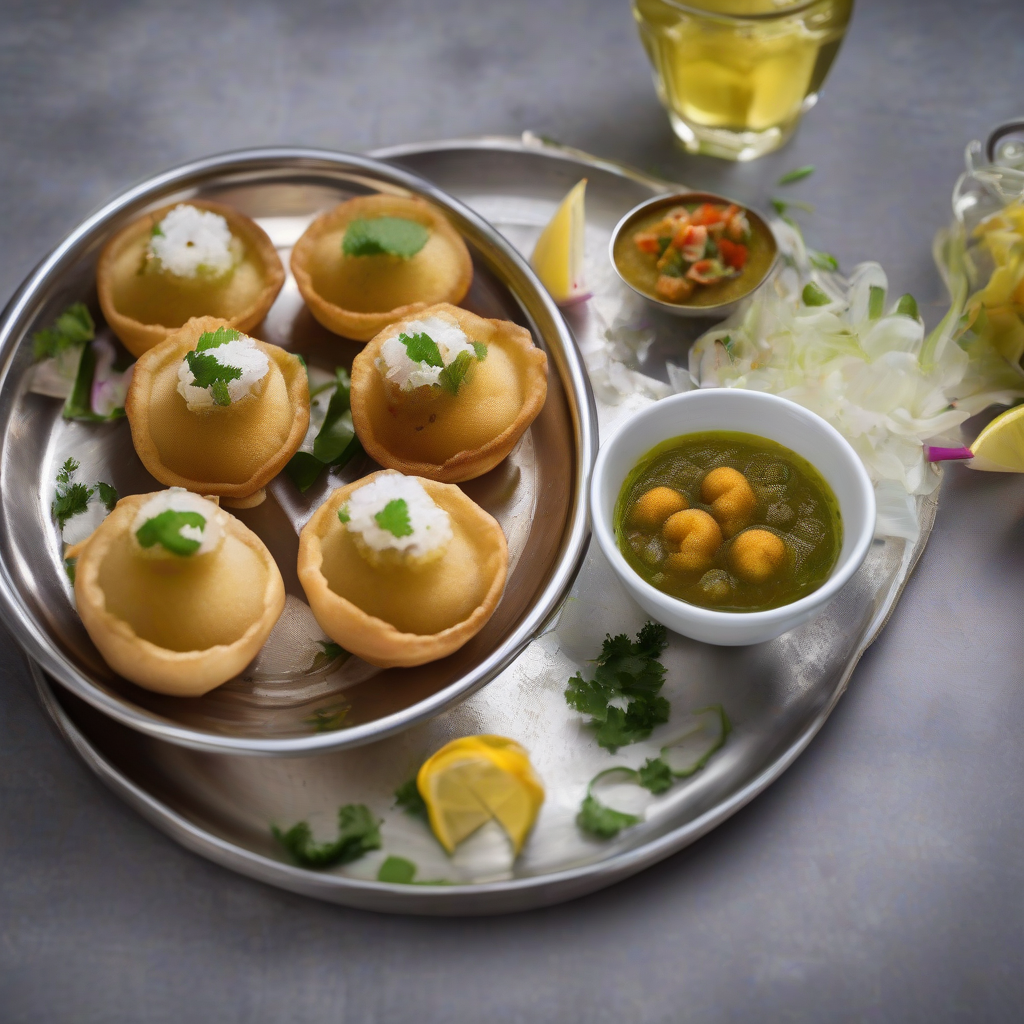
Pani Puri is a beloved street food. It is popular across India, Pakistan, Bangladesh, and Nepal. It is a delightful symphony of textures and tastes. It is crispy, tangy, spicy, and sweet. This tiny sphere of joy is perfect for hot summer days, festive celebrations like Diwali and Holi, or even a casual evening snack with family. I have fond memories of enjoying this treat with my family during monsoon season. The aroma of spices filled the air, and laughter echoed through the house. These are the precious moments that Pani Puri brings to life.
A Little Pani Puri History Lesson
The exact origins of Pani Puri are shrouded in mystery, but many believe it originated in the ancient kingdom of Magadha (modern-day Bihar) in India. Some historians even suggest that it may have been a variation of a dish called “Phulki,” which was mentioned in ancient texts. Over time, this humble snack traveled across the country, adapting to local tastes and ingredients, resulting in the diverse variations we know and love today.
Get Ready to Cook!
Preparation Time: 30 minutes
Cooking Time: 45 minutes
What You’ll Need (Ingredients)
For the Crispy Puris:
- 1 cup Sooji (Semolina/Rava)
- 2 tablespoons Maida (All-Purpose Flour)
- A pinch of Salt
- Water, as needed
- Oil, for deep frying
For the Tangy Pani (Flavored Water):
- 1 cup Pudina (Mint Leaves)
- 1/2 cup Dhaniya (Coriander Leaves)
- 2-3 Green Chillies, adjust to your spice level
- 1 inch Adrak (Ginger)
- 1 teaspoon Jeera (Cumin Seeds)
- 1/2 teaspoon Saunf (Fennel Seeds)
- 1/2 teaspoon Kala Namak (Black Salt)
- 1/4 teaspoon Hing (Asafoetida)
- 2 tablespoons Imli Pulp (Tamarind Pulp)
- 1 tablespoon Jaggery or Sugar
- 4 cups Water
- Salt to taste
For the Delicious Stuffing:
- 1 cup Boiled and mashed Aloo (Potatoes)
- 1/2 cup Boiled Kala Chana (Black Chickpeas)
- 1/4 cup finely chopped Pyaaz (Onion)
- 1/2 teaspoon Lal Mirch Powder (Red Chilli Powder), adjust to your spice level
- 1/2 teaspoon Amchur Powder (Dry Mango Powder)
- Salt to taste
- Optional: Boondi (Tiny Fried Gram Flour Balls)
Let’s Get Cooking! (Instructions)
- Making the Puris: In a bowl, mix sooji, maida, and salt. Add water gradually and knead into a stiff dough. Cover the dough with a damp cloth and let it rest for at least 20 minutes. This helps the sooji absorb the water and makes the puris crispier.
- Divide the dough into small balls. Roll each ball into a thin circle (about 2-3 inches in diameter). You can use a cookie cutter for uniform shapes.
- Heat oil in a kadhai or deep frying pan over medium heat. Gently slide the rolled puris into the hot oil, a few at a time.
- Press down lightly with a slotted spoon. This helps them puff up. Fry until golden brown and crispy. Remove and drain on paper towels. Let them cool completely before storing in an airtight container.
- Whipping Up the Pani: In a blender, combine mint leaves, coriander leaves, green chilies, ginger, cumin seeds, fennel seeds, black salt, hing, tamarind pulp, jaggery/sugar, and 1 cup of water. Blend until smooth.
- Strain the mixture through a fine-mesh sieve to remove any coarse particles. Add the remaining 3 cups of water and salt to taste. Adjust the flavors to your liking. You can add more tamarind pulp for tanginess or jaggery for sweetness.
- Preparing the Stuffing: In a bowl, combine mashed potatoes, black chickpeas, chopped onion, red chili powder, amchur powder, and salt. Mix well.
- Assembling the Pani Puri: Gently poke a hole in the center of each puri. Stuff it with a spoonful of the potato mixture. Dip the stuffed puri into the tangy pani and pop it into your mouth! Enjoy the explosion of flavors!
Chef Curry’s Top Tips for Pani Puri Perfection!
- Crispy Puris: The key to crispy puris is a stiff dough and hot oil. Don’t overcrowd the pan while frying.
- Tangy Pani: Adjust the spices and flavors in the pani to your liking. You can add more green chilies for extra spice or more tamarind pulp for tanginess.
- Fresh Ingredients: Use fresh mint and coriander leaves for the best flavor in the pani.
- Make Ahead: You can prepare the puris, pani, and stuffing ahead of time and store them separately. Assemble just before serving.
Pani Puri: Your Way!
- Gas Stove: The classic method, perfect for frying the puris and blending the pani.
- Induction Stove: Works just as well as a gas stove for frying and blending.
- Pressure Cooker: Use it to quickly boil the potatoes and chickpeas for the stuffing.
- Blender: Essential for making the smooth and flavorful pani.
- Air Fryer: You can try air frying the puris for a healthier option. Preheat your air fryer to 350°F (175°C) and air fry the rolled puris for 5-7 minutes, flipping halfway through, until golden brown and crispy.
Nutritional Information (Approximate per serving)
- Calories: 150-200
- Carbohydrates: 25-30g
- Protein: 3-5g
- Fat: 5-8g
Note: These values are approximate and may vary based on specific ingredients and portion sizes.
Serving Suggestions
Serve Pani Puri immediately after assembling. Garnish with a sprinkle of boondi or chopped coriander leaves. Offer a variety of pani flavors, such as mint-coriander, tamarind, or even a spicy jal-jeera pani.
Now It’s Your Turn!
So there you have it! A simple, yet incredibly delicious recipe for Pani Puri that you can easily make at home. Gather your ingredients, put on your chef’s hat, and get ready to create a culinary masterpiece. Share this delightful treat with your friends and family, and watch their faces light up with joy. Happy cooking, doston!
Go ahead, try this amazing recipe. Let me know in the comments how it turns out.