Wah! Wah! Pita Bread Ho Jaye! A Pocket Full of Sunshine!
Namaste and adaab my lovely foodies! Chef Curry Do’pyaza here, ready to whisk you away on another culinary adventure. Today, we’re not diving into a spicy curry or a sizzling stir-fry. Instead, we’re going international with a dish that feels surprisingly at home in the Indian kitchen: the glorious, puffy, pocket-filled Pita Bread!
Think of pita as the roti’s cool cousin from the Middle East. It’s versatile, delicious, and perfect for stuffing with all sorts of yummy fillings. This isn’t just bread; it’s a blank canvas for your culinary creativity!
When Do We Eat This, Hai Na?
While not traditionally Indian, pita bread has found a cozy spot in our hearts (and stomachs!). I often see it served at casual get-togethers, picnics, and even during festive occasions like Diwali parties as a fun alternative to regular rotis or naan. It’s especially popular during the summer months when we crave lighter, fresher meals. Think of it as the perfect accompaniment to your tangy raita and spicy tikka!
A Little History, Mere Dost (My Friend)
Pita bread has a long and fascinating history, stretching back thousands of years to ancient Mesopotamia. It has been a staple food in the Middle East and Mediterranean regions for centuries. Over time, different cultures have adopted and adapted it, resulting in the pita we know and love today. It’s a testament to the power of simple ingredients and ingenious baking techniques.
Let’s Get Cooking!
Here’s my super-easy recipe for making perfect pita bread at home. Trust me, even if you’re a beginner, you can nail this!
Prep Time: 20 minutes (plus 1-2 hours for rising)
Cook Time: 3-5 minutes per pita
Ingredients, Ji!
- Maida (All-Purpose Flour): 2 cups
- Pani (Warm Water): 1 cup
- Cheeni (Sugar): 1 teaspoon
- Namak (Salt): 1 teaspoon
- Khameer (Active Dry Yeast): 1 teaspoon
- Tel (Olive Oil or Vegetable Oil): 1 tablespoon
Step-by-Step Instructions, Aaram Se (Take it Easy)!
- Wake Up the Yeast: In a small bowl, mix the warm water, sugar, and yeast. Let it sit for 5-10 minutes until it gets foamy. This means the yeast is alive and kicking!
- Mix the Dough: In a large bowl, combine the maida and salt. Add the yeast mixture and the oil.
- Knead, Knead, Knead! Knead the dough for 8-10 minutes until it becomes smooth and elastic. This is important for that perfect pita puff! It should be soft and slightly sticky.
- First Rise: Place the dough in a lightly oiled bowl, turning to coat. Cover with a damp cloth and let it rise in a warm place for 1-2 hours, or until doubled in size.
- Punch It Down: Gently punch down the dough to release the air.
- Divide and Conquer: Divide the dough into 6-8 equal pieces. Roll each piece into a smooth ball.
- Second Rise: Cover the balls with a damp cloth and let them rest for another 15-20 minutes.
- Roll It Out: On a lightly floured surface, roll each ball into a circle about 6-8 inches in diameter. Aim for a thickness of about ¼ inch.
- Get Ready to Bake: Preheat your oven to a blazing 450°F (232°C). Place a baking stone or baking sheet in the oven while it preheats. This helps with even cooking and that beautiful puff.
- Bake to Perfection: Carefully place the pita rounds onto the hot baking stone or sheet. Bake for 3-5 minutes, or until they puff up like little balloons. Don’t worry if they don’t all puff perfectly; they’ll still taste amazing!
- Cool and Enjoy: Remove the pita breads from the oven and wrap them in a clean kitchen towel to keep them soft. Let them cool slightly before serving.
Chef’s Tips for Mazedaar (Delicious) Results!
- Warm Water is Key: Make sure the water is warm, not hot, to activate the yeast properly.
- Don’t Overwork the Dough: Over-kneading can result in tough pita bread.
- Hot Oven is Essential: A high oven temperature is crucial for creating that signature pita puff.
- Storage: Store leftover pita bread in an airtight container at room temperature for up to 2 days. You can also freeze them for longer storage.
Cooking It Your Way!
- Gas Stove: You can cook pita on a hot tawa (griddle). Cook one side until bubbles form, then flip and cook the other side until puffed.
- Induction Stove: Use a cast iron tawa or griddle on your induction cooktop. Follow the same method as the gas stove.
- Air Fryer: Preheat your air fryer to 400°F (200°C). Place the pita rounds in the air fryer basket (you may need to do this in batches) and cook for 3-4 minutes, or until puffed and golden brown.
- Microwave: While not ideal for achieving the perfect puff, you can microwave pita bread for a quick warm-up. Wrap it in a damp paper towel and microwave for 10-15 seconds.
Nutritional Information (per pita):
- Calories: Approximately 150-200
- Carbohydrates: 30-40 grams
- Protein: 5-7 grams
- Fat: 1-2 grams
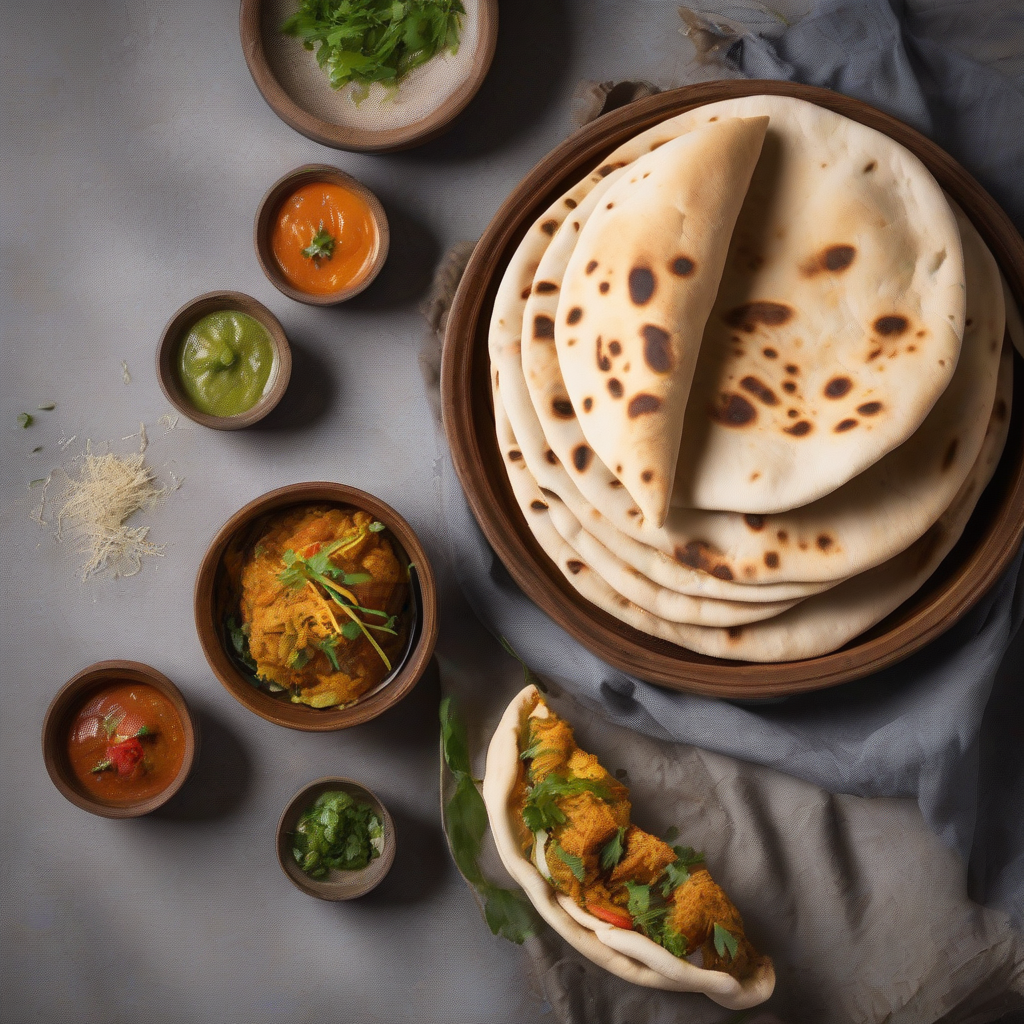
Serving Suggestions, Bilkul (Absolutely)!
- Classic Stuffing: Fill with falafel, hummus, shami kebab, chopped vegetables, and a drizzle of pudina chutney (mint chutney).
- Pizza Pitas: Top with tomato sauce, cheese, and your favorite pizza toppings, then bake until the cheese is melted and bubbly.
- Breakfast Pitas: Stuff with scrambled eggs, aloo bhujia (potato snack), and a sprinkle of chaat masala.
- Dip It: Serve warm pita bread with dal makhani, chole, or your favorite Indian dips.
- Gyro Style: Marinate chicken or lamb with Indian spices, cook it, and serve it in pita bread with yogurt sauce and fresh vegetables.
Go Forth and Bake, Mere Pyare Doston (My Dear Friends)!
So there you have it – my simple and delicious pita bread recipe! I urge you to try this at home. It’s a fantastic way to add a little international flair to your meals. Experiment with different fillings, share it with your loved ones, and most importantly, have fun in the kitchen! This is one recipe that is sure to be a family favorite.
Until next time, happy cooking! Phir milenge (We will meet again)!