Oye Hoye! Papadum Pyaar: Let’s Fry Up Some Crispy Happiness!
Namaste, doston! Kem chho? As-salamu alaykum! Chef Curry Do’pyaza here, back in your kitchens and ready to add a little tadka to your day. Today, we are diving headfirst into the world of papadum – that thin, crispy, utterly addictive Indian snack that makes every meal just a little bit better.
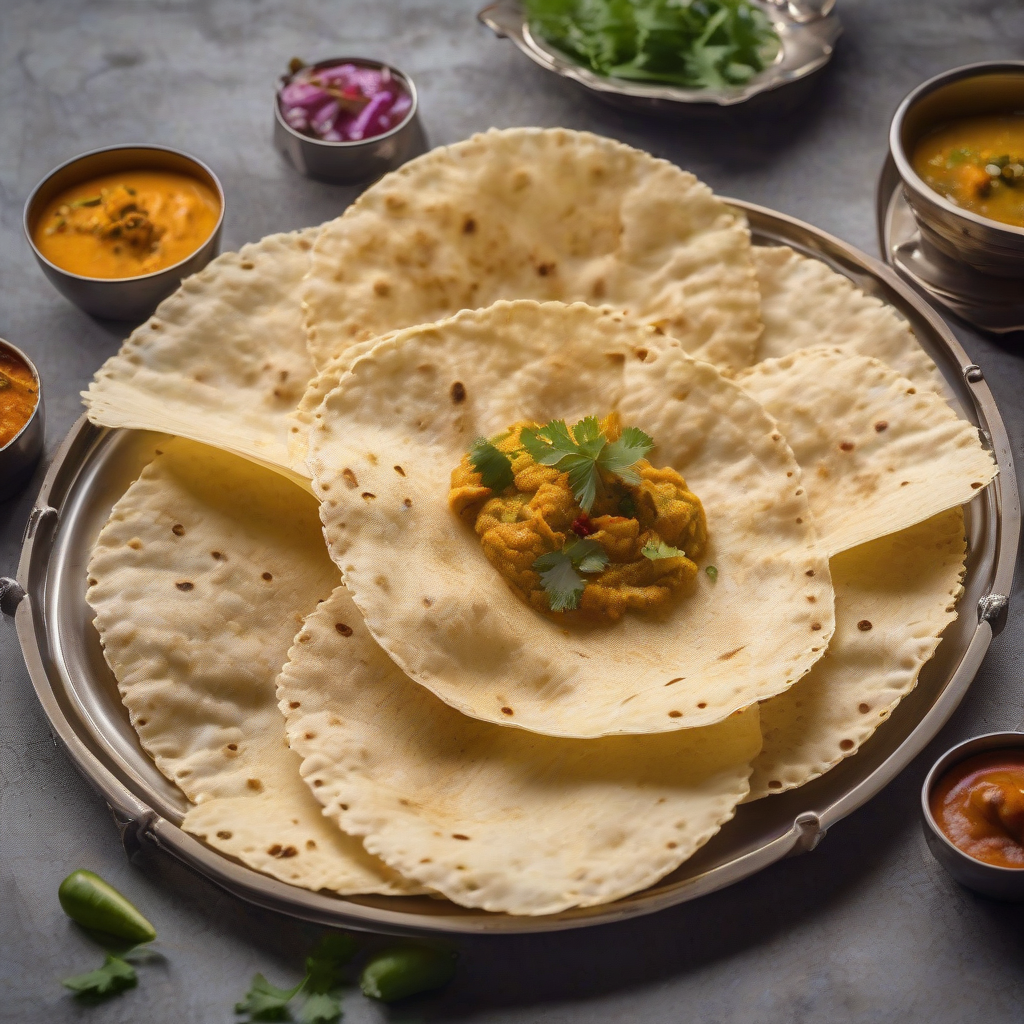
Papadum! Just the name makes your mouth water, doesn’t it?
Think of joyous festivals like Diwali, Holi, or even a simple Sunday lunch with family. Papadums are there, adding a satisfying crunch to the celebrations. They are the unsung heroes of Indian cuisine, always ready to bring a smile to your face. In many cultures, it is considered auspicious to start a meal with a crunchy papadum.
A Little Papadum History, My Friends
The history of papadum is a bit like its texture – thin and somewhat obscure! But we know it’s been around for centuries, likely originating in South India. It was a clever way to preserve lentils and beans in the hot Indian climate. Over time, it travelled across the country, adapting to regional tastes and becoming the beloved snack we know today.
Ready to Papadum? Here’s What You Need!
Preparation Time: 5 minutes (plus drying time)
Cooking Time: 2-3 minutes per papadum
Ingredients:
- Urad Dal ka Atta (Black Gram Flour): 1 cup
- Moong Dal ka Atta (Yellow Lentil Flour): 1/2 cup (optional, adds a different flavour)
- Kala Namak (Black Salt): 1 teaspoon
- Jeera (Cumin Seeds): 1 teaspoon, lightly crushed
- Ajwain (Carom Seeds): 1/2 teaspoon
- Hing (Asafoetida): A tiny pinch (trust me, it makes a big difference!)
- Lal Mirch Powder (Red Chilli Powder): 1/2 teaspoon (or to taste, for a spicy kick!)
- Tel (Oil): 2 tablespoons, plus more for frying
- Water: As needed, to form a dough
Let’s Get Cooking! (The Fun Part!)
- Mix it Up: In a large bowl, combine the urad dal atta, moong dal atta (if using), kala namak, jeera, ajwain, hing, and lal mirch powder.
- Add the Oil: Pour in the 2 tablespoons of oil and mix well with your fingertips. The mixture should resemble coarse crumbs.
- Knead the Dough: Gradually add water, a little at a time, and knead into a firm, smooth dough. Don’t add too much water at once, or it will become sticky!
- Rest and Divide: Cover the dough with a damp cloth and let it rest for at least 30 minutes. This helps the gluten relax and makes rolling easier. After resting, divide the dough into small, equal-sized balls (about the size of a marble).
- Roll ‘Em Thin: On a lightly oiled surface, roll each ball into a very thin circle. The thinner, the crispier! You can use a rolling pin or even a chakla belan (rolling board and pin).
- Dry Time: This is crucial! Lay the rolled-out papadums on a clean cloth or tray and let them dry in the sun (or under a fan) for several hours, or even overnight. They should be dry to the touch but still pliable.
- Fry Time! Heat oil in a deep frying pan or kadhai over medium-high heat. Gently slide a papadum into the hot oil. It will puff up almost instantly. Flip it over and fry for a few seconds on the other side until golden brown and crispy.
- Drain and Enjoy: Remove the fried papadum from the oil and place it on a paper towel-lined plate to drain excess oil.
Papadum Perfection: Chef’s Tips!
- Thin is In: The key to crispy papadums is rolling them as thin as possible.
- Sun’s Out, Papadums Out: Drying the papadums properly is essential for achieving that perfect crispness.
- Hot Oil is Your Friend: Make sure the oil is hot enough before frying, otherwise, the papadums will absorb too much oil and become soggy.
- Don’t Overcrowd: Fry papadums one or two at a time to maintain the oil temperature.
Papadum: Multi-tasker Extraordinaire!
- Gas Stove: The traditional method, using a kadhai and hot oil.
- Induction Stove: Works just as well as a gas stove, just adjust the heat settings accordingly.
- Microwave: Place a papadum on a microwave-safe plate and microwave for 30-60 seconds, watching carefully to prevent burning.
- Air Fryer: Brush the papadums lightly with oil and air fry at 350°F (175°C) for 2-3 minutes, flipping halfway through.
- Oven: Preheat oven to 350°F (175°C). Brush the papadums lightly with oil and bake for 5-7 minutes, flipping halfway through, until golden brown and crispy.
Papadum Nutrition: A Quick Look
Papadums are relatively low in calories and fat, but they are a good source of protein and fiber, thanks to the lentil flour. However, keep in mind that they are often fried, which adds to the fat content.
Serving Suggestions: Papadum Power!
- As a Snack: Enjoy them plain, with a sprinkle of chaat masala, or dipped in your favorite chutney.
- With Meals: Serve them alongside dal, rice, and vegetables for a complete and satisfying Indian meal.
- Crushed Topping: Crush them and sprinkle over salads or raita for added texture and flavour.
- Papadum Chaat: Break them into pieces and toss with chopped onions, tomatoes, cilantro, and chutneys for a delicious and quick chaat.
Your Papadum Adventure Awaits!
So there you have it, folks! My guide to making perfect, crispy papadums at home. I urge you to try this recipe. It’s easier than you think, and the results are incredibly rewarding.
Go on, give it a try! And most importantly, share the love (and the papadums!) with your friends and family.