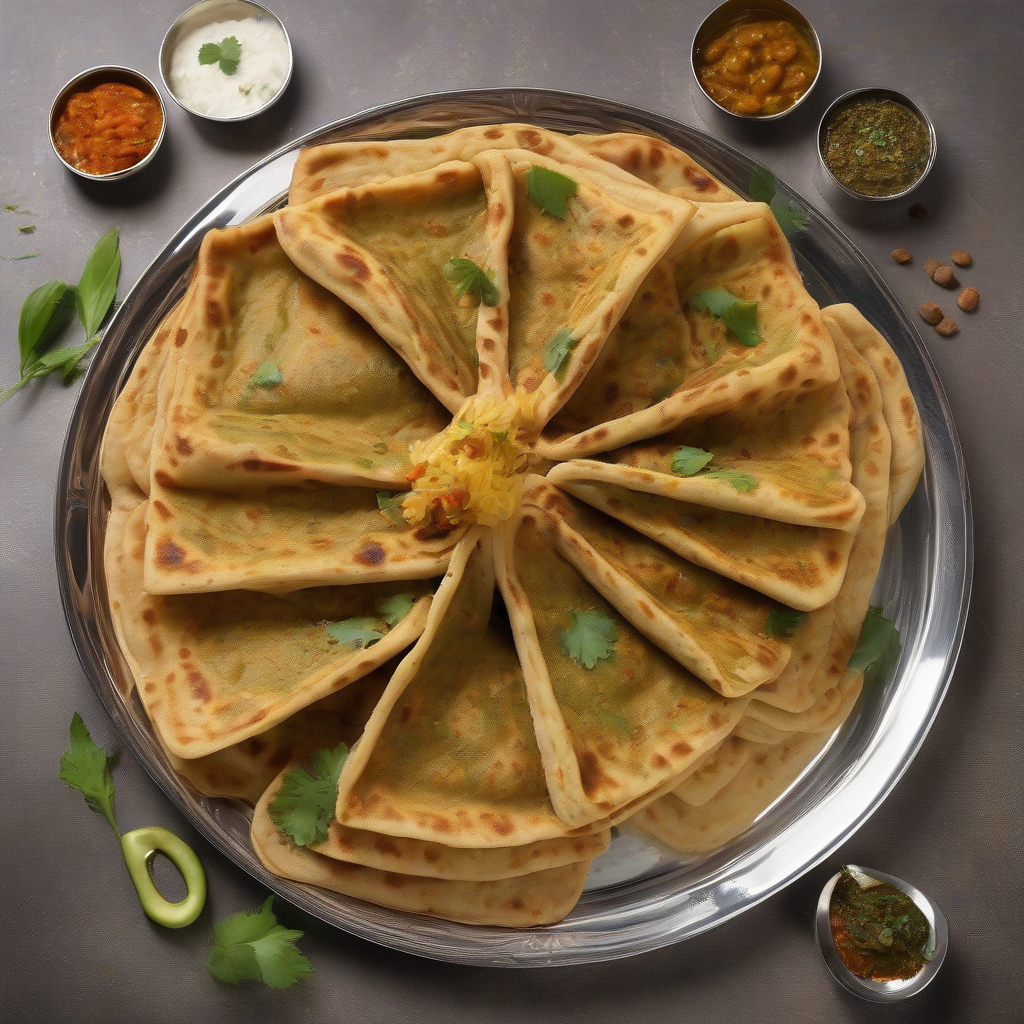
Sael Roti: Ghar Ka Pyaar, Har Bite Mein! (Love of Home, in Every Bite!)
Namaste and Pranam folks! Chef Curry Do’pyaza here, back in your kitchens and hearts! Today, we’re diving into a recipe that’s close to my heart, and I bet it will be close to yours too: Sael Roti!
For my Nepali and Darjeeling friends, “Tashi Delek!” This recipe is especially for you, and for everyone else who loves a taste of authentic, comforting food.
When the Celebrations Begin!
Sael Roti isn’t just food; it’s a feeling. It’s the taste of Dashain, Tihar (Diwali), and other special occasions in Nepali and some North Indian communities. It’s the sweet, slightly tangy aroma that fills homes during festivals, weddings, and family gatherings. Imagine the crisp autumn air, the vibrant colors of the festivals, and the warmth of loved ones – that’s Sael Roti in a nutshell! It is often prepared during auspicious occasions and offered to deities.
A Little Trip Down Memory Lane
The history of Sael Roti is as heartwarming as the dish itself. It’s believed to have originated in the hills of Nepal, passed down through generations of women who poured their love and skill into each perfectly round roti. It’s a symbol of prosperity and good fortune, meant to be shared with family and friends.
Let’s Get Cooking!
Alright, enough chit-chat! Let’s get our hands floury and create some magic.
Prep Time: 20 minutes (plus soaking time)
Cook Time: 30-40 minutes
Ingredients – The Stars of Our Show!
- 2 cups Chawal ka Atta (Rice Flour) – The base of our delight!
- ½ cup Gehoon ka Atta (Wheat Flour) – Adds a lovely texture!
- ½ cup Cheeni (Sugar) – For that touch of sweetness!
- ½ cup Dahi (Yogurt) – The tangy secret ingredient!
- ½ cup Pani (Water) – To bring it all together!
- 1 tbsp Ghee (Clarified Butter) – Adds richness and flavor!
- ½ tsp Elaichi Powder (Cardamom Powder) – Aromatic bliss!
- Tel (Oil) – For frying our golden beauties!
Step-by-Step: The Sael Roti Symphony
- Soaking Time: In a big bowl, mix the rice flour, wheat flour, and sugar. Add the yogurt and ghee. Now, slowly add water, mixing it well until you get a smooth, thick batter, similar to pancake batter. Cover it and let it rest for at least 4-5 hours, or even overnight. This soaking time is crucial for a soft, fluffy Sael Roti.
-
Flavor Boost: After soaking, give the batter a good stir. Add the cardamom powder and mix well. This will infuse the batter with a beautiful aroma.
-
Heating Up: Heat oil in a kadhai (wok) or a deep frying pan over medium heat. The oil should be hot enough for the roti to float immediately when you pour the batter.
-
The Pouring Art: Now comes the fun part! Using a ladle or a small cup, pour a circular stream of batter into the hot oil. Don’t overcrowd the pan. You can make one or two at a time, depending on the size of your kadhai.
-
Golden Perfection: Fry the Sael Roti until it turns a beautiful golden brown on both sides. Use a slotted spoon to gently flip it over.
-
Draining and Serving: Once golden and crispy, remove the Sael Roti from the oil and place it on a plate lined with paper towels to drain excess oil.
-
Repeat and Enjoy: Repeat the process with the remaining batter. Serve hot and enjoy the fruits of your labor!
Chef Curry’s Top Tips for Sael Roti Success!
- Soaking is Key: Don’t skimp on the soaking time! It’s what makes the roti soft and airy.
- Oil Temperature: The oil should be hot, but not smoking. If it’s too hot, the roti will burn on the outside and remain raw inside.
- Batter Consistency: The batter should be thick enough to hold its shape when poured, but thin enough to spread easily in the oil.
- Patience is a Virtue: Don’t rush the frying process. Let the roti cook slowly until it’s golden brown and crispy.
Sael Roti: Different Strokes for Different Folks!
- Gas Stove: The traditional method, and my personal favorite! A heavy-bottomed kadhai is your best friend here.
- Induction Stove: Works just as well! Just adjust the heat settings carefully to maintain a consistent oil temperature.
- Air Fryer: While not traditional, you can experiment by brushing the Sael Roti with oil and air frying them. They won’t be as soft, but it’s a healthier option.
- Oven: Not recommended for Sael Roti. Frying is essential for the texture and flavor.
- Microwave: Definitely not recommended!
- Pressure Cooker, Slow Cooker, Crockpot: These are not suitable for making Sael Roti.
Nutritional Nuggets (per serving, approximate):
- Calories: 250-300
- Carbohydrates: 40-50g
- Protein: 3-4g
- Fat: 8-10g
Serving Suggestions: A Feast for the Senses!
Sael Roti is delicious on its own, but it’s even better when paired with:
- Aloo Dum (Potato Curry) – A classic combination!
- Chicken Curry – For a hearty and flavorful meal!
- Yogurt – The cool and creamy contrast!
- Pickles – Adds a tangy kick!
- Tea or Coffee – The perfect accompaniment for a cozy morning!
Your Turn to Shine!
Now it’s your turn to bring the magic of Sael Roti into your home. Try this recipe, share it with your family and friends, and let the love spread with every delicious bite. I’m excited to hear about your Sael Roti adventures!
Happy cooking, folks!
Yours truly,
Chef Curry Do’pyaza.