Mithaai Magic: Silky Milk Cake with Chandi Ka Vark – A Treat Fit for the Gods!
Namaste, Salaam, and Sat Sri Akal, my lovely food-loving family! Chef Curry Do’pyaza here, ready to whisk you away on another delectable culinary adventure! Today, we’re diving headfirst into the creamy, dreamy world of Milk Cake, adorned with shimmering silver leaf (Chandi Ka Vark).
This isn’t just any sweet; it’s a celebration on a plate!
Occasions for Celebration:
Milk Cake holds a special place in our hearts, especially during joyous occasions. Think Diwali, with its sparkling lights and festive cheer. Imagine the vibrant colours of Holi, mirrored in the golden hue of this sweet. Picture the solemnity of Raksha Bandhan, sweetened by the bond of siblinghood and the taste of Milk Cake. It is a popular dessert during weddings, anniversaries, and birthdays, a sweet ending to a memorable day. This delightful treat is enjoyed throughout the year, especially during the cooler months when its rich flavour is most comforting.
A Glimpse into History:
The history of Milk Cake is as rich and creamy as the dessert itself! Originating in the humble kitchens of North India, this sweet was born out of a simple desire: to create a delicious treat using readily available ingredients like milk and sugar. Over time, the recipe evolved, with variations popping up across the country. But the essence remains the same: slow-cooked milk, caramelized to perfection, creating a melt-in-your-mouth experience.
Prep Time: 15 minutes
Cooking Time: 60-90 minutes (Patience is key, my friends!)
Ingredients Ka Bhandaar (The Treasure Chest of Ingredients):
- 2 liters Full Cream Milk (Bhains ka Doodh – Buffalo Milk preferred for richness)
- 200 grams Sugar (Cheeni)
- 1/4 teaspoon Alum Powder (Phitkari) – This is crucial for the grainy texture!
- 1 tablespoon Lemon Juice (Nimbu ka Ras) – Optional, for a slightly tangy twist
- A few strands of Saffron (Kesar) – Optional, for colour and aroma
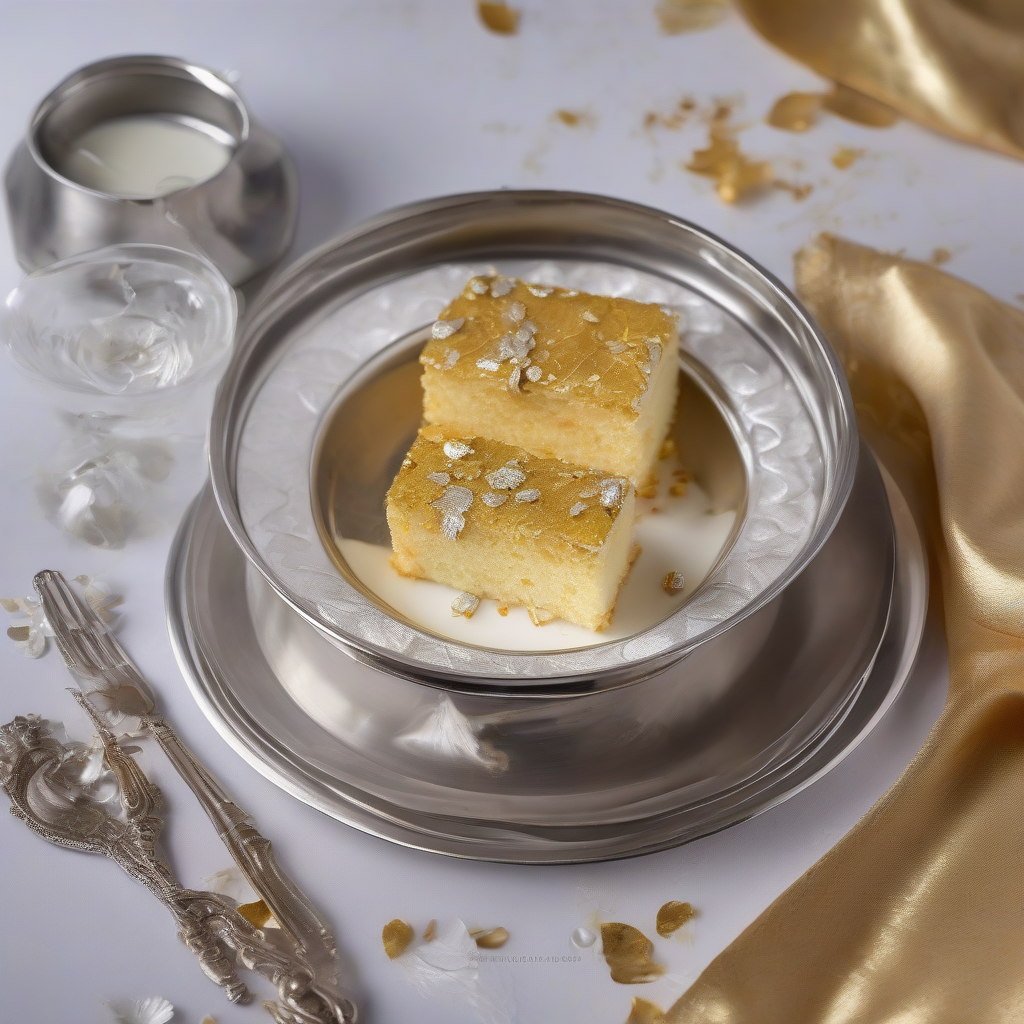
- Silver Leaf (Chandi Ka Vark) – For that regal touch!
- 1 teaspoon Ghee (Clarified Butter) – For greasing
Chalo, Banate Hai! (Let’s Cook!)
- The Milk Bath: In a heavy-bottomed kadhai (Indian wok) or a large, wide pan, pour in the milk. Bring it to a rolling boil over medium-high heat. Make sure you are using a heavy-bottomed pan to prevent the milk from sticking and burning.
- The Slow Simmer: Reduce the heat to low and let the milk simmer gently. Stir occasionally to prevent sticking and scorching. This is where patience comes in! The milk will gradually reduce and thicken. This can take anywhere from 60 to 90 minutes.
- The Alum Magic: Once the milk has reduced to about one-third of its original volume, dissolve the alum powder in a tablespoon of water. Add this to the simmering milk. This will help in creating the characteristic grainy texture of Milk Cake. Stir gently.
- Sweet Surrender: Now, add the sugar and saffron strands (if using). Continue to cook, stirring constantly, until the mixture thickens further and turns a beautiful light brown colour.
- A Tangy Twist (Optional): If you’re feeling adventurous, add the lemon juice now. Be careful, as it might cause the milk to curdle slightly. This adds a subtle tang that balances the sweetness.
- The Caramelization Countdown: Keep cooking and stirring until the mixture starts to leave the sides of the pan and forms a solid mass. The colour should be a rich, golden brown. This is the crucial caramelization stage!
- Setting the Stage: Grease a shallow dish or tray with ghee. Pour the cooked mixture into the greased dish and spread it evenly.
- Cooling Down: Let the Milk Cake cool completely at room temperature. This will take a few hours.
- The Silver Lining: Once cooled, gently unmold the Milk Cake and cut it into squares or desired shapes. Adorn each piece with a delicate piece of silver leaf.
- Serve and Enjoy: Your homemade Milk Cake is ready to be devoured!
Tips and Tricks for the Perfect Milk Cake:
- Quality Milk Matters: Use full-cream milk for the richest flavour and texture. Buffalo milk is traditionally preferred.
- Patience is a Virtue: Don’t rush the cooking process. Slow simmering is key to achieving the perfect caramelization and grainy texture.
- Stirring is Essential: Keep stirring the milk constantly to prevent sticking and burning.
- Alum is the Secret: Don’t skip the alum powder! It’s what gives Milk Cake its unique texture.
- Cooling is Crucial: Allow the Milk Cake to cool completely before unmolding and cutting.
Cooking Medium Variations:
- Gas Stove: The traditional method, perfect for slow simmering.
- Induction Stove: Works just as well, offering precise temperature control.
- Pressure Cooker: Not recommended, as it’s difficult to control the caramelization.
- Oven: Can be baked at a low temperature (150°C) for a longer time, stirring occasionally.
- Microwave: Not recommended, as it’s difficult to achieve the desired texture.
- Slow Cooker/Crockpot: Can be used on low setting for a very long time (8-10 hours), stirring occasionally. This requires supervision and may not give desired caramelisation.
Nutritional Nuggets (Approximate Values per Serving):
- Calories: 250-300
- Fat: 15-20g
- Carbohydrates: 25-30g
- Protein: 5-7g
Note: Nutritional information is approximate and may vary based on specific ingredients and serving size.
Serving Suggestions:
- Serve Milk Cake at room temperature.
- Pair it with a cup of hot chai (Indian tea) or coffee.
- Garnish with chopped nuts like pistachios or almonds.
- Enjoy it as a standalone dessert or as part of a festive spread.
Now, it’s your turn!
Go ahead, try this delightful Milk Cake recipe at home. It might seem a little daunting at first, but trust me, the result is worth every minute of effort. Share this sweet treat with your friends and family, and spread the joy of homemade goodness.
Happy Cooking, and may your kitchen always be filled with the aroma of love and deliciousness!
Until next time,
Chef Curry Do’pyaza signing off!