Paneer Tikka Salad: A Chatpata Delight, Just Like Maa Used to Make!
Namaste Doston! Kem cho? Sat Sri Akal! Chef Curry Do’pyaza here, back in your kitchens and hearts with a dish that’s as vibrant as a Holi celebration and as comforting as a warm hug from your Nani. Today, we’re diving into the world of Paneer Tikka Salad, a fusion of smoky, spiced paneer and crisp, refreshing greens. This isn’t just a salad; it’s a celebration of flavors!
You’ll often find this dish gracing tables during festive occasions like Diwali, Holi, or even a simple family get-together during the pleasant monsoon season. It’s the perfect way to kick off a summer barbecue or add a touch of Indian flair to a potluck. After all, who can resist the allure of succulent, marinated paneer?
A Little Trip Down Memory Lane
Paneer Tikka, the star of our salad, has its roots in the royal kitchens of the Mughal Empire. Tikkas, generally, are small pieces of meat or vegetables marinated in spices and yogurt, then cooked in a tandoor oven. Over time, vegetarian versions like Paneer Tikka gained immense popularity, becoming a staple in Indian cuisine. The salad twist? Well, that’s a modern adaptation, bringing together the best of both worlds: healthy greens and irresistible Indian flavors.
The Nitty-Gritty: Time & Ingredients
- Preparation Time: 20 minutes (plus 30 minutes for marination)
- Cooking Time: 15 minutes
Ingredients:
- For the Paneer Tikka:
- 250 grams Paneer (Indian Cheese), cut into 1-inch cubes
- 1/2 cup Dahi (Yogurt), thick and creamy
- 1 tablespoon Adrak-Lahsun Paste (Ginger-Garlic Paste)
- 1 teaspoon Lal Mirch Powder (Red Chili Powder) – adjust to your spice preference!
- 1/2 teaspoon Haldi Powder (Turmeric Powder)
- 1 teaspoon Dhania Powder (Coriander Powder)
- 1/2 teaspoon Garam Masala (Warm Spice Mix)
- 1 tablespoon Nimbu ka Ras (Lemon Juice)
- 1 tablespoon Sarson ka Tel (Mustard Oil) or any cooking oil
- Salt to taste
- For the Salad:
- 2 cups Mixed Salad Greens (Lettuce, Spinach, Arugula) – a colorful mix is always best!
- 1/2 cup Kheera (Cucumber), diced
- 1/2 cup Tamatar (Tomato), diced
- 1/4 cup Pyaaz (Onion), thinly sliced
- 1/4 cup Dhaniya Patta (Cilantro), chopped
- For the Dressing:
- 2 tablespoons Olive Oil
- 1 tablespoon Nimbu ka Ras (Lemon Juice)
- 1/2 teaspoon Chaat Masala (Tangy Spice Mix)
- Salt and Black Pepper to taste
Let’s Get Cooking! Step-by-Step Instructions
- Marinate the Paneer: In a bowl, whisk together the dahi, adrak-lahsun paste, lal mirch powder, haldi powder, dhania powder, garam masala, nimbu ka ras, sarson ka tel, and salt. Gently add the paneer cubes and coat them evenly with the marinade. Cover the bowl and refrigerate for at least 30 minutes, or even better, for 2-3 hours. This allows the paneer to soak up all the wonderful flavors.
- Cook the Paneer Tikka:
- On the Stove: Heat a tava (flat griddle) or frying pan over medium heat. Lightly grease it with oil. Place the marinated paneer cubes on the hot tava and cook for 8-10 minutes, turning occasionally, until they are golden brown and slightly charred.
- In the Oven: Preheat your oven to 400°F (200°C). Arrange the marinated paneer cubes on a baking sheet lined with parchment paper. Bake for 15-20 minutes, flipping halfway through, until golden brown.
- In the Air Fryer: Preheat your air fryer to 375°F (190°C). Place the marinated paneer cubes in the air fryer basket in a single layer. Cook for 8-10 minutes, flipping halfway through, until golden brown.
- Prepare the Salad: While the paneer is cooking, wash and chop all the salad ingredients. In a large bowl, combine the mixed greens, kheera, tamatar, pyaaz, and dhaniya patta.
- Make the Dressing: In a small bowl, whisk together the olive oil, nimbu ka ras, chaat masala, salt, and black pepper.
- Assemble the Salad: Once the paneer tikka is cooked, let it cool slightly. Add the paneer tikka to the salad bowl. Pour the dressing over the salad and toss gently to combine.
Chef Curry’s Top Tips for a Stellar Salad
- Use thick, creamy dahi for the marinade. This will ensure the paneer is coated evenly and stays moist during cooking.
- Don’t overcrowd the pan when cooking the paneer tikka. Cook in batches to ensure even browning.
- Adjust the spice level to your liking. If you prefer a milder flavor, reduce the amount of lal mirch powder.
- For a smoky flavor, you can grill the paneer tikka over an open flame or use a charcoal grill.
- Make it ahead: You can marinate the paneer and prepare the salad ingredients in advance. Just assemble the salad right before serving to prevent the greens from becoming soggy.
Cooking It Your Way: Adaptations for Every Kitchen
- Gas Stove: The tava method, as described above, works perfectly on a gas stove.
- Induction Stove: The tava method also works great on an induction stove. Ensure you use cookware that is compatible with induction.
- Oven: Baking the paneer tikka in the oven is a healthy and convenient option.
- Air Fryer: Air frying gives the paneer tikka a crispy exterior without using too much oil.
- Slow Cooker/Crockpot: While not ideal for the tikka itself, you could potentially use a slow cooker to marinate the paneer for an extended period for a more intense flavor.
Nutritional Information (Approximate per serving):
- Calories: 350-400
- Protein: 20-25g
- Fat: 25-30g
- Carbohydrates: 10-15g
Note: These values are approximate and can vary based on specific ingredients and portion sizes.
Serving Suggestions
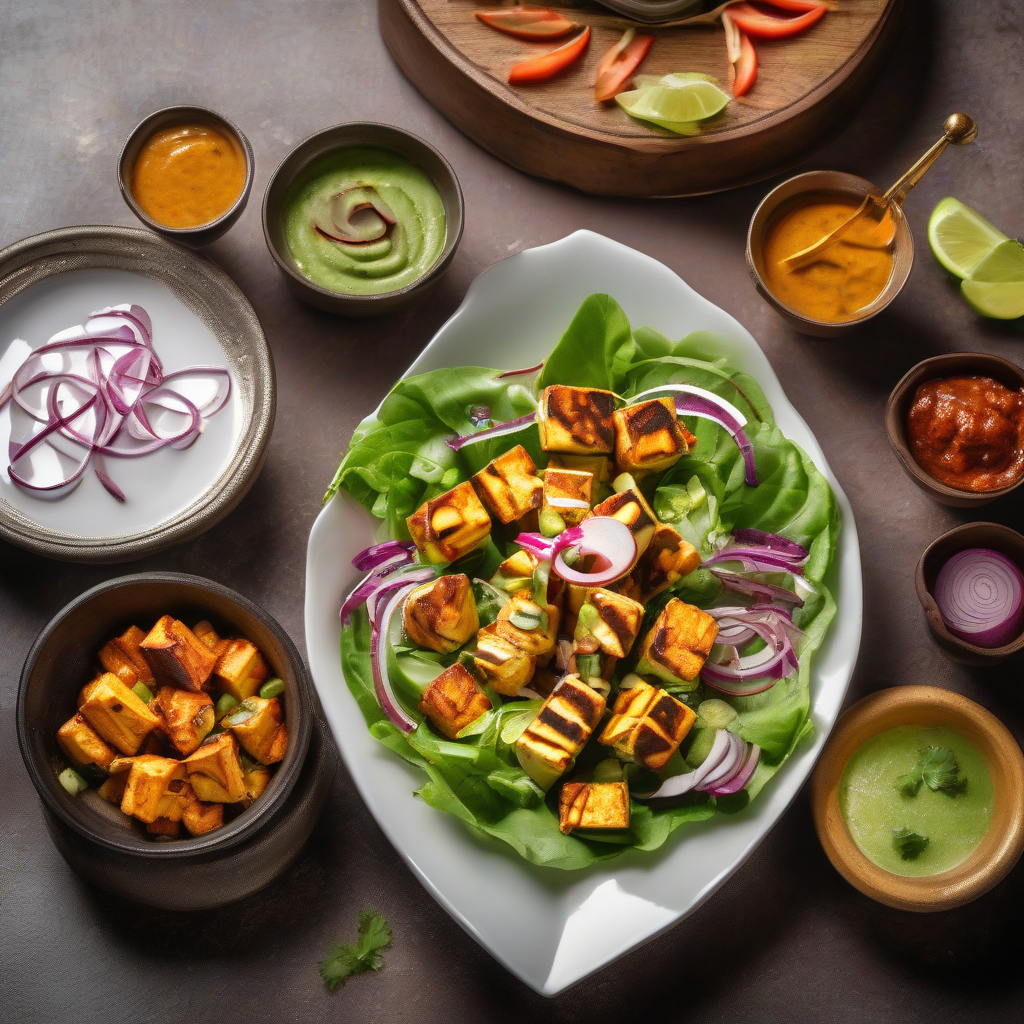
Serve this delightful Paneer Tikka Salad as a light lunch, a refreshing appetizer, or a flavorful side dish. It pairs well with naan bread or roti for a complete meal. You can also add a dollop of mint-coriander chutney or tamarind chutney for an extra burst of flavor.
Your Turn!
So there you have it, folks! A simple yet stunning Paneer Tikka Salad that’s sure to impress. Now, it’s your turn to put on your aprons, gather your ingredients, and create this culinary masterpiece in your own kitchens. Share this recipe with your friends and family and spread the joy of delicious Indian food! Happy cooking!