Jowar Roti: Bajre Da Swaad! (Taste of Jowar!)
Namaste and Sat Sri Akal, my food-loving friends! Chef Curry Do-Pyaza here, back in your kitchens with another recipe that’s as wholesome as it is delicious. Today, we’re diving into the rustic charm of Jowar Roti!
For my Punjabi brothers and sisters, you know the feeling of biting into a freshly made roti straight from the tava (flat pan). It’s a feeling of warmth, of home, of maa ke haath ka pyaar (mother’s love). And this Jowar Roti, my friends, brings that same feeling with a delightful nutty twist!
A Taste of Tradition
Jowar Roti, also known as Sorghum Roti, is a staple in many parts of India, especially Maharashtra, Karnataka, and Rajasthan. It’s often enjoyed during the cooler months, particularly around Makar Sankranti and other harvest festivals. It signifies gratitude for a bountiful harvest and celebrates the simple joys of life. It’s also a regular feature in many homes as a healthy and gluten-free alternative to wheat roti.
A Glimpse into History
Jowar, one of the oldest cultivated grains, has been a part of the Indian diet for centuries. It was a staple food for farmers and labourers. It provided them with the energy they needed for their hard work. Jowar Roti is more than just food. It’s a testament to the resilience and resourcefulness of the Indian people.
Let’s Get Cooking!
- Preparation Time: 15 minutes
- Cooking Time: 20 minutes
What You’ll Need (Ingredients):
- 2 cups Jowar ka Atta (Sorghum Flour)
- 1 cup Garam Pani (Warm Water), plus more as needed
- 1/2 teaspoon Namak (Salt)
- Sukha Atta (Dry Flour) for dusting
Step-by-Step Instructions:
- Kneading the Dough: In a big bowl, mix the jowar atta and salt. Slowly add the warm water, mixing with your hands. The dough will seem crumbly at first, but don’t worry! Keep kneading for 5-7 minutes. You want a smooth, pliable dough, adding more water a little at a time if needed. The dough should be soft but not sticky.
- Resting Time: Cover the dough with a damp cloth and let it rest for at least 15 minutes. This allows the jowar flour to absorb the water properly, making it easier to roll.
- Rolling the Roti: Divide the dough into small, equal-sized balls. On a clean, flat surface, sprinkle some sukha atta. Place a dough ball on the surface and gently flatten it with your fingers.
- Rolling with Care: Now, using a rolling pin, carefully roll out the dough into a thin, circular roti. Jowar dough can be a bit tricky to roll. It tends to crack around the edges. Don’t fret if it’s not perfectly round. The taste is what matters! You can also use your fingers to gently pat and shape the roti.
- Cooking on the Tava: Heat a tava or flat griddle over medium heat. Once hot, carefully place the roti on the tava. Cook for about 30 seconds to a minute on one side, until you see small bubbles forming.
- Flipping and Puffing: Flip the roti and cook for another 30 seconds. Now, using a clean cloth, gently press around the edges of the roti. This will help it puff up beautifully!
- Direct Flame (Optional): For that authentic, smoky flavour, you can carefully place the roti directly on the flame for a few seconds, flipping it occasionally, until it puffs up completely. Be careful not to burn it!
- Serve Hot: Remove the roti from the tava and brush it with a little ghee or butter. Serve immediately.
Chef’s Tips for the Perfect Jowar Roti:
- Warm Water is Key: Using warm water helps bind the jowar flour better.
- Knead Well: Don’t be afraid to knead the dough thoroughly. This develops the gluten (even though it’s gluten-free!) and makes the roti easier to roll.
- Gentle Rolling: Be gentle while rolling. Jowar dough is delicate.
- Patience is a Virtue: Jowar roti takes a little practice. Don’t get discouraged if your first few attempts aren’t perfect.
- Fresh is Best: Jowar roti tastes best when served fresh and hot.
Cooking Variations:
- Gas Stove: Follow the instructions above for the traditional method.
- Induction Stove: Use a compatible tava or griddle and adjust the heat accordingly.
- Oven: You can bake the roti in a preheated oven at 350°F (175°C) for about 5-7 minutes per side.
- Microwave: I don’t recommend microwaving jowar roti, as it can become dry and rubbery.
- Air Fryer: Preheat your air fryer to 350°F (175°C). Place the roti in the air fryer basket and cook for 3-4 minutes per side, or until golden brown.
Nutritional Powerhouse:
Jowar is a nutritional powerhouse! It’s rich in fiber, iron, and antioxidants. It’s also a good source of protein and complex carbohydrates. It’s a great option for people with gluten sensitivities or those looking to add more whole grains to their diet.
Serving Suggestions:
Jowar Roti is incredibly versatile. You can serve it with:
- Baingan Bharta (Eggplant Mash)
- Sarson da Saag (Mustard Greens)
- Dal Makhani (Creamy Lentils)
- Chicken Curry
- Mutton Curry
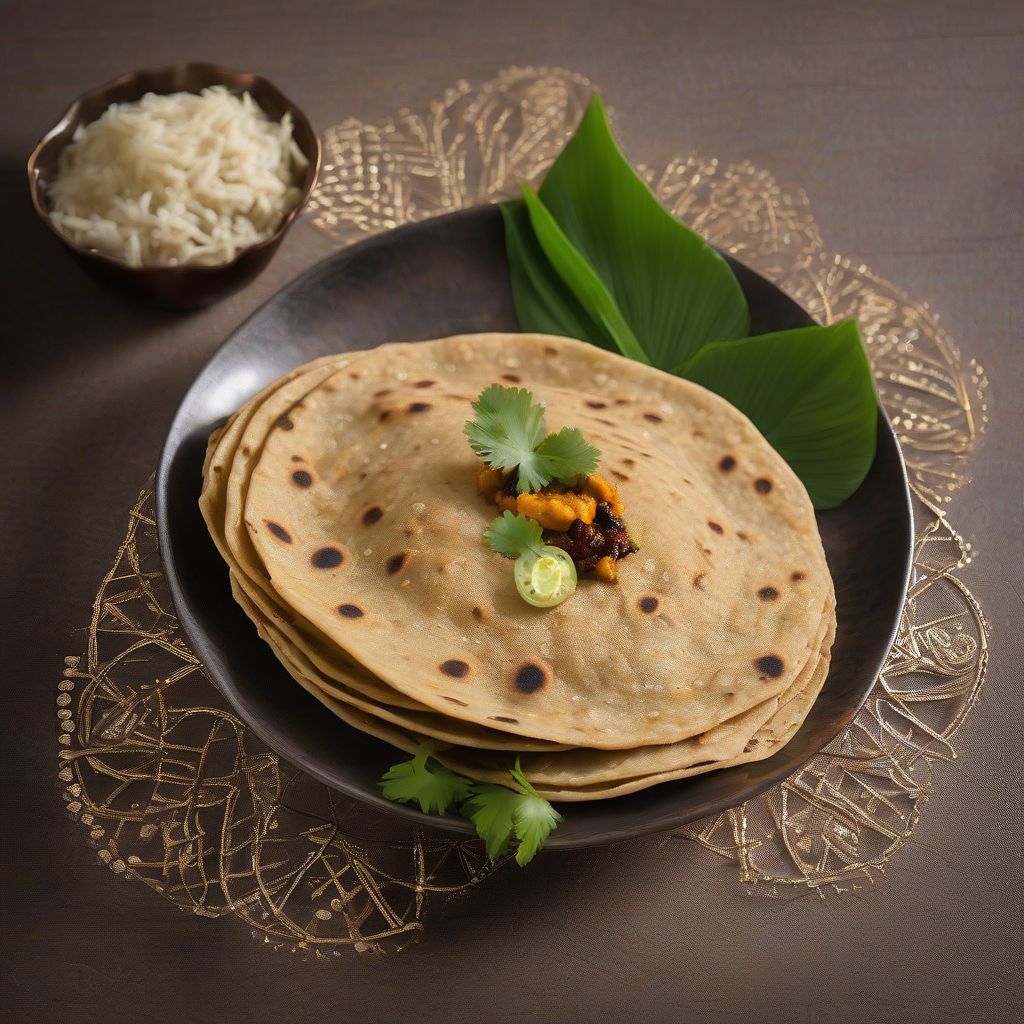
- A dollop of fresh white butter (makhan) and a side of spicy pickle!
Time to Cook!
So there you have it, my friends! A simple yet satisfying recipe for Jowar Roti. I urge you to try this recipe at home. Feel the joy of creating something nourishing and delicious for yourself and your loved ones. Share the rotis, share the love, and let the flavours of India fill your home! Happy cooking!