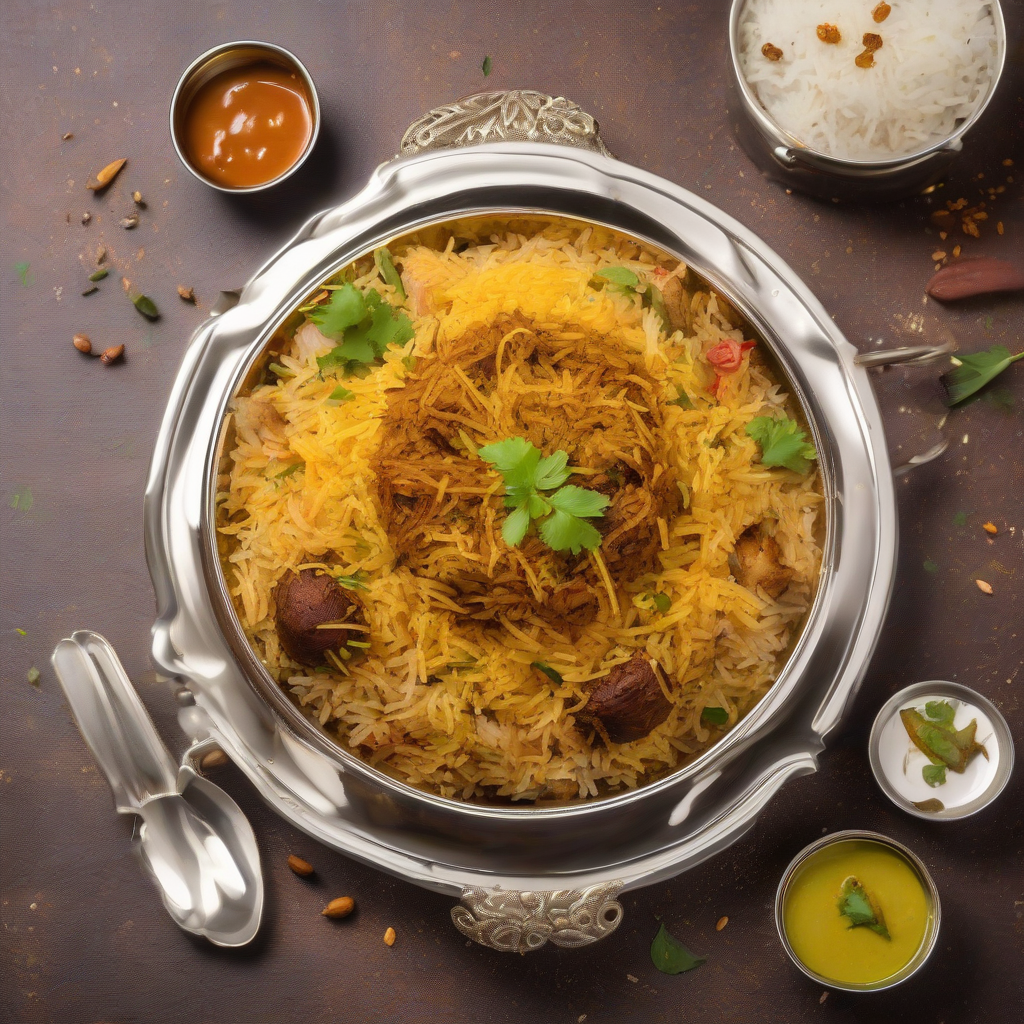
Kya Baat Hai! Let’s Cook Some Delicious Malabar Biryani!
Namaste Dosto! Assalamualaikum! Kem cho? Vanakkam!
Chef Curry Do’pyaza here, back in your kitchens (and hearts, I hope!) with another dish that’s guaranteed to make your taste buds sing. Today, we’re diving deep into the fragrant, flavourful world of Malabar Biryani. This isn’t just any biryani; it’s a culinary masterpiece from the beautiful Malabar coast of Kerala, India.
Think of Malabar Biryani as sunshine on a plate – perfect for Eid celebrations, weddings, or simply a special Sunday lunch with family. During Ramadan, it’s a star dish at Iftar gatherings. It’s a dish that brings people together, a true celebration of flavour and community.
A Little Trip Down Memory Lane
The story of Malabar Biryani is as rich and layered as the dish itself. It’s believed to have originated from the Mughal influence, blended seamlessly with the local spices and cooking techniques of Kerala. The result? A biryani that’s uniquely Malabar – aromatic, slightly sweet, and oh-so-delicious.
Ready to Cook? Let’s Get Started!
Preparation Time: 30 minutes
Cooking Time: 60 minutes
The Magical Ingredients
- Chawal (Basmati Rice): 2 cups, soaked for 30 minutes
- Murghi (Chicken): 1 kg, cut into medium-sized pieces
- Pyaaz (Onions): 3 large, thinly sliced
- Tamatar (Tomatoes): 2 medium, chopped
- Adrak-Lahsun Paste (Ginger-Garlic Paste): 2 tablespoons
- Hari Mirch (Green Chillies): 4-5, slit lengthwise (adjust to your spice level)
- Dahi (Yogurt): 1 cup, whisked
- Tej Patta (Bay Leaves): 2
- Laung (Cloves): 4-5
- Elaichi (Cardamom): 4-5 green, 2 black
- Dalchini (Cinnamon Stick): 1 inch
- Shah Jeera (Caraway Seeds): 1 teaspoon
- Haldi Powder (Turmeric Powder): 1 teaspoon
- Lal Mirch Powder (Red Chilli Powder): 1 teaspoon (optional, for extra heat)
- Dhania Powder (Coriander Powder): 2 teaspoons
- Garam Masala Powder: 1 teaspoon
- Pudina Patta (Mint Leaves): Handful, chopped
- Hara Dhania (Coriander Leaves): Handful, chopped
- Kesar (Saffron): A pinch, soaked in 2 tablespoons of warm milk
- Ghee (Clarified Butter): 4 tablespoons
- Tel (Vegetable Oil): 2 tablespoons
- Namak (Salt): To taste
Let’s Cook Some Magic: Step-by-Step Instructions
- Marinate the Murghi: In a large bowl, combine the chicken pieces with ginger-garlic paste, yogurt, turmeric powder, red chilli powder (if using), coriander powder, garam masala, and salt. Mix well and let it marinate for at least 30 minutes (or longer, for even better flavour!).
-
Fry the Pyaaz: Heat ghee and oil in a large, heavy-bottomed pot or Dutch oven. Add the sliced onions and fry them until they are golden brown and crispy. This is a crucial step for the authentic Malabar Biryani flavour. Remove half of the fried onions and set aside for garnish.
-
Sauté the Aromatics: In the same pot, add bay leaves, cloves, cardamom (both green and black), cinnamon stick, and caraway seeds. Sauté for a minute until fragrant.
-
Cook the Masala: Add the marinated chicken to the pot and cook on medium heat until it’s browned on all sides. Then, add the chopped tomatoes and green chillies. Cook until the tomatoes are softened and the oil starts to separate from the masala.
-
Layer the Rice: Now, it’s time to layer the biryani. Spread half of the cooked chicken mixture evenly at the bottom of the pot. Top with half of the soaked and drained rice. Sprinkle with chopped mint and coriander leaves. Repeat the layers with the remaining chicken mixture and rice.
-
Add the Saffron Milk: Pour the saffron-infused milk evenly over the rice.
-
Dum Cooking: Cover the pot tightly with a lid. You can seal the edges with dough to prevent steam from escaping (this is called “dum cooking”). Cook on low heat for 30-40 minutes, or until the rice is cooked through and fluffy. If you don’t have a tight-fitting lid, you can place a heavy object on top to seal it.
-
Rest and Serve: Once cooked, let the biryani rest for 10-15 minutes before opening the lid. This allows the flavours to meld together beautifully. Gently fluff the rice with a fork and garnish with the reserved fried onions, fresh coriander leaves, and a drizzle of ghee.
Pro Tips for the Perfect Biryani
- Rice is Key: Use good quality Basmati rice and soak it for at least 30 minutes for fluffy, separate grains.
- Don’t Overcook: Be careful not to overcook the chicken or the rice. The dum cooking process will finish cooking everything perfectly.
- Patience is a Virtue: Dum cooking takes time, so be patient and let the biryani simmer on low heat for the best results.
Cooking it Your Way: Different Methods
- Pressure Cooker: You can cook the chicken masala in a pressure cooker for faster cooking. After layering the rice, add just enough water to cover the rice and cook for 1-2 whistles on low heat.
- Oven: Layer the biryani in an oven-safe dish, cover tightly with foil, and bake at 325°F (160°C) for 45-60 minutes.
- Slow Cooker/Crockpot: While not traditional, you can adapt the recipe. Cook the chicken masala on low for 4-6 hours. Then, layer with parboiled rice and cook for another 1-2 hours until the rice is tender.
Nutritional Information (Approximate, per serving):
- Calories: 550-650
- Protein: 30-40g
- Carbohydrates: 60-70g
- Fat: 20-30g
Note: Nutritional information may vary based on specific ingredients and portion sizes.
Serving Suggestions
Malabar Biryani is a complete meal in itself, but it’s even better with:
- Raita: A cooling yogurt dip with cucumber, onions, and coriander.
- Papadums: Crispy lentil wafers.
- Pickle: A tangy and spicy Indian pickle.
Time to Cook!
So there you have it, folks! My take on the magnificent Malabar Biryani. I urge you to try this recipe at home. Cook it with love, share it with your loved ones, and create some beautiful memories around the table.
Happy Cooking!