Ghiya Raita: Thanda Thanda, Cool Cool! – Chef Curry Do’pyaza’s Kitchen
Namaste Doston! Kem Cho? Assalam Walekum! Sat Sri Akal!
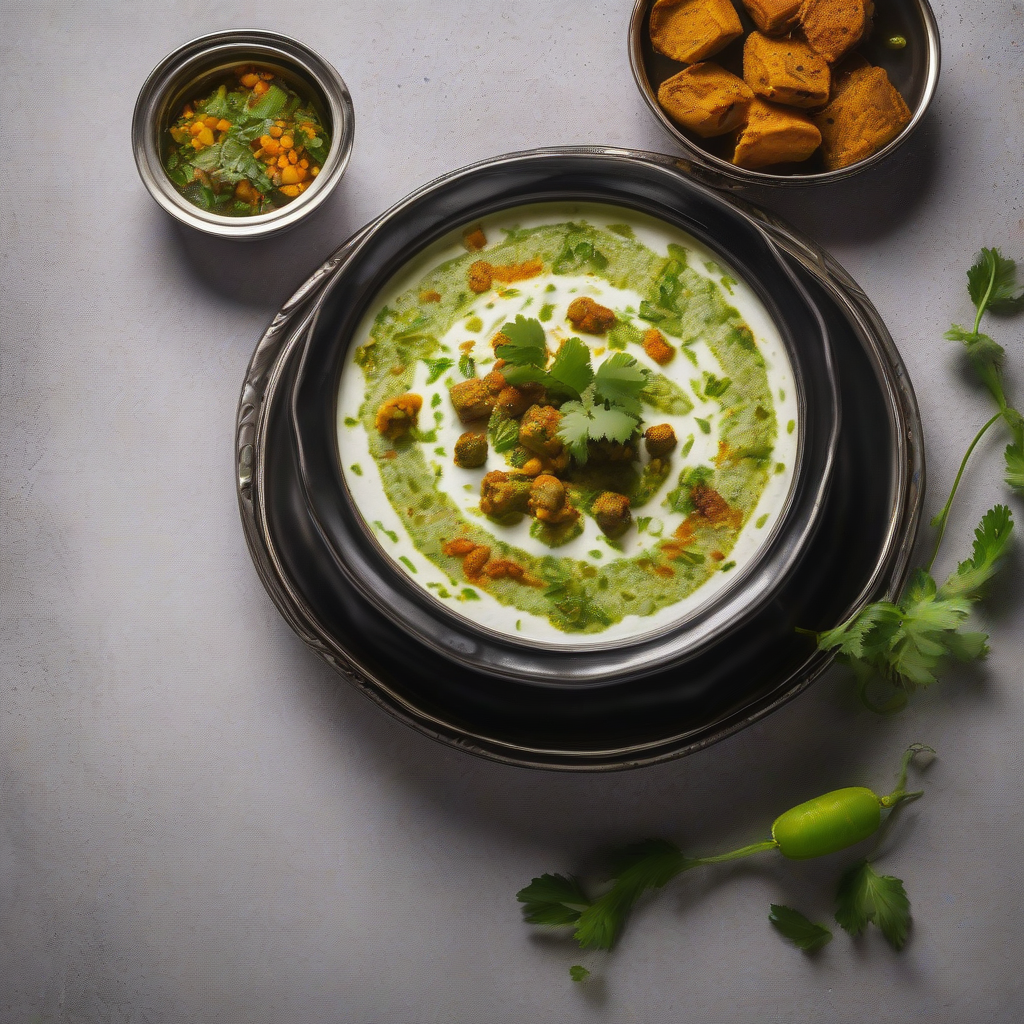
Chef Curry Do’pyaza here, back in your kitchens (virtually, of course!) with another recipe that’s as easy as it is delicious. Today, we are diving into the world of raitas, specifically, the ever-so-refreshing Ghiya Raita.
Now, you might be thinking, “Ghiya? Really, Chef?” But trust me, this humble veggie transforms into something truly magical with a little love and some clever spices.
Occasions for a Cool Treat
Ghiya Raita is a star during the scorching Indian summers. Think of it as your personal air conditioner in a bowl! It’s a staple during festivals like Holi and Diwali, where rich, heavy foods are abundant. This raita provides a light and cooling counterpoint, aiding digestion and keeping you comfortable. It’s also a regular at weddings and other celebrations, offering a soothing respite from all the festive chaos.
A Little History, A Lot of Taste
Raitas have been around for centuries in India. They were originally created as a way to cool the body and aid digestion, especially in hot weather. Ghiya, also known as bottle gourd, is naturally cooling and easily available, making it a perfect choice for a refreshing raita. This recipe is a simple twist on a classic, showcasing the versatility of Indian cuisine.
Recipe Time!
Let’s get cooking, shall we?
Preparation Time: 10 minutes
Cooking Time: 15 minutes
Ingredients:
- 2 cups Dahi (Yogurt), preferably thick and creamy
- 1 cup Lauki (Bottle Gourd), peeled, grated
- 1/2 teaspoon Jeera (Cumin) powder, roasted
- 1/4 teaspoon Lal Mirch (Red Chili) powder, or to taste
- 1/4 teaspoon Kala Namak (Black Salt), or to taste
- 1/4 cup Hara Dhaniya (Fresh Coriander), finely chopped
- Salt to taste
- 1 teaspoon Oil
Instructions:
- Ghiya Prep: First, wash and peel your lauki. Grate it using a medium grater. In a pan, heat oil. Add the grated lauki and saute for 5-7 minutes until it softens and loses its raw smell. Let it cool completely. This step is crucial! Raw lauki can be bitter.
- Yogurt Base: In a large bowl, whisk the dahi until it is smooth and creamy. No lumps allowed!
- Spice it Up: Add the roasted jeera powder, lal mirch powder, and kala namak to the yogurt. Mix well. The aroma of roasted cumin is heavenly, isn’t it?
- Combine and Chill: Gently fold in the cooled lauki into the yogurt mixture. Add salt to taste. Garnish with fresh hara dhaniya.
- Chill Out: Cover the bowl and refrigerate for at least 30 minutes before serving. The longer it chills, the better the flavors meld together!
Chef’s Tips for a Perfect Raita:
- Thick Yogurt is Key: Use thick, creamy yogurt for the best texture. If your yogurt is watery, hang it in a muslin cloth for a few hours to remove excess water.
- Roast the Cumin: Roasting the cumin seeds before grinding them enhances their flavor significantly.
- Adjust the Spice: Adjust the amount of red chili powder to your liking. If you prefer a milder raita, skip it altogether.
- Fresh Herbs: Fresh coriander adds a vibrant flavor and a pop of color. Don’t skip it!
Cooking Variations:
- Gas Stove: Follow the instructions above.
- Induction Stove: The same as the gas stove, just adjust the heat settings as needed.
- Pressure Cooker: You can steam the grated lauki in a pressure cooker for 1 whistle. Let the pressure release naturally before using.
- Microwave: Microwave the grated lauki for 2-3 minutes, stirring halfway through.
- Air Fryer: Toss the grated lauki with a little oil and air fry at 350°F (175°C) for 5-7 minutes, shaking halfway through.
- Slow Cooker/Crockpot: Not recommended for this recipe.
Nutritional Information (Approximate):
- Calories: 80-100 per serving
- Protein: 5-7 grams
- Carbohydrates: 8-10 grams
- Fat: 3-5 grams
Note: Nutritional information is an estimate and may vary based on specific ingredients used.
Serving Suggestions:
- Serve Ghiya Raita chilled alongside your favorite Indian meals, such as biryani, pulao, or roti sabzi.
- It’s also a great accompaniment to spicy dishes, helping to cool down your palate.
- Enjoy it as a light and refreshing snack on a hot day.
Call to Action:
So there you have it, folks! A simple yet incredibly delicious Ghiya Raita recipe that’s perfect for any occasion. Now, go ahead and try this recipe at home. Share it with your friends and family, and let them experience the cool, refreshing goodness of Ghiya Raita!
Until next time, happy cooking!
Your pal,
Chef Curry Do’pyaza.