Kala Namak Raita: Your Cool Companion, Guaranteed!
Namaste Doston! Kem cho? Sat Sri Akal!
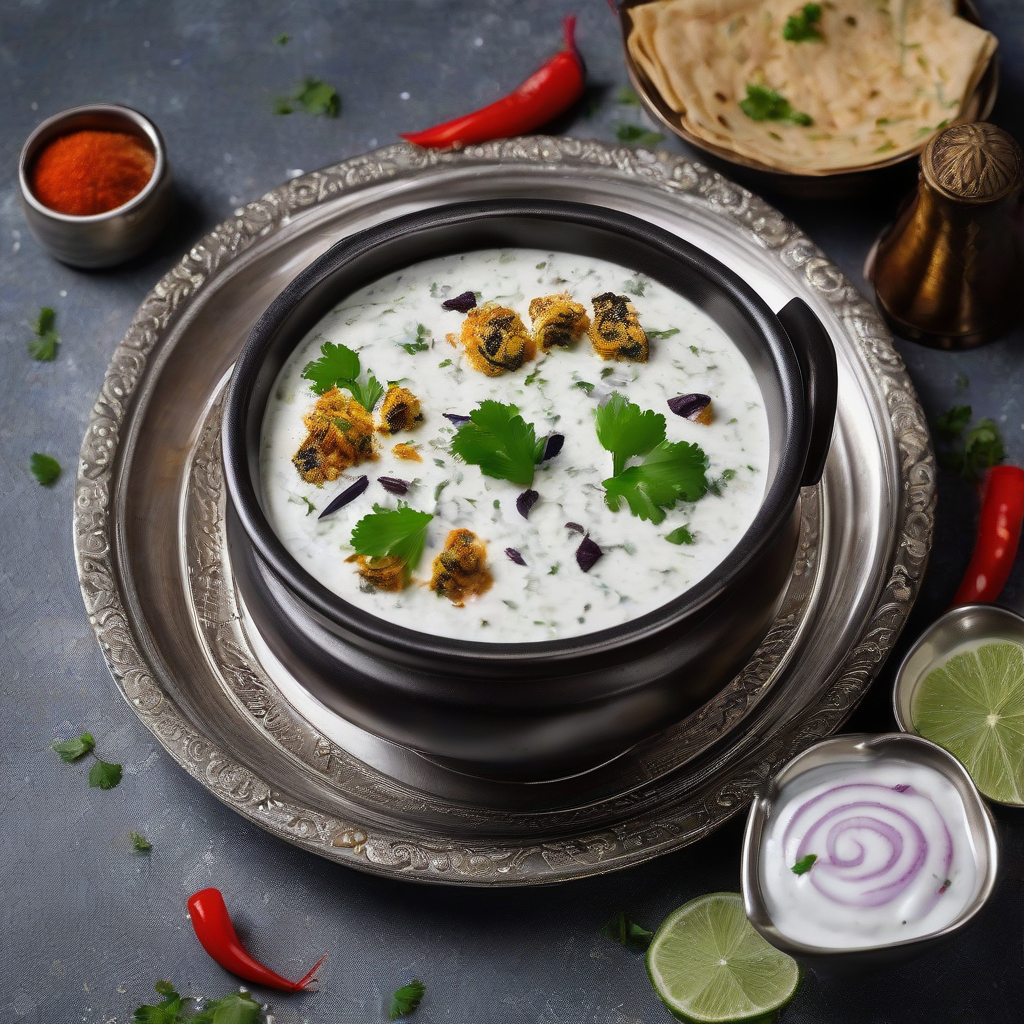
Chef Curry Do’pyaza here, back in your kitchens with a recipe that’s as cool as a cucumber on a scorching Delhi afternoon. We’re talking about Kala Namak Raita, the humble yet incredibly flavourful yogurt dip that’s a staple in Indian households.
This raita isn’t just a condiment; it’s a mood! You’ll find it gracing tables during vibrant festivals like Diwali, Holi, and Eid. It’s the perfect cooling counterpoint to spicy dishes during summer weddings and family gatherings. Think of it as the friendly uncle who always has a joke to lighten the mood – that’s Kala Namak Raita!
A Little Trip Down Memory Lane
Raita has been around for centuries, evolving with regional tastes and ingredients. The basic principle has always been the same: yogurt (dahi) as a soothing base. The addition of Kala Namak (black salt) is what gives this raita its unique, slightly sulfuric, and utterly addictive flavour. It’s a taste that transports you back to your grandmother’s kitchen, isn’t it?
Get Ready to Raita!
- Preparation Time: 5 minutes
- Cooking Time: 0 minutes (it’s that easy!)
What You Need (The सामान – Saamaan)
- 2 cups Dahi (Plain Yogurt), chilled
- 1/2 teaspoon Kala Namak (Black Salt)
- 1/4 teaspoon Bhuna Jeera Powder (Roasted Cumin Powder)
- 1/4 cup Boondi (Tiny Fried Chickpea Flour Balls)
- 1 tablespoon Hara Dhaniya (Fresh Coriander), finely chopped
- 1/4 teaspoon Lal Mirch Powder (Red Chilli Powder) – optional, for a little kick!
Let’s Make Some Magic! (The Vidhi – Vidhi)
- Whisk it Good: In a medium bowl, whisk the chilled dahi until it’s smooth and creamy. No lumps allowed!
- Spice it Up: Add the kala namak, bhuna jeera powder, and lal mirch powder (if using). Mix well. Taste and adjust the seasoning as needed. Remember, kala namak is potent, so go easy!
- Boondi Bonanza: Gently fold in the boondi. Don’t stir too vigorously, or the boondi will become soggy.
- Garnish and Go: Sprinkle the chopped hara dhaniya over the top.
- Chill Out: Cover the raita and refrigerate for at least 15 minutes to allow the flavours to meld. This step is crucial for that perfect, refreshing taste.
Chef Curry’s Top Tips for Raita Perfection!
- Use Thick Yogurt: Thick, creamy yogurt is key to a good raita. Greek yogurt works wonderfully too!
- Don’t Overmix: Overmixing can make the yogurt watery. Be gentle!
- Fresh is Best: Use fresh coriander for the best flavour.
- Boondi Timing: Add the boondi just before serving to prevent it from becoming soggy. If you like it soft, add it earlier.
- Get Creative: Feel free to add other ingredients like finely chopped cucumber, tomatoes, or mint for a different flavour profile.
Raita Your Way!
This recipe is so simple, you don’t need fancy equipment! You can make it anywhere:
- Gas Stove/Induction Stove: Just for whisking the ingredients together in a bowl.
- Microwave: Not needed for this recipe.
- Air Fryer/Oven/Pressure Cooker/Slow Cooker/Crockpot: Absolutely not needed! This is a no-cook wonder!
Nutrition Nuggets (The Gyan – Gyaan)
Kala Namak Raita is a good source of calcium and protein from the yogurt. The spices add flavour without adding many calories. It’s a relatively healthy and refreshing side dish.
Serving Suggestions (The Parosan – Parosan)
- Serve it chilled alongside Biryani, Pulao, or any spicy Indian dish.
- Use it as a dip for pakoras or samosas.
- Enjoy it as a cooling accompaniment to grilled Chicken or Mutton.
- Spread it on roti or naan for a quick and flavourful snack.
Now, It’s Your Turn!
Doston, I hope you enjoyed this simple yet satisfying recipe for Kala Namak Raita. Go ahead, try it at home, and share the deliciousness with your friends and family. Trust me, they’ll thank you for it!
Happy Cooking!
Your Friend,
Chef Curry Do’pyaza