Kya Baat Hai! Crispy Pooris with Spicy Mirchi Ka Salan – A Hyderabadi Delight!
Namaste Dosto! Adaab Arz Hai!
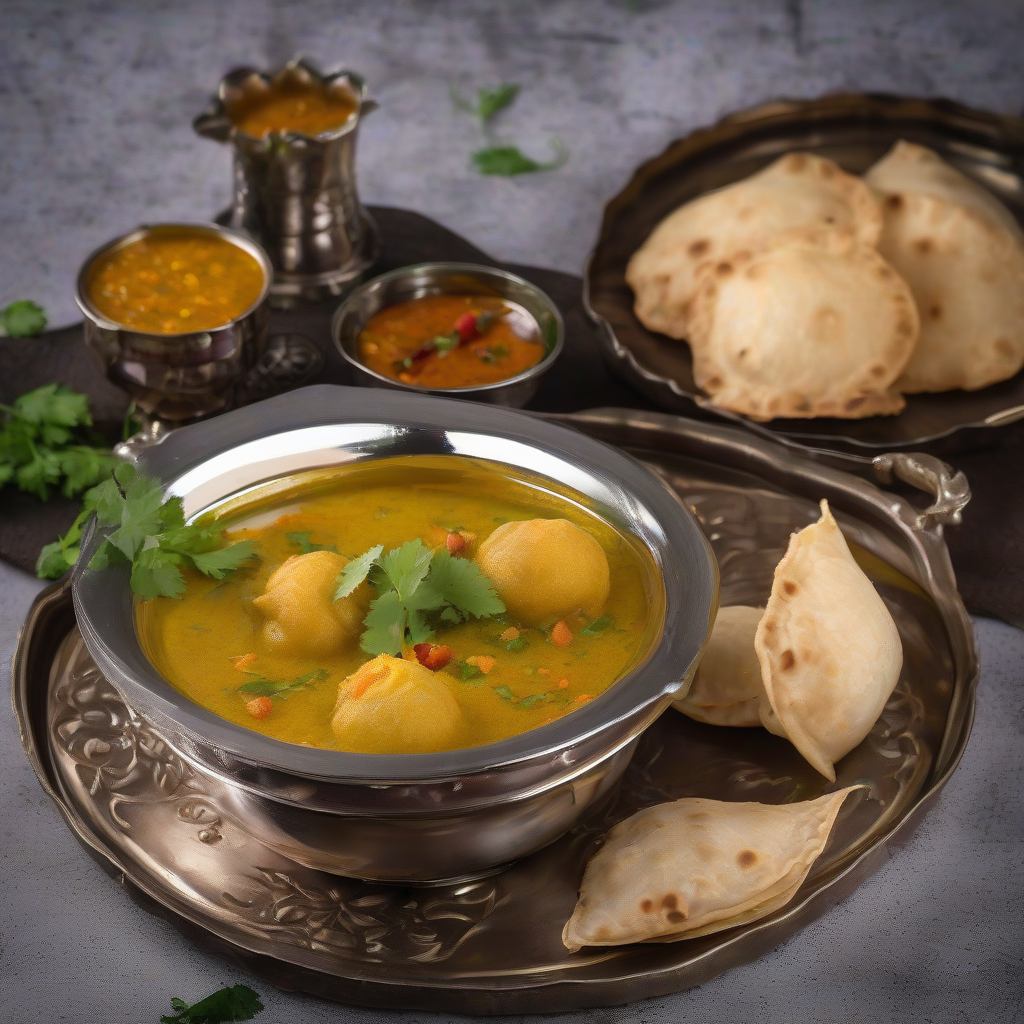
Chef Curry Do’pyaza here, back with another recipe that’s sure to tantalize your taste buds and leave you wanting more. Today, we’re diving deep into the heart of Hyderabadi cuisine with a dish that’s both comforting and fiery: Poori with Mirchi Ka Salan.
This isn’t just food, my friends, it’s an experience!
A Festive Feast
This delightful combination is often enjoyed during special occasions like Eid, weddings, and even just a cozy Sunday brunch with family. Think of the joyous laughter, the clinking of glasses, and the aroma of spices filling the air – that’s the magic of Poori and Mirchi Ka Salan! It’s a dish that brings people together, especially during the cooler months when you crave something warm and spicy.
A Tale of Two Dishes
Let’s talk history! Poori, those golden, puffed-up breads, have been a staple in Indian cuisine for centuries. They are simple, yet satisfying. Mirchi Ka Salan, on the other hand, hails from the kitchens of Hyderabad, a city known for its rich and flavorful food. It’s a beautiful blend of peanuts, sesame seeds, coconut, and of course, those glorious green chilies! The combination of the simple poori with the complex, spicy salan is truly a match made in culinary heaven.
Let’s Get Cooking!
Here’s what you’ll need to create this masterpiece:
Preparation Time: 25 minutes
Cooking Time: 45 minutes
Ingredients:
- For the Pooris:
- 2 cups Gehun ka atta (Whole Wheat Flour)
- 1 tsp Ajwain (Carom Seeds)
- 1/2 tsp Namak (Salt)
- Water (as needed)
- Tel (Oil) for frying
- For the Mirchi Ka Salan:
- 10-12 Large Green Chillies (preferably Bhavnagri or any large, less spicy variety)
- 2 tbsp Til (Sesame Seeds)
- 2 tbsp Moongphali (Peanuts)
- 2 tbsp Sukha Nariyal (Dry Coconut), grated
- 1 medium Pyaaz (Onion), finely chopped
- 1 tbsp Adrak-Lehsan Paste (Ginger-Garlic Paste)
- 1 tsp Rai (Mustard Seeds)
- 1/2 tsp Methi Seeds (Fenugreek Seeds)
- 1/4 tsp Hing (Asafoetida)
- 1/2 tsp Haldi Powder (Turmeric Powder)
- 1 tsp Lal Mirch Powder (Red Chilli Powder) (optional, for extra heat)
- 2 tbsp Imli Paste (Tamarind Paste)
- 2 tbsp Dhaniya Powder (Coriander Powder)
- 1 tsp Jeera Powder (Cumin Powder)
- 1/2 tsp Garam Masala
- Namak (Salt) to taste
- 2 tbsp Tel (Oil)
- Fresh Dhaniya (Coriander Leaves) for garnish
Step-by-Step Instructions:
- Making the Pooris: In a large bowl, combine the wheat flour, carom seeds, and salt. Gradually add water and knead into a firm but pliable dough. Cover the dough and let it rest for at least 15 minutes.
- Divide the dough into small, equal-sized balls. Roll each ball into a small, circular disc (about 3-4 inches in diameter).
- Heat oil in a kadhai (wok) or deep frying pan over medium-high heat. The oil should be hot enough for the poori to puff up immediately.
- Gently slide a poori into the hot oil. Use a slotted spoon to press down lightly on the poori. This will help it puff up beautifully.
- Fry the poori until it turns golden brown and crispy on both sides. Remove it from the oil and place it on a paper towel-lined plate to drain excess oil. Repeat with the remaining dough.
- Preparing the Mirchi Ka Salan: Dry roast the sesame seeds, peanuts, and dry coconut separately until lightly golden. Let them cool slightly, then grind them into a fine powder.
- Slit the green chilies lengthwise, being careful not to cut them all the way through. Remove some of the seeds if you prefer a milder salan.
- Heat oil in a pan over medium heat. Add mustard seeds, fenugreek seeds, and asafoetida. Let them splutter.
- Add the chopped onion and sauté until golden brown. Add ginger-garlic paste and sauté for another minute until the raw smell disappears.
- Add turmeric powder, red chili powder (if using), coriander powder, cumin powder, and salt. Sauté for a minute.
- Add the ground sesame-peanut-coconut powder and mix well. Sauté for another 2-3 minutes.
- Add the slit green chilies and sauté for 5-7 minutes, until they soften slightly.
- Add tamarind paste and 1 cup of water. Bring to a simmer.
- Cover the pan and let the salan simmer for 15-20 minutes, or until the gravy thickens and the chilies are cooked through.
- Stir in the garam masala and garnish with fresh coriander leaves.
Chef Curry’s Tips for Perfection:
- For the poori dough, don’t add too much water at once. Add it gradually until you get the right consistency.
- Make sure the oil is hot enough before frying the pooris, otherwise they will absorb too much oil.
- Adjust the amount of red chili powder in the salan according to your spice preference.
- Roasting the sesame seeds, peanuts, and coconut properly is crucial for the flavor of the salan.
- Don’t overcook the green chilies, they should still have a slight bite to them.
Cooking Variations:
- Pressure Cooker: You can speed up the salan preparation by pressure cooking it for 2-3 whistles after adding the water.
- Slow Cooker/Crockpot: For a richer flavor, simmer the salan in a slow cooker on low heat for 4-6 hours.
- Induction Stove: Follow the same steps as the gas stove method, adjusting the heat settings as needed.
- Oven: The salan can be baked in the oven at 350°F (175°C) for about 30-40 minutes, stirring occasionally.
- Air Fryer: While not ideal for the entire salan, you can lightly air fry the green chilies before adding them to the gravy for a slightly charred flavor.
Nutritional Information (Approximate per serving):
- Calories: 450-500
- Protein: 10-12g
- Carbohydrates: 50-60g
- Fat: 25-30g
Serving Suggestions:
Serve the hot, crispy pooris immediately with the flavorful Mirchi Ka Salan. You can also add a dollop of fresh yogurt (dahi) or raita on the side for a cooling contrast. A simple onion salad (pyaaz ka salad) also complements the dish beautifully.
Time to Cook!
So there you have it, folks! A complete guide to making Poori with Mirchi Ka Salan. It might seem a little daunting at first, but trust me, the end result is worth every bit of effort.
Now go ahead, try this recipe at home, share it with your friends and family, and spread the joy of good food! Let me know how it turns out in the comments below.
Khuda Hafiz! And happy cooking!