Gujiya Galore: Sweet Treats for a Sweet Life, Yaar!
Namaste, mere pyaare doston! Sat Sri Akal! Kem Chho! Vanakkam! Chef Curry Do’pyaza here, back in your kitchens and hearts, ready to whip up some magic!
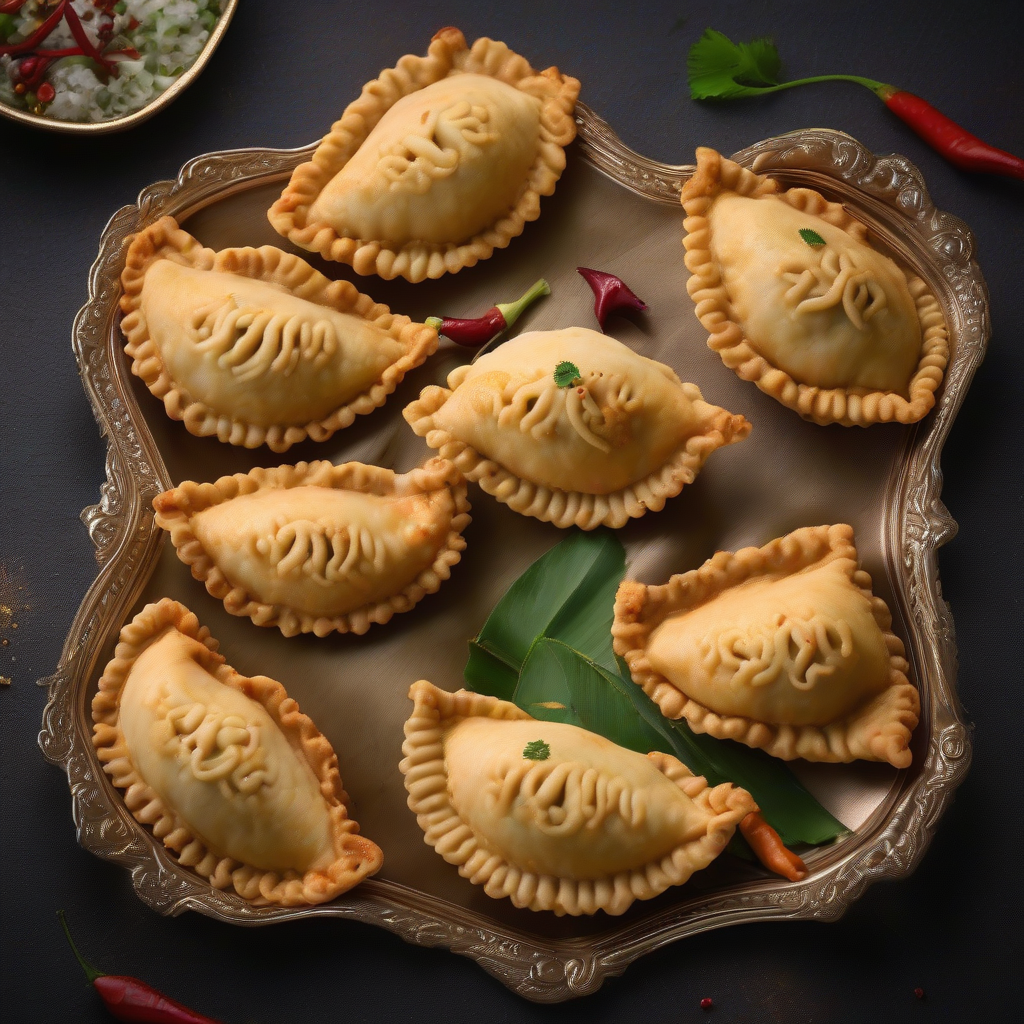
Today, we’re diving headfirst into the delightful world of Gujiya – those golden, crescent-shaped pockets of joy that scream celebration!
When Do We Gobble These Goodies?
Gujiyas are the superstars of Holi, the vibrant festival of colors, and Diwali, the dazzling festival of lights. You’ll also find them gracing tables during weddings, births, and any other occasion that calls for a little extra sweetness. Basically, any excuse to indulge is a Gujiya excuse! They’re especially popular in North and West India, where families gather to make them together, sharing stories and laughter. The time of year? Usually around the spring and fall festivals.
A Little History Lesson (Don’t Worry, It’s Tasty!)
Gujiyas have been around for ages! Some food historians believe they originated in Rajasthan, while others trace them back to the Mughal era. No matter where they came from, one thing is for sure: they’ve become a beloved part of our culinary heritage. They are thought to be inspired by the Turkish dessert Baklava, but that is just speculation.
Let’s Get Cooking!
Preparation Time: 45 minutes
Cooking Time: 30-40 minutes
Ingredients: The Sweet Symphony
For the Dough (Outer Layer):
- 2 cups Maida (All-Purpose Flour)
- 1/4 cup Ghee (Clarified Butter), melted
- 1/2 cup Water, or as needed
- Pinch of Salt
For the Filling (The Heart of the Matter):
- 1 cup Khoya (Dried Evaporated Milk Solids), crumbled
- 1/2 cup Sooji (Semolina)
- 1/2 cup Powdered Sugar (Boora)
- 1/4 cup Chopped Dry Fruits (Almonds, Cashews, Raisins)
- 1/4 teaspoon Elaichi Powder (Cardamom Powder)
- 2 tablespoons Ghee (Clarified Butter)
The Grand Gujiya Creation: Step-by-Step
- Doughlicious Start: In a large bowl, combine the maida and salt. Add the melted ghee and mix well with your fingertips until the mixture resembles breadcrumbs. Slowly add water, kneading until you form a smooth, firm dough. Cover it with a damp cloth and let it rest for at least 30 minutes. This allows the gluten to relax, making the dough easier to roll.
-
Filling Fiesta: While the dough rests, let’s prepare the filling. Heat ghee in a pan over medium heat. Add the sooji and roast it until it turns light golden brown and fragrant. Remove from heat and let it cool slightly.
-
Khoya Magic: In the same pan, add the crumbled khoya and roast it over low heat until it turns light pink. Be careful not to burn it! Remove from heat and let it cool completely.
-
Mixing Masterpiece: In a large bowl, combine the roasted sooji, roasted khoya, powdered sugar, chopped dry fruits, and cardamom powder. Mix everything together thoroughly. Taste and adjust the sweetness if needed.
-
Rolling & Filling Fun: Divide the dough into small, equal-sized balls. Roll each ball into a thin circle, about 3-4 inches in diameter.
-
Gujiya Formation: Place a spoonful of the filling in the center of the circle. Gently fold the circle in half to form a semi-circle. Press the edges firmly to seal. You can use a gujiya cutter (a special tool for this) or simply pinch and twist the edges to create a decorative design. This is where your creativity shines!
-
Frying Frenzy: Heat ghee or oil in a deep pan or kadhai over medium heat. Gently drop the gujiyas into the hot oil, a few at a time. Fry them until they turn golden brown and crispy on both sides. This usually takes about 5-7 minutes per batch.
-
Cooling & Serving: Remove the fried gujiyas with a slotted spoon and place them on a paper towel-lined plate to drain excess oil. Let them cool completely before serving.
Chef Curry’s Top Tips for Gujiya Greatness!
- Dough is Key: A well-rested dough is essential for easy rolling and preventing the gujiyas from breaking during frying.
- Seal it Tight: Make sure to seal the edges of the gujiyas properly to prevent the filling from leaking out during frying.
- Low & Slow: Fry the gujiyas over medium heat to ensure they cook evenly and become crispy without burning.
- Cool Completely: Let the gujiyas cool completely before storing them in an airtight container. This will help them stay crispy for longer.
Gujiya: The Multi-Talented Treat
- Gas Stove/Induction Stove: The traditional method! Use a heavy-bottomed pan or kadhai for even heat distribution.
- Oven (Baked Gujiya): Preheat your oven to 350°F (175°C). Brush the gujiyas with ghee or oil and bake for 20-25 minutes, or until golden brown. This is a healthier option!
- Air Fryer: Preheat your air fryer to 350°F (175°C). Brush the gujiyas with ghee or oil and air fry for 8-10 minutes, flipping halfway through.
- Microwave: Not recommended, as the texture will not be ideal.
Nutritional Information (Approximate, per Gujiya):
- Calories: 150-200
- Fat: 8-12g
- Carbohydrates: 20-25g
- Protein: 3-4g
Serving Suggestions: A Sweet Ending
- Serve gujiyas as a sweet treat after a meal or as a snack with a cup of chai (tea).
- Garnish with chopped nuts or a sprinkle of powdered sugar for an extra touch of elegance.
- Pair them with a scoop of vanilla ice cream for a decadent dessert.
Your Turn to Shine!
Now it’s your turn to create these delightful gujiyas in your own kitchen! Gather your family, put on some music, and make it a fun-filled activity. Remember, the most important ingredient is love!
Try this recipe at home and share the deliciousness with your friends and family. I can’t wait to hear about your Gujiya adventures! Happy cooking, mere doston! Until next time, keep the spices sizzling and the smiles wide!
Yours truly,
Chef Curry Do’pyaza!