Ghugni Mania: Let’s Get This Chana Party Started!
Namaste, friends! Kem cho? Assalamualaikum! Sat Sri Akal! Chef Curry Do-Pyaza here, ready to spice up your life with a dish that’s close to my heart: Chana Ghugni!
For my Bengali buddies, this is practically a religion! But trust me, even if you haven’t grown up slurping this flavorful concoction, you’re about to become a convert.
Ghugni isn’t just food; it’s a feeling. Think of cozy evenings during Durga Puja, the vibrant energy of Diwali, or even just a lazy Sunday afternoon. It’s street food royalty, a comforting hug in a bowl, and a delicious reminder of home. It is often served as a snack, or as a side dish with roti or rice.
A Little Ghugni History Lesson
Ghugni’s story is as humble as its ingredients. Originating in the eastern parts of India, particularly Bengal and Odisha, it was a way to make a delicious and nutritious meal out of simple, readily available ingredients. It’s a dish born of resourcefulness, passed down through generations, and now, it’s making its way to your kitchen!
The Deets: Prep & Cook Time
- Preparation Time: 15 minutes (plus soaking time)
- Cooking Time: 30 minutes
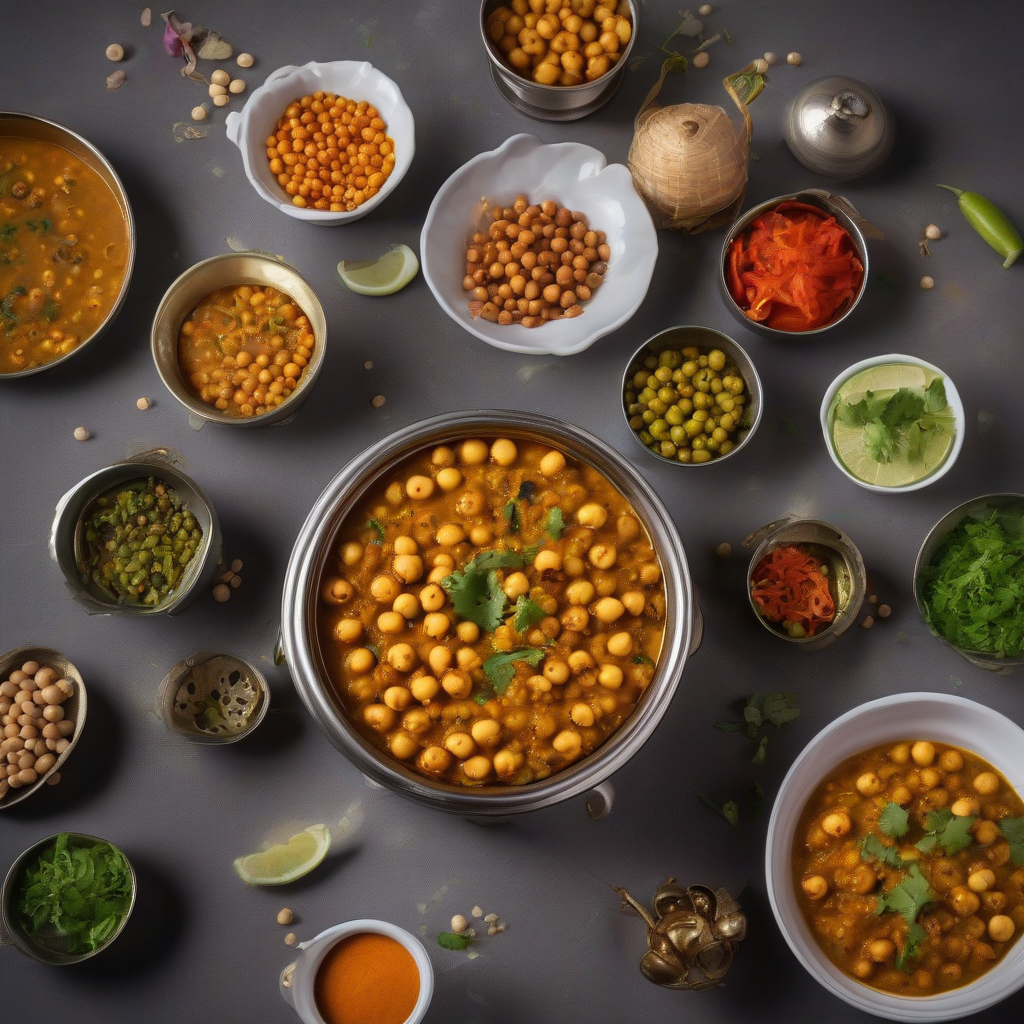
The Star Cast: Ingredients You’ll Need
- 1 cup Kabuli Chana (White Chickpeas), soaked overnight
- 2 tablespoons Tel (Vegetable Oil)
- 1 medium Pyaaz (Onion), finely chopped
- 1 teaspoon Adrak-Lahsun Paste (Ginger-Garlic Paste)
- 1 medium Tamatar (Tomato), finely chopped
- 1 teaspoon Haldi Powder (Turmeric Powder)
- 1 teaspoon Lal Mirch Powder (Red Chili Powder) – adjust to your spice preference!
- 1 teaspoon Jeera Powder (Cumin Powder)
- ½ teaspoon Garam Masala
- Hara Dhaniya (Fresh Coriander Leaves), chopped for garnish
- Namak (Salt) to taste
- Nimbu (Lemon) wedges for serving (optional)
Let’s Get Cooking: Step-by-Step Instructions
- Soak it Up: First things first, make sure your Kabuli Chana has been soaking in plenty of water overnight. This is crucial for a soft and creamy Ghugni.
- Pressure Cook Power: Drain the soaked chickpeas and put them in a pressure cooker. Add enough water to cover them, plus a little extra. Add a pinch of Haldi Powder and Namak. Pressure cook for 4-5 whistles, or until the chickpeas are tender but not mushy.
- Tadka Time! While the chickpeas are cooking, heat the Tel in a pan or wok over medium heat. Add the chopped Pyaaz and sauté until golden brown and fragrant.
- Spice it Right: Add the Adrak-Lahsun Paste and sauté for another minute until the raw smell disappears. Then, toss in the chopped Tamatar and cook until they soften and release their juices.
- Masala Magic: Now for the fun part! Add the Haldi Powder, Lal Mirch Powder, Jeera Powder, and Garam Masala. Sauté the spices for a minute or two, stirring constantly to prevent them from burning. Add a splash of water if needed.
- Chickpea Party! Once the pressure from the cooker is released, drain the chickpeas (reserve the cooking liquid!). Add the boiled chickpeas to the pan with the masala.
- Simmer Down: Add a little of the reserved chickpea cooking liquid to the pan, just enough to create a nice, thick gravy. Bring the mixture to a simmer and let it cook for 5-7 minutes, allowing the flavors to meld together beautifully.
- Taste Test: Adjust the Namak to your liking.
- Garnish & Serve: Garnish generously with chopped Hara Dhaniya. Serve hot with a squeeze of Nimbu juice (optional).
Chef Curry’s Top Tips for Ghugni Glory
- Soaking is Key: Don’t skip the soaking! It makes all the difference in the texture of the chickpeas.
- Spice Level: Adjust the Lal Mirch Powder to your preference. If you like it hot, add more! If you prefer a milder flavor, reduce the amount.
- Gravy Consistency: The amount of reserved chickpea cooking liquid you add will determine the thickness of the gravy. Add more for a thinner consistency, less for a thicker one.
- Fresh is Best: Use fresh ingredients whenever possible for the best flavor.
Ghugni Your Way: Cooking Method Variations
- Gas Stove/Induction Stove: Follow the recipe above using a regular pan or wok on your gas or induction stove.
- Pressure Cooker (One-Pot Wonder): You can make the entire dish in the pressure cooker! After sautéing the onions and spices, add the boiled chickpeas and cooking liquid, then pressure cook for another 2-3 whistles.
- Slow Cooker/Crockpot: For a truly hands-off approach, sauté the onions and spices in a pan, then transfer everything to your slow cooker along with the boiled chickpeas and cooking liquid. Cook on low for 6-8 hours or on high for 3-4 hours.
- Microwave: Not recommended as the primary cooking method, but you can use it to reheat leftover Ghugni.
- Air Fryer/Oven: These are not suitable for making Ghugni.
Nutritional Nuggets (Approximate per serving)
- Calories: 250-300
- Protein: 15-20g
- Carbohydrates: 40-45g
- Fiber: 10-12g
Note: These values are approximate and may vary based on specific ingredients and portion sizes.
Serving Suggestions: Ghugni and Beyond
- Street Food Style: Serve Ghugni in a bowl, topped with chopped onions, green chilies, and a sprinkle of chaat masala.
- Roti Companion: Enjoy Ghugni with warm roti or paratha for a satisfying meal.
- Rice Delight: Serve Ghugni over a bed of fluffy rice.
- Evening Snack: Ghugni makes a fantastic and healthy evening snack.
Your Ghugni Adventure Begins Now!
So there you have it! My family recipe for Chana Ghugni, ready for you to try in your own kitchen. I urge you to give this recipe a whirl. Cook it with love, share it with your loved ones, and let the flavors transport you to the bustling streets of India.
Happy cooking, friends! And remember, a little spice makes everything nice!