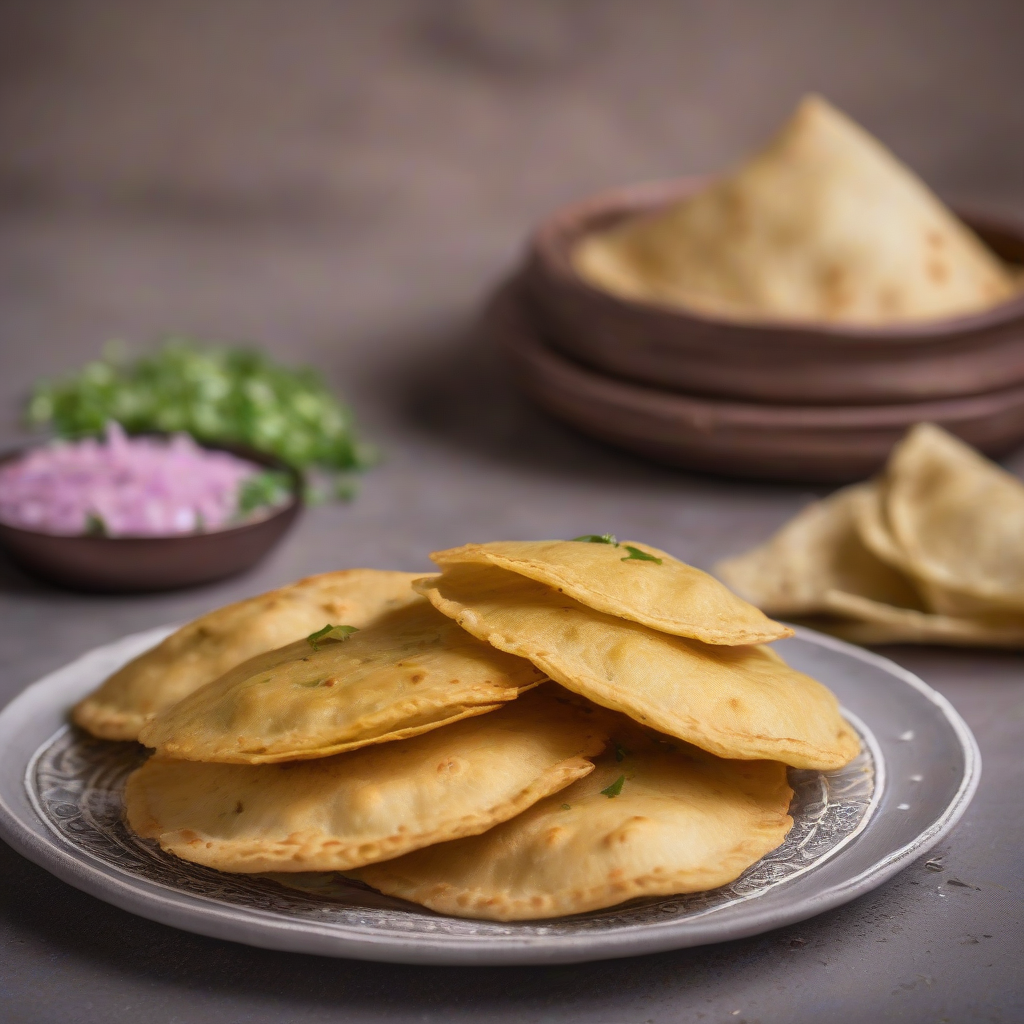
Chana Dal Puri: Ghar Ka Pyaar, Har Zubaan Par!
Namaste Dosto! Kem cho? Assalamualaikum! Sat Sri Akal! Chef Curry Do’pyaza here, back in your kitchens and ready to spice up your life with another delightful recipe. Today, we’re diving into the golden world of Chana Dal Puri – a crispy, flavorful, and utterly satisfying treat that’s sure to bring a smile to your face.
This isn’t just a recipe; it’s a warm hug from your grandmother, a burst of sunshine on a cloudy day, and a delicious reminder of home.
A Taste of Tradition
Chana Dal Puri holds a special place in our hearts, especially during festive occasions. Think Diwali, Holi, or even just a simple family get-together. It’s a staple during Navratri fasts (when consumed without onion and garlic) and is often prepared for special pujas. It’s a dish that transcends regions, loved from the bustling streets of Mumbai to the serene villages of Punjab.
A Little Trip Down Memory Lane
The exact origins of Chana Dal Puri are a bit hazy, like the steam rising from a hot cup of chai. But, its roots are deeply embedded in the culinary traditions of India. Puris, in general, have been a part of our cuisine for centuries, and the addition of chana dal stuffing is a testament to our love for incorporating lentils into every possible dish! It’s a clever way to add protein and flavor to a simple fried bread, transforming it into a complete and satisfying meal.
Let’s Get Cooking!
- Preparation Time: 30 minutes (plus soaking time)
- Cooking Time: 45 minutes
- Total Time: 1 hour 15 minutes (plus soaking time)
Ingredients – The Magic Makers
- For the Dough:
- 2 cups Gehun ka Atta (Whole Wheat Flour)
- 1 tbsp Tel (Oil)
- ½ tsp Namak (Salt)
- Pani (Water) – as needed
- For the Filling:
- 1 cup Chana Dal (Split Chickpea Lentils) – soaked for at least 2 hours
- 1 inch Adrak (Ginger) – grated
- 2-3 Hari Mirch (Green Chillies) – finely chopped (adjust to your spice level!)
- 1 tsp Dhaniya Powder (Coriander Powder)
- ½ tsp Haldi Powder (Turmeric Powder)
- ½ tsp Lal Mirch Powder (Red Chilli Powder)
- ½ tsp Garam Masala
- ½ tsp Amchur Powder (Dry Mango Powder)
- 1 tbsp Besan (Gram Flour)
- 2 tbsp Hara Dhaniya (Fresh Coriander) – chopped
- Namak (Salt) – to taste
- Tel (Oil) – for frying
Step-by-Step: The Culinary Journey
- Dal Prep: After soaking the chana dal, drain the water and pressure cook it with a pinch of haldi and salt until it’s soft but not mushy. We want it cooked, not a paste! Let it cool completely.
- Mash it Up: Once cooled, grind the dal coarsely in a mixer or food processor. We want a slightly textured mixture, not a smooth paste.
- Spice it Right: In a bowl, mix the ground dal with grated ginger, chopped green chillies, coriander powder, turmeric powder, red chilli powder, garam masala, amchur powder, besan, chopped coriander, and salt. Mix well until everything is beautifully combined.
- Dough Time: In a large bowl, mix the wheat flour, oil, and salt. Gradually add water and knead into a smooth, pliable dough. Cover it with a damp cloth and let it rest for at least 30 minutes. This resting period is crucial for soft puris.
- Roll and Fill: Divide the dough into small, equal-sized balls. Roll out each ball into a small circle (about 3-4 inches in diameter). Place a spoonful of the chana dal filling in the center of the circle.
- Seal the Deal: Bring the edges of the circle together to enclose the filling, forming a ball again. Gently flatten the ball and roll it out into a puri (about 4-5 inches in diameter). Be careful not to roll it too thin, or the filling might burst out.
- Fry ‘Em Up: Heat oil in a deep kadhai (wok) or frying pan over medium heat. Gently slide the puri into the hot oil. Press it lightly with a slotted spoon to help it puff up.
- Golden Goodness: Fry the puri until it’s golden brown and crispy on both sides. Remove it from the oil and drain on a paper towel.
- Repeat and Enjoy: Repeat the process with the remaining dough and filling. Serve hot and enjoy the deliciousness!
Chef’s Tips for the Perfect Puri
- Soaking is Key: Don’t skip the soaking step for the chana dal. It helps it cook evenly and prevents it from being hard.
- Don’t Overcook the Dal: We want the dal cooked, not mushy. Mushy dal will make the filling sticky and difficult to work with.
- Rest the Dough: A well-rested dough is easier to roll and makes softer puris.
- Hot Oil is Essential: Make sure the oil is hot enough before frying the puris. Otherwise, they will absorb too much oil and become soggy.
- Don’t Overcrowd the Pan: Fry only a few puris at a time to maintain the oil temperature.
Cooking it Your Way
- Gas Stove: The traditional method, using a kadhai (wok) and medium heat.
- Induction Stove: Adjust the heat settings to maintain a consistent medium temperature.
- Pressure Cooker: To cook the dal quickly, pressure cook it for 2-3 whistles.
- Air Fryer: While not traditional, you can brush the puris with oil and air fry them at 375°F (190°C) for 5-7 minutes, flipping halfway through. This will give you a slightly different texture.
- Oven: Bake the puris on a baking sheet at 350°F (175°C) for 10-12 minutes, flipping halfway through. This will result in a drier, less crispy puri.
Nutritional Nuggets (Approximate)
- Calories: 250-300 per puri
- Protein: 8-10 grams
- Carbohydrates: 30-35 grams
- Fat: 10-15 grams
Serving Suggestions: The Perfect Pairings
Chana Dal Puri is incredibly versatile. You can enjoy it with:
- Aloo Sabzi (Potato Curry): A classic combination!
- Raita (Yogurt Dip): Cool and refreshing.
- Pickle (Achar): Adds a tangy kick.
- Chai (Tea): The perfect accompaniment for a snack.
- Simply on its own! It’s delicious enough to be enjoyed without any sides.
Your Turn to Shine!
Now, it’s your turn to create this delicious magic in your own kitchen. Gather your ingredients, put on some music, and let the aroma of freshly fried puris fill your home. Share this delightful recipe with your friends and family. Let them experience the joy of Chana Dal Puri.
Happy Cooking, Dosto! And remember, every dish is a story waiting to be told. Make yours a delicious one!