Aye Mere Deshwasiyon! Let’s Make Some Scrumptious Ghee Roast Dosa!
Namaste and Vanakkam, my dear food-loving friends! Chef Curry Do’pyaza here, back with another recipe that will set your taste buds dancing like you’re at a Bollywood wedding! Today, we’re diving headfirst into the crispy, buttery goodness of Ghee Roast Dosa.
This isn’t just any dosa; it’s a celebration on a plate!
A Dish for Every Auspicious Occasion
Ghee Roast Dosa is a star during festive times, especially in South India. Think Diwali, Pongal, Ugadi – any occasion where families gather to celebrate with delicious food. It’s also a popular breakfast treat, a Sunday brunch special, or even a quick and satisfying dinner. The rich aroma of ghee sizzling on the hot pan just screams “celebration”!
A Little Peek into History
Dosa itself has a rich history, dating back centuries in South India. While the exact origin of Ghee Roast is a bit hazy, it’s safe to say that someone, somewhere, decided to generously slather a regular dosa with ghee and the rest, as they say, is delicious history! It is believed to have originated in the Karnataka region of India. The addition of ghee elevated the simple dosa into a rich and flavorful experience.
Let’s Get Cooking!
Here’s what you’ll need to create this masterpiece:
- Preparation Time: 15 minutes (plus soaking time for the batter)
- Cooking Time: 2-3 minutes per dosa
Ingredients – The Stars of Our Show:
- 2 cups Dosa Batter (Ready-made or homemade, recipe below)
- 4 tablespoons Ghee (Clarified Butter) – the heart and soul of this dish!
- 1/2 teaspoon Red Chili Powder (Lal Mirch Powder) – for a touch of fiery color and flavor
- Salt (Namak) to taste
Homemade Dosa Batter (if you’re feeling ambitious!):
- 1 cup Rice (Chawal) – Use idli rice or any short-grain rice
- 1/4 cup Urad Dal (Split Black Gram)
- 1/4 teaspoon Methi Seeds (Fenugreek Seeds)
- Water (Pani) for soaking and grinding
- Salt (Namak) to taste
Step-by-Step Instructions – Let’s Make Some Magic!
- Prepare the Batter (if making from scratch): Wash the rice, urad dal, and methi seeds thoroughly. Soak them in separate bowls with plenty of water for at least 4-6 hours, or overnight.
- Grind the Batter: Drain the soaked ingredients and grind them separately into a smooth batter using a wet grinder or a high-powered blender. Add water gradually to achieve the right consistency – it should be like a thin pancake batter.
- Ferment the Batter: Combine the rice and dal batters in a large bowl. Add salt and mix well. Cover and let it ferment in a warm place for 8-12 hours, or until it has doubled in volume. The fermentation process is key to that lovely, slightly sour taste.
- Heat the Tawa (Griddle): Heat a flat, non-stick tawa or griddle over medium heat. It should be hot enough that a drop of water sizzles and evaporates quickly.
- Pour and Spread: Pour a ladleful of dosa batter onto the hot tawa. Using the back of the ladle, quickly spread the batter in a circular motion to form a thin, even dosa.
- Ghee Time!: Drizzle a generous amount of ghee (about 1 teaspoon) around the edges of the dosa and a little on top.
- Sprinkle the Spice: Sprinkle a pinch of red chili powder evenly over the dosa.
- Cook and Flip (Optional): Let the dosa cook for 1-2 minutes, or until the bottom turns golden brown and crispy. If you want, you can carefully flip the dosa and cook the other side for a minute or so. But traditionally, Ghee Roast Dosa is cooked on one side only to maximize the crispy texture.
- Fold and Serve: Once the dosa is golden brown and crispy, fold it in half or into a cone shape. Serve immediately and enjoy the divine aroma and taste!
Chef Curry’s Top Tips for Ghee Roast Perfection!
- The Right Tawa: A well-seasoned cast iron tawa is ideal, but a non-stick tawa works well too.
- Batter Consistency: The batter should be thin enough to spread easily but not too watery.
- Ghee is Key: Don’t be shy with the ghee! It’s what makes this dosa so special.
- Heat Control: Keep the heat at medium to medium-high for even cooking and a crispy texture.
- Patience is a Virtue: Let the dosa cook undisturbed until it’s golden brown and crispy before attempting to flip or fold it.
Cooking It Your Way!
- Gas Stove: Follow the instructions above using a tawa on a gas stove.
- Induction Stove: Use a compatible tawa and adjust the heat settings accordingly.
- Oven: While not traditional, you can bake the dosa on a baking sheet at 350°F (175°C) for a few minutes to crisp it up.
- Microwave: Not recommended for this recipe as it won’t achieve the desired crispy texture.
- Air Fryer: You could potentially try air frying a small dosa, but it might not be as authentic. Experiment at your own risk!
Nutritional Information (Approximate, per Dosa):
- Calories: 200-250
- Fat: 15-20g (mostly from ghee)
- Carbohydrates: 20-25g
- Protein: 5-7g
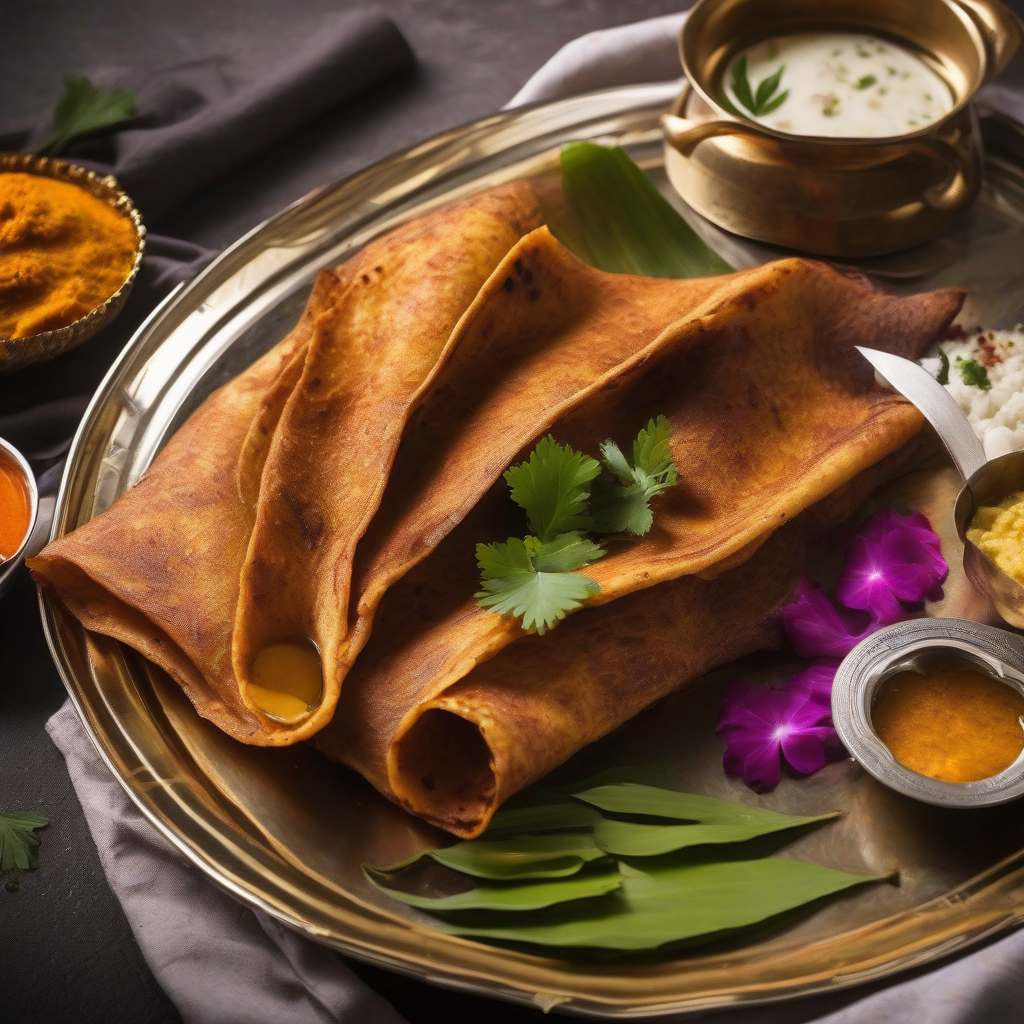
Serving Suggestions – A Feast for the Senses!
Ghee Roast Dosa is best enjoyed hot and fresh. Here are some classic accompaniments:
- Sambar: A flavorful lentil-based vegetable stew.
- Coconut Chutney: A creamy and refreshing chutney made with coconut, green chilies, and spices.
- Tomato Chutney: A tangy and spicy chutney made with tomatoes, onions, and spices.
- Potato Masala: A spiced potato filling, often served inside the dosa (making it a Masala Dosa!).
Now It’s Your Turn!
Go ahead, my friends! Try this recipe at home. It’s easier than you think, and the results are simply divine. Share the joy of Ghee Roast Dosa with your family and friends. Let the aroma of ghee and spices fill your home and create memories that will last a lifetime.
Happy cooking, and until next time, keep the flavors flowing!
Your friend,
Chef Curry Do’pyaza.