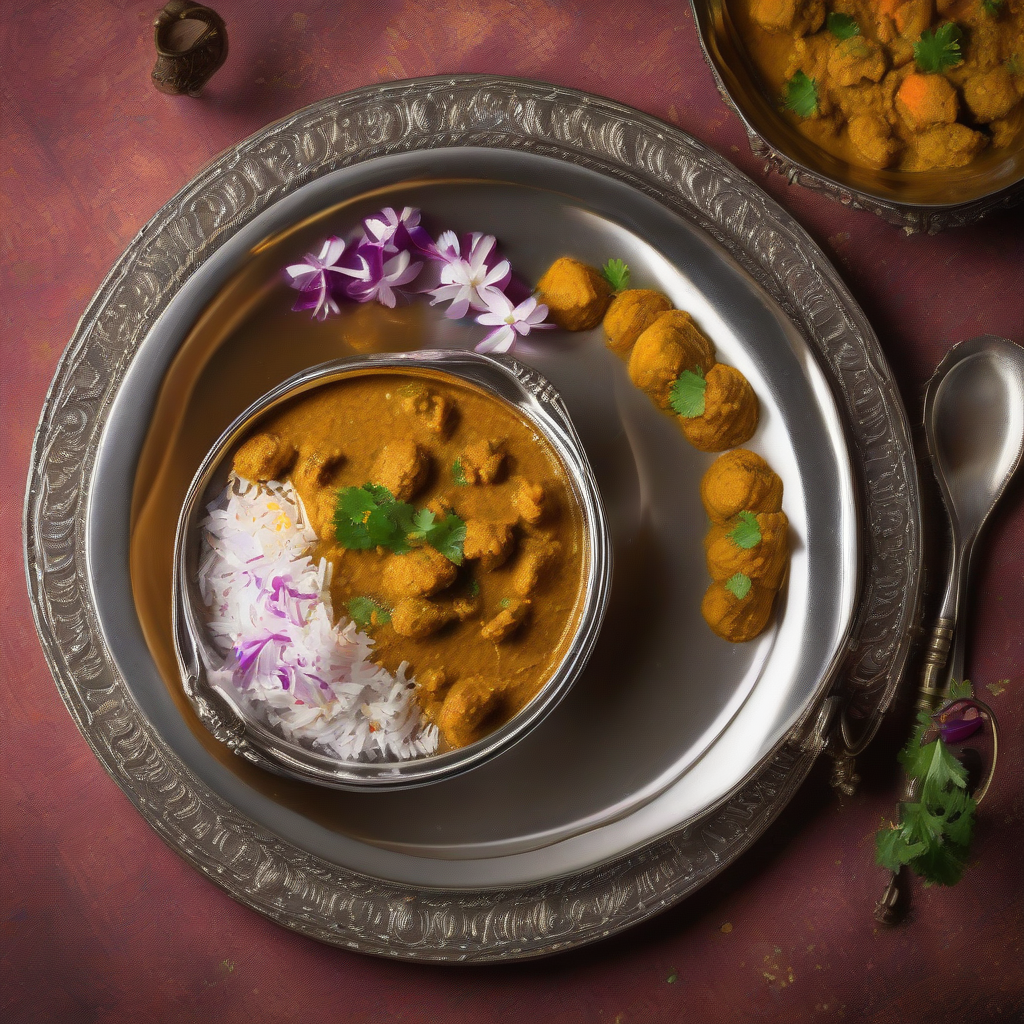
Nachni Vadi: A Taste of Tradition, A Pinch of Love!
Namaste and good day to all my lovely readers! Kem cho? Kai kasa aahat? (How are you all?) Chef Curry Do-Pyaza here, back in your kitchens with a recipe that’s close to my heart – Nachni Vadi!
This humble dish is a staple in many Maharashtrian households, especially during the holy month of Shravan, when many abstain from meat. It’s also a popular snack during festivals like Ganesh Chaturthi and Diwali, and a comforting treat during the cool monsoon season.
A Little Trip Down Memory Lane
Nachni, also known as ragi or finger millet, has been cultivated in India for centuries. It’s a powerhouse of nutrients and a fantastic alternative to rice and wheat. Our grandmothers and great-grandmothers knew this, and they cleverly incorporated it into delicious dishes like this Nachni Vadi. It’s a testament to their ingenuity and resourcefulness!
Let’s Get Cooking!
Preparation Time: 15 minutes
Cooking Time: 30 minutes
What You’ll Need (Ingredients):
- 1 cup Nachni Peeth (Ragi Flour/Finger Millet Flour)
- 1/2 cup Besan (Gram Flour)
- 1/4 cup Jwari Peeth (Sorghum Flour)
- 1 medium Pyaz (Onion), finely chopped
- 2-3 green chillies, finely chopped (adjust to your spice level!)
- 1 inch Adrak (Ginger), grated
- 1 tablespoon Lasun (Garlic) paste
- 1 teaspoon Haldi Powder (Turmeric Powder)
- 1 teaspoon Lal Mirch Powder (Red Chilli Powder)
- 1 teaspoon Dhaniya Powder (Coriander Powder)
- 1/2 teaspoon Jeera Powder (Cumin Powder)
- 1/4 cup Kothimbir (Fresh Coriander Leaves), finely chopped
- 2 tablespoons Til (Sesame Seeds)
- 2 tablespoons Tel (Cooking Oil) + more for greasing
- Salt to taste
- 1 cup water (approximately)
Let’s Make Some Magic (Instructions):
- Mix it Up: In a large mixing bowl, combine the nachni peeth, besan, and jwari peeth. Make sure there are no lumps!
- Add the Flavors: Add the chopped pyaz, green chillies, grated adrak, lasun paste, haldi powder, lal mirch powder, dhaniya powder, jeera powder, kothimbir, til, and salt. Mix everything well with your hands.
- Oil it Up: Add 2 tablespoons of tel to the mixture and mix again. This will help bind the ingredients.
- Knead the Dough: Gradually add water, a little at a time, and knead the mixture into a stiff dough. The dough should be firm and not sticky.
- Steam it Up: Grease a steamer plate or a shallow dish with tel. Spread the dough evenly on the plate, about 1/2 inch thick.
- Steam Away: Steam the dough for 20-25 minutes, or until a knife inserted into the center comes out clean.
- Cool and Cut: Let the steamed vadi cool completely. Then, cut it into diamond shapes or squares.
- Shallow Fry (Optional): Heat some tel in a pan. Shallow fry the vadi pieces until they are golden brown and crispy on both sides. This step is optional, but it adds a lovely crunch!
Chef Curry’s Top Tips:
- Don’t add too much water at once while kneading the dough. Add it gradually to get the right consistency.
- If you don’t have a steamer, you can use a large pot with a trivet.
- For a richer flavor, you can add a tablespoon of curd (yogurt) to the dough.
- Adjust the amount of green chillies and red chilli powder according to your spice preference.
Cooking it Your Way:
- Gas Stove: Follow the steaming instructions above. The traditional way!
- Induction Stove: Same as gas stove.
- Pressure Cooker: Place the greased plate inside the pressure cooker with about 1 cup of water. Steam for 2 whistles on medium heat. Let the pressure release naturally.
- Oven: Preheat oven to 350°F (175°C). Bake the spread-out dough on a greased baking sheet for 25-30 minutes, or until cooked through.
- Microwave: Not recommended for steaming.
- Air Fryer: Cut the vadi into pieces after steaming and air fry at 350°F (175°C) for 8-10 minutes, flipping halfway through, until golden brown.
- Slow Cooker/Crockpot: Not recommended for this recipe.
A Little Something About Nutrition:
Nachni is a fantastic source of calcium, iron, and fiber. This vadi is a healthy and delicious snack that will keep you feeling full and energized.
Serving Suggestions:
- Serve the Nachni Vadi hot or at room temperature with a side of green chutney or tomato ketchup.
- Enjoy it as a tea-time snack or as a light meal.
- Pack it in your lunchbox for a healthy and tasty treat.
Now It’s Your Turn!
I urge you, my dear readers, to try this simple yet satisfying recipe. It’s a wonderful way to connect with your roots and enjoy a taste of tradition. Make it with love, share it with your family, and let the flavors of India fill your home. Happy cooking!
