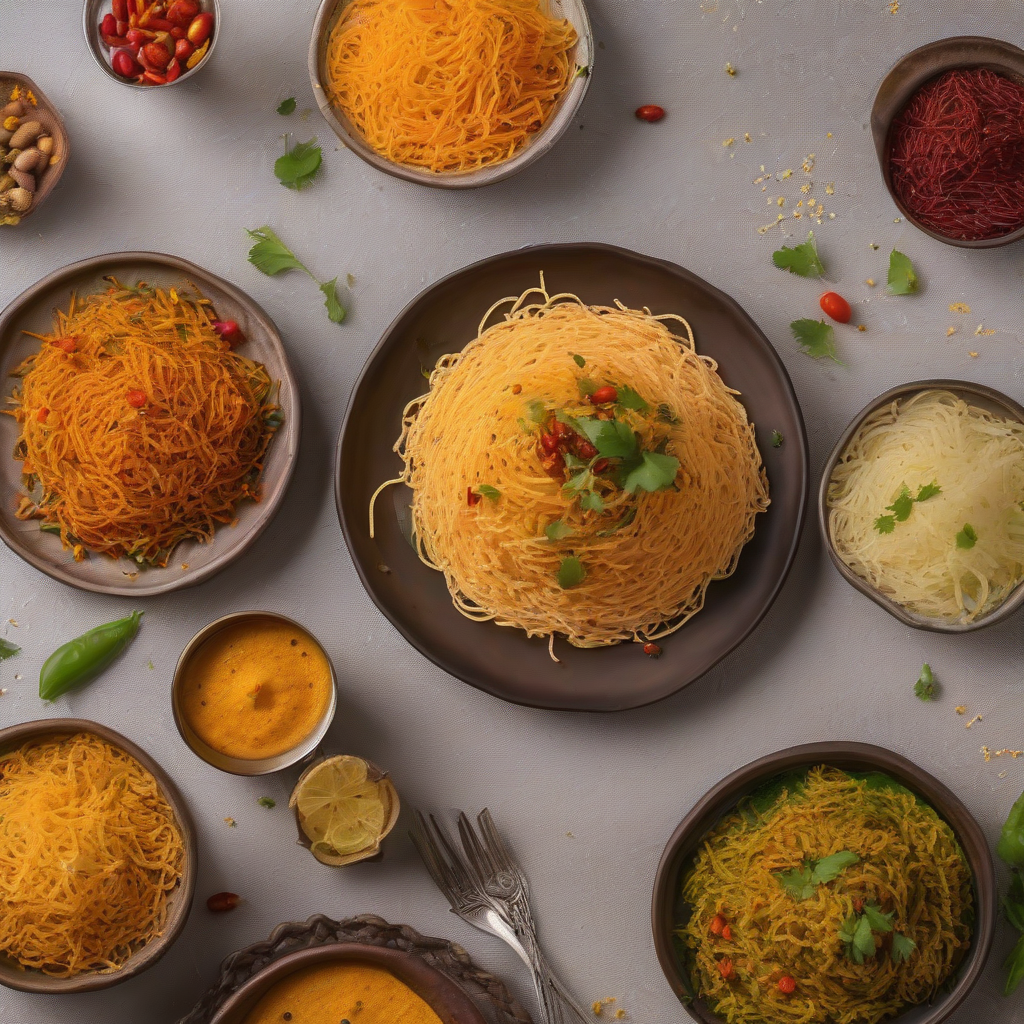
Sev ka Swad: A Crunchy Treat from My Kitchen to Yours!
Namaste and Aadaab, my lovely foodies! Chef Curry Do-Pyaza here, ready to tickle your taste buds with a crunchy, munchy, and oh-so-delicious snack: Sev!
For my Gujarati and Rajasthani friends, “Kem cho?” and “Khamma Ghani!” I hope you are all doing fantastic! Sev is a staple in our homes, and today, I’m sharing my family’s secret recipe with you.
Sev isn’t just food; it’s an emotion. We make it during Diwali, the festival of lights, and enjoy it during Navratri, the nine nights of dance and devotion. It’s perfect for those rainy monsoon evenings with a cup of hot chai, or as a quick snack when unexpected guests arrive. Sev is there for every occasion, big or small, adding a delightful crunch to our lives.
A Little Sev Story
The history of Sev is as twisted and delightful as its shape! It’s believed to have originated in Madhya Pradesh, where inventive cooks wanted to create a long-lasting, portable snack. They used gram flour (besan), a magical ingredient, and the rest, as they say, is history! From there, Sev traveled across India, taking on different flavors and forms, but always remaining a beloved crunchy treat.
Let’s Get Cooking!
Preparation Time: 15 minutes
Cooking Time: 20 minutes
Ingredients:
- 2 cups Besan (Gram Flour)
- 1/4 cup Chawal ka Atta (Rice Flour) – for extra crispness!
- 1/2 tsp Ajwain (Carom Seeds) – adds a lovely aroma and aids digestion
- 1/2 tsp Haldi Powder (Turmeric Powder) – for that beautiful golden color
- 1/2 tsp Lal Mirch Powder (Red Chilli Powder) – adjust to your spice level
- 1/4 tsp Hing (Asafoetida) – a pinch for flavor and digestion
- 2 tbsp Garam Tel (Hot Oil) – this makes the Sev extra crispy
- Salt to taste
- Tel (Oil) for deep frying
Instructions:
- Mix it Up: In a big, spacious bowl, combine the besan, rice flour, ajwain, haldi powder, lal mirch powder, hing, and salt. Mix it all together with a spoon, making sure everything is evenly distributed.
- Hot Oil Magic: Add the hot oil to the dry ingredients. Be careful, it’s hot! This is the secret ingredient that makes the Sev extra crispy and delicious.
- Knead the Dough: Slowly add water, a little at a time, and knead the mixture into a smooth, pliable dough. The dough shouldn’t be too soft or too hard, just like making roti.
- Ready the Sev Maker: Fit your Sev maker (also known as a Sev Sancha) with the fine hole plate. Grease the inside of the Sev maker with a little oil to prevent the dough from sticking.
- Fill ‘er Up: Fill the Sev maker with the prepared dough.
- Fry ’em Up: Heat oil in a kadhai (wok) or deep frying pan over medium heat. To check if the oil is hot enough, drop a tiny piece of dough into the oil. If it sizzles and floats to the top, it’s ready!
- Make Sev: Hold the Sev maker over the hot oil and press the handle to release the Sev into the oil in a circular motion. Don’t overcrowd the kadhai!
- Fry to Perfection: Fry the Sev until it turns golden brown and crispy, flipping it occasionally with a slotted spoon.
- Drain and Cool: Remove the fried Sev from the oil and drain it on a paper towel-lined plate to remove excess oil. Let it cool completely.
- Crunch Time: Once cooled, break the Sev into smaller pieces and store it in an airtight container.
Tips for Best Results:
- Hot Oil is Key: Adding hot oil to the dough is crucial for crispy Sev.
- Don’t Overcrowd: Fry the Sev in batches to maintain the oil temperature and ensure even cooking.
- Cool Completely: Let the Sev cool completely before storing it to prevent it from becoming soggy.
- Spice it Up: Adjust the amount of red chilli powder to your liking. You can also add other spices like black pepper or cumin powder for extra flavor.
Different Ways to Cook Sev:
- Gas Stove: Follow the instructions above using a kadhai or deep frying pan on your gas stove.
- Induction Stove: Use a compatible kadhai or deep frying pan on your induction stove. Adjust the heat settings as needed.
- Air Fryer: While traditional Sev is deep-fried, you can try a healthier version in the air fryer. Spray the Sev lightly with oil and air fry at 350°F (175°C) for 5-7 minutes, flipping halfway through. The texture will be different, but it’s a good option for a lighter snack.
- Oven: You can also bake the Sev for a slightly healthier version. Spread the Sev in a single layer on a baking sheet and bake at 350°F (175°C) for 10-12 minutes, flipping halfway through.
Nutritional Information (per serving, approximate):
- Calories: 150-200
- Protein: 5-7g
- Carbohydrates: 15-20g
- Fat: 8-12g
Serving Suggestions:
- As a Snack: Enjoy Sev as a standalone snack with a cup of chai or coffee.
- As a Topping: Sprinkle Sev over chaats like bhel puri, sev puri, or dahi puri for extra crunch and flavor.
- In Curries: Add Sev to vegetable curries like Sev Tamatar ki Sabzi for a unique texture and taste.
- In Sandwiches: Use Sev as a filling in sandwiches for a crispy, savory twist.
So, there you have it, folks! My family’s secret Sev recipe, shared with love. Now, it’s your turn to try it out!
Go on, head to your kitchen, gather your ingredients, and create some Sev magic. You will enjoy the process and the results.
Happy Cooking!
-Chef Curry Do’pyaza